With the paper pattern now ready and looking good, I ordered through a BUNCH of fabric samples. I have to give a shout out to coscraft here for sending the best samples out there; they arrive fully labelled, with the date your odered, the exact textiles that they are made of, how much it costs per meter, etc. I have actually been keeping any that I order in a folder, as I find it very helpful to have them!

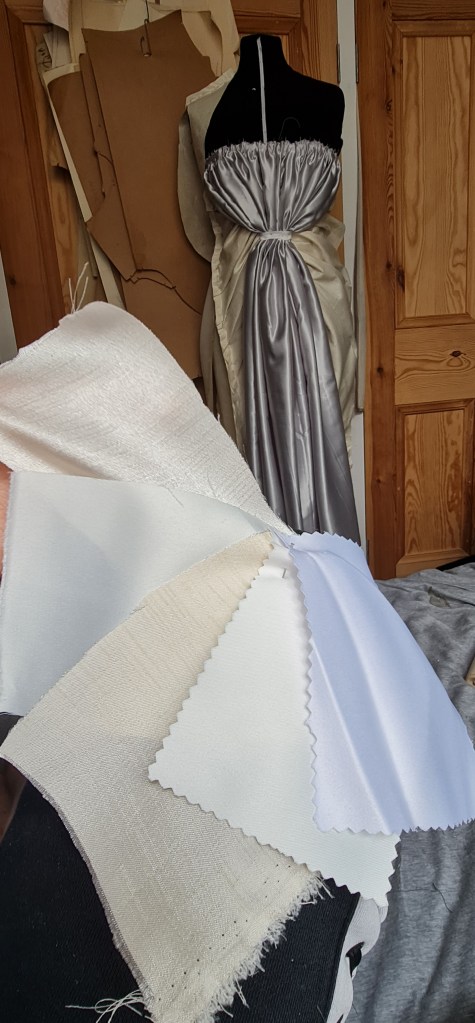
Here are the aforementioned coscraft samples! I also had picked a couple other fabric swatches I liked, which was a faux silk, but in the end I thought that the stretch satin in pale ivory was the best fit.
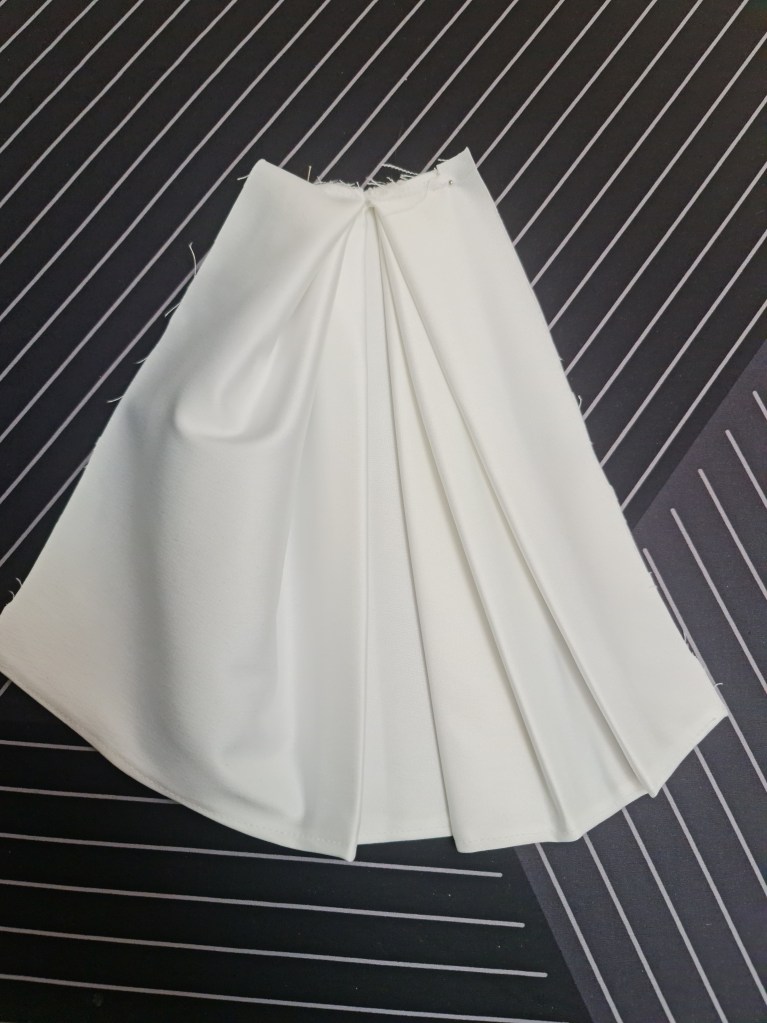
With my fabric picked, I measured out my pattern pieces and worked out how much fabric I needed to order – I always like to shoot a little above what I actually need, as I prefer having too much as opposed to too little. In the end, I ordered 10 meters, which was pretty perfect! I still have some left, which I can use to make some button covers out of, which is something I’ll mention in more detail later.
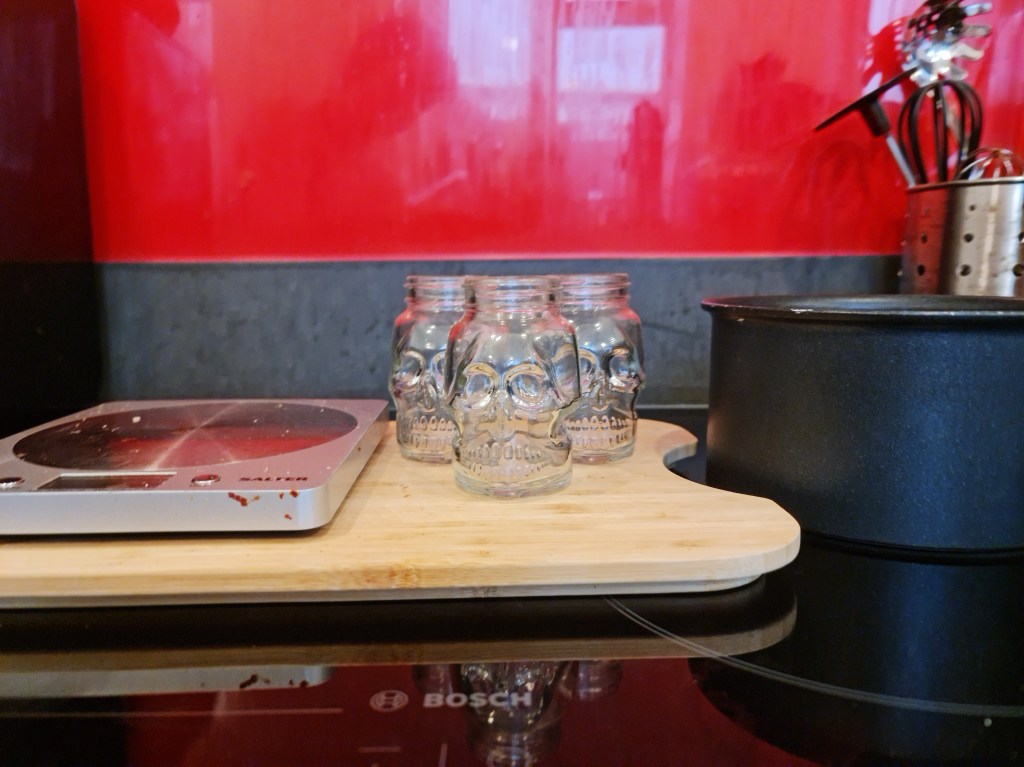
With that arrived, I cut a few strips of the satin, so I could create some samples to get that lovely gradient.
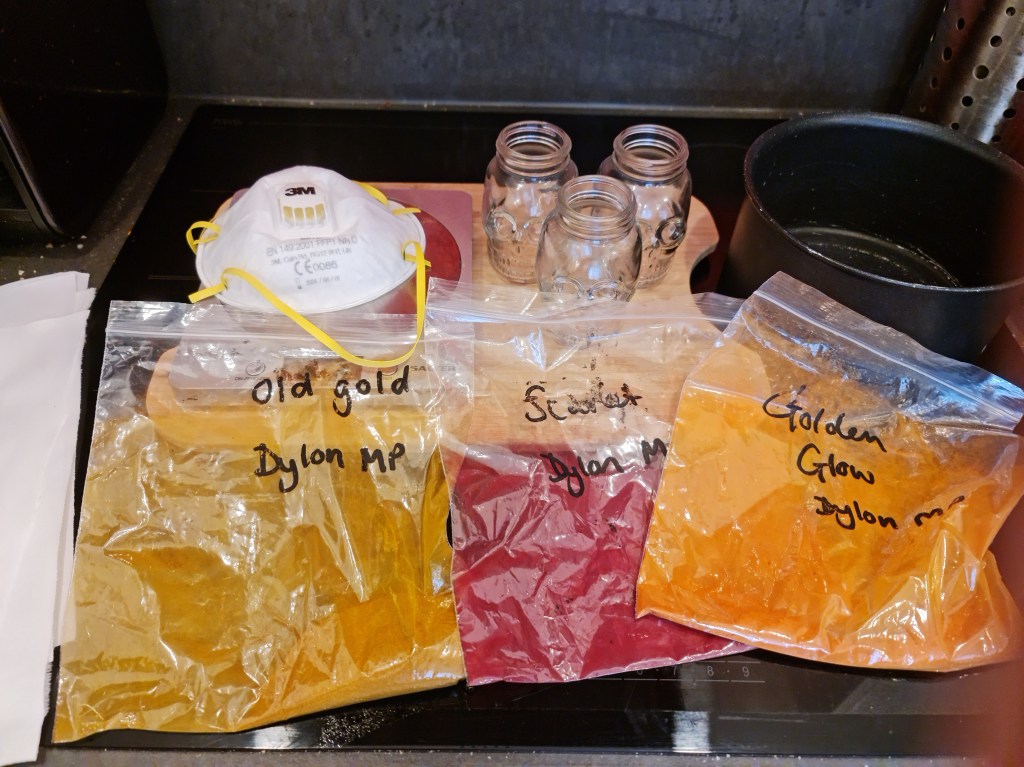

In the end, I used the formula of 4 parts old gold, and 1 part scarlet. It’s hard to tell in the photos, but it was much more coppery in the photos, as opposed to the more peach tone when the ration was 1:1.
With my fabric here, and my dye research done, it’s time to build Lady’s dress for completion!
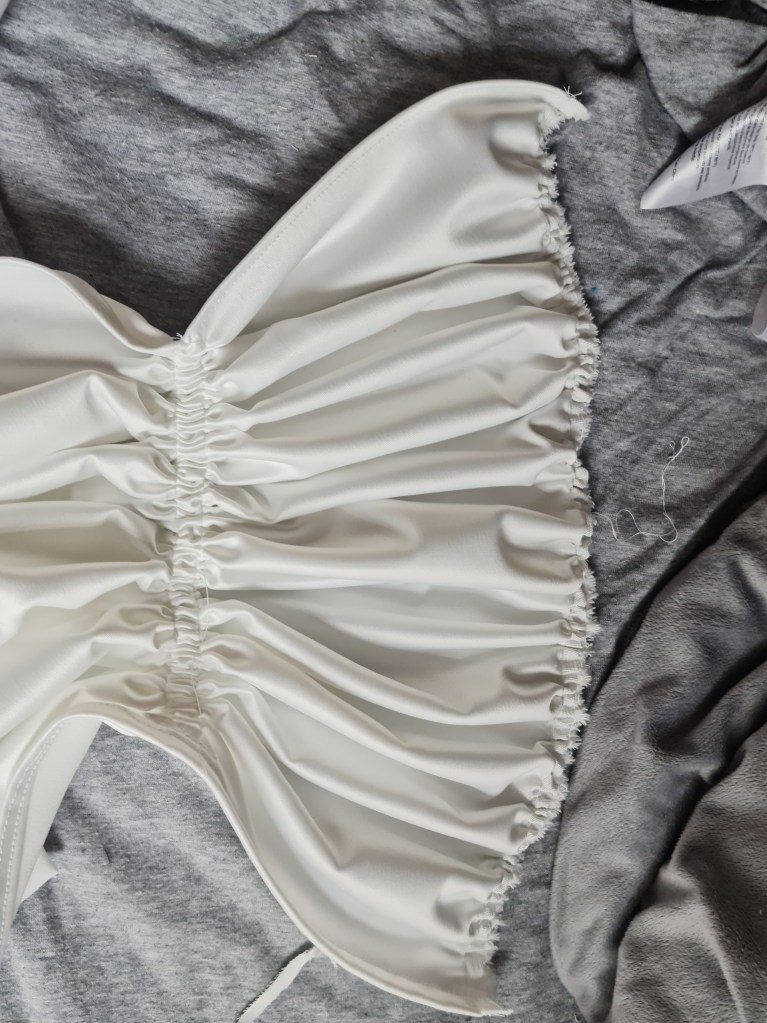
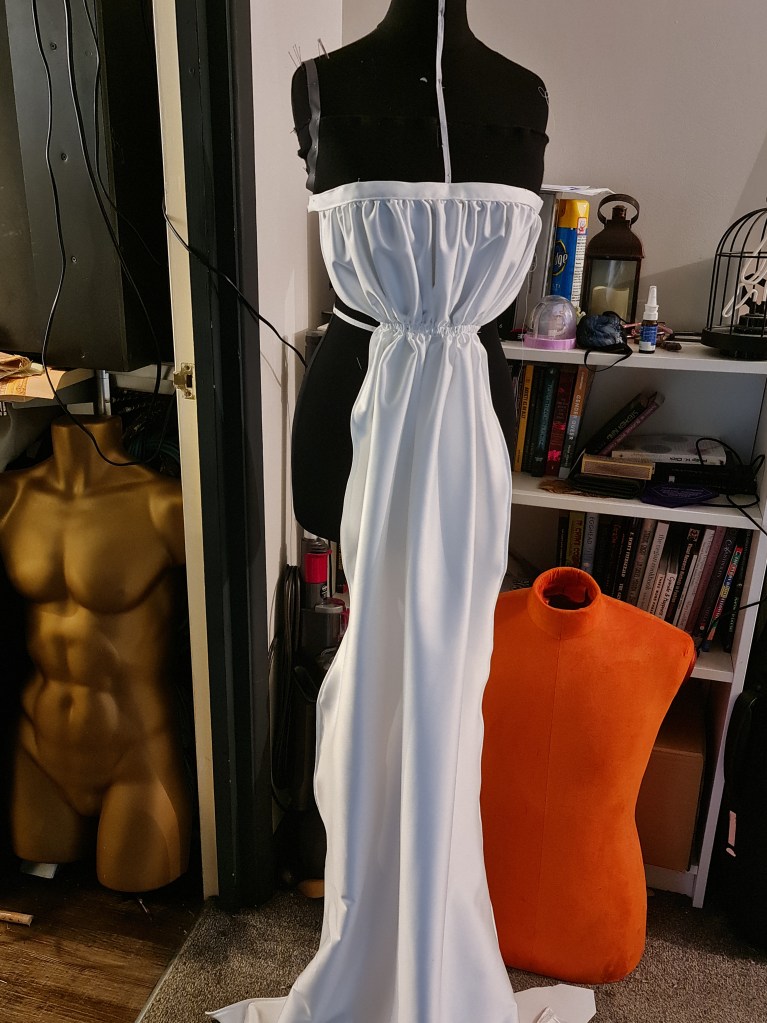
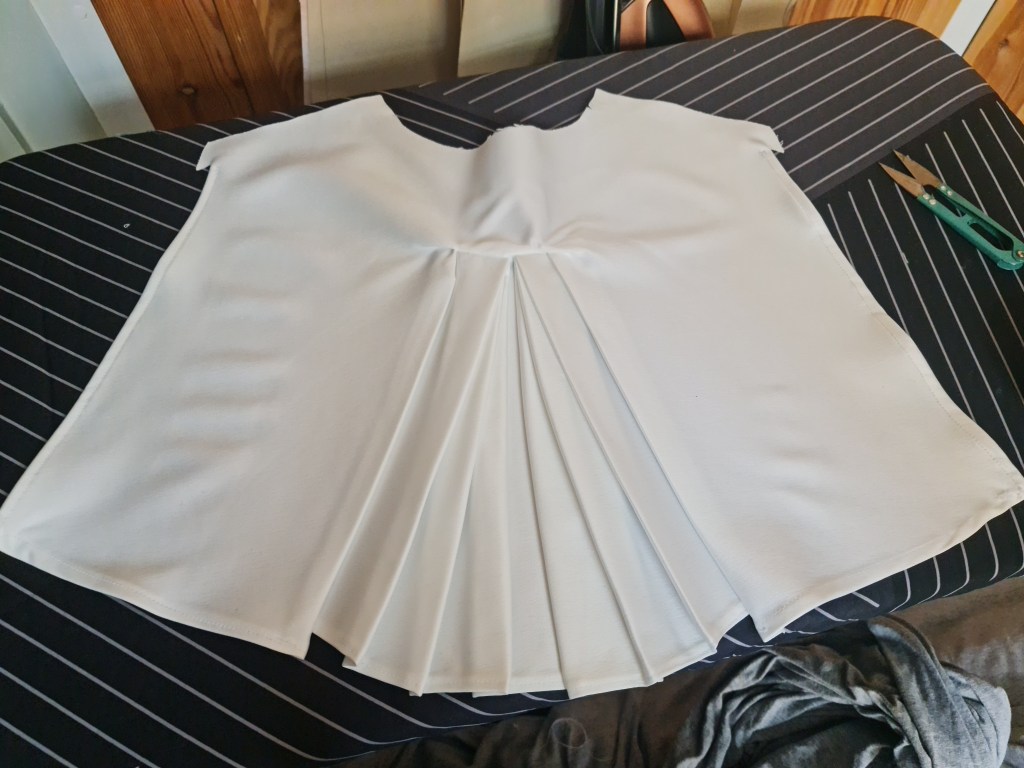
The creating process for the dress went pretty smoothly! The hardest thing was getting the entire neckline sitting in a way I liked. I also had to do the cloak a couple of times – I used pleats for the gap inbetween the upper cape parts, and it took a couple of attempts to get it sewn in a way that I thought looked best.

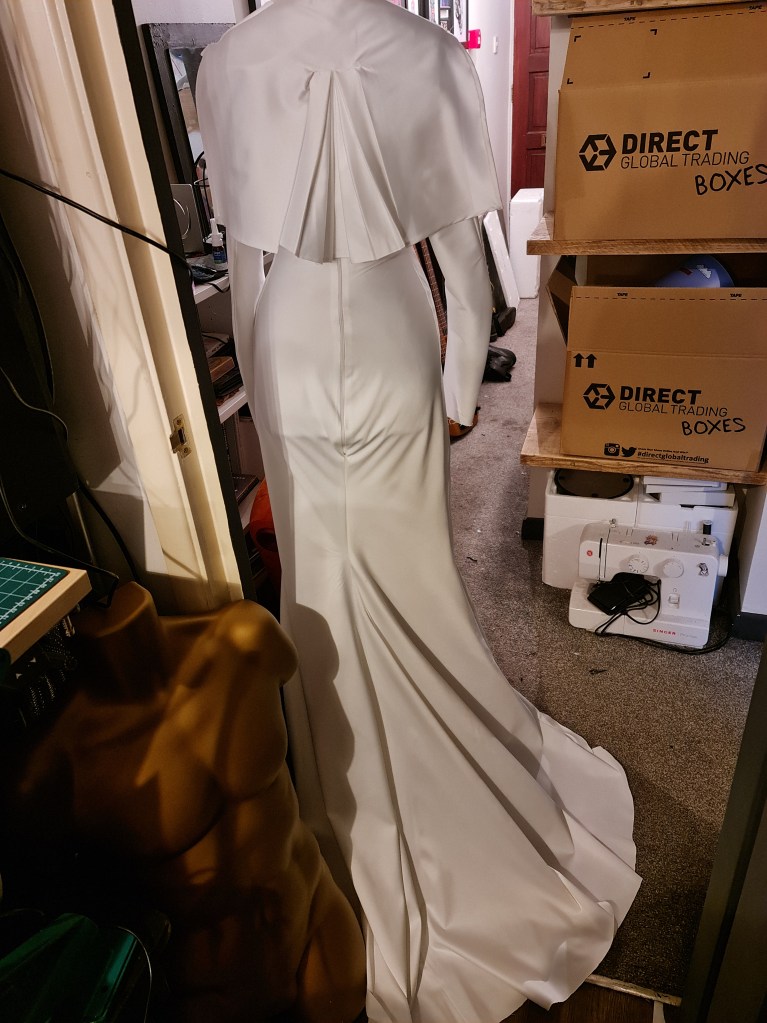

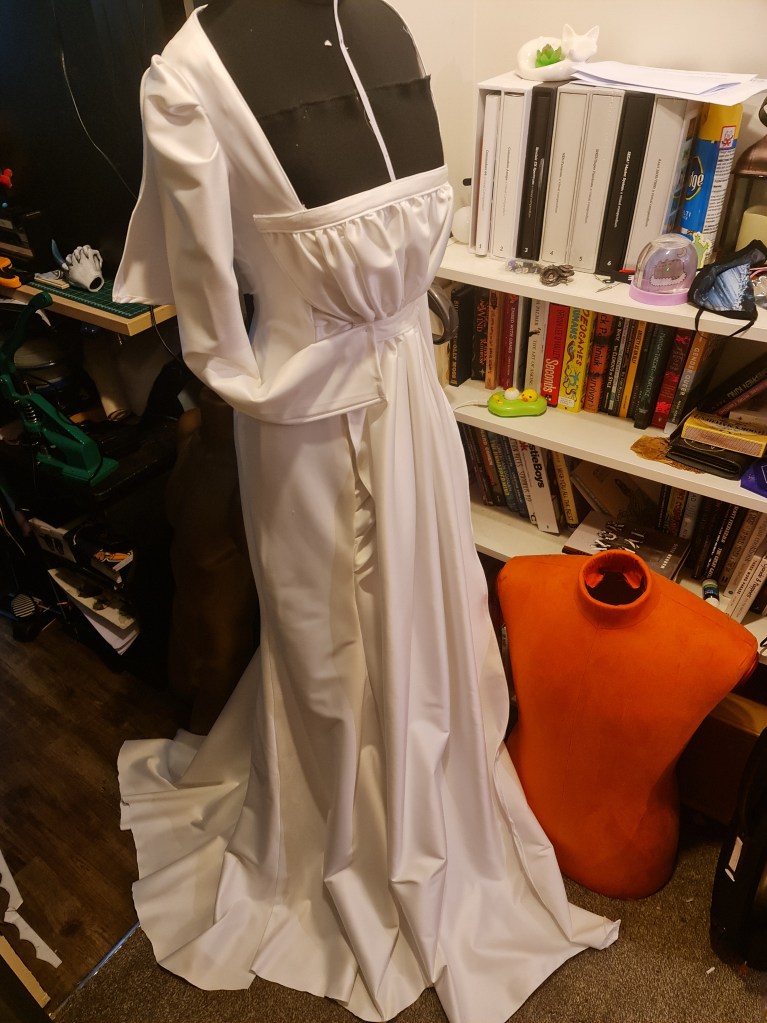
Here is the dress! It looks TERRIBLE in these photos, and as you can see, I’m in the process of moving house, so things are just all over the place right now. There is better photos to come though!
In the end, it assembled together as smoothly as I could have asked for. I think creating the pattern by draping on the stand first really gave me an idea of how the pieces will fit together later. If I was to remake it, I would extend the neckline of the upper draping, so that it goes into the side seam, rather than it kind of floating where it is currently. That said though, it doesn’t seem to affect the wear of the dress at all. I think I would also like widen the shoulders slightly as well, as its a little TOO open chested.
Part 4 will be the finished result with dyeing and all!
Until then, stay crafty!

Leave a comment