Alright, cozy up, grab a hot drink, this is gonna be a very long post detailing the Witch costume. Originally I was going to break this into smaller parts, but I have a bit of a time constraint, so it’s all gonna be complied here!

This has been a long journey, so I’m trying to be as consice as I possibly can, while including important details!


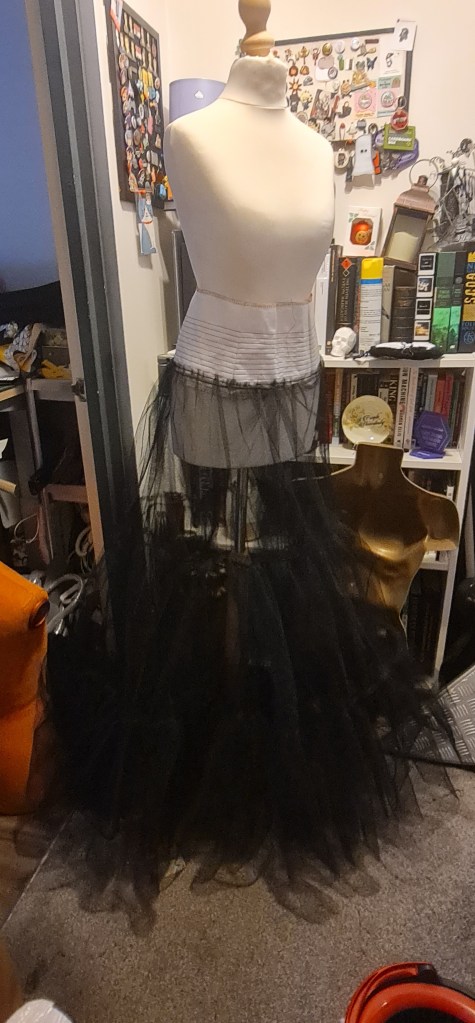
Hopefully you’ll recall that I ended up making this style petticoat, opposed to the stiffer spanish farthingale petticoat. I think that would also work, but I wanted to have a little softness to the overall siluhette.
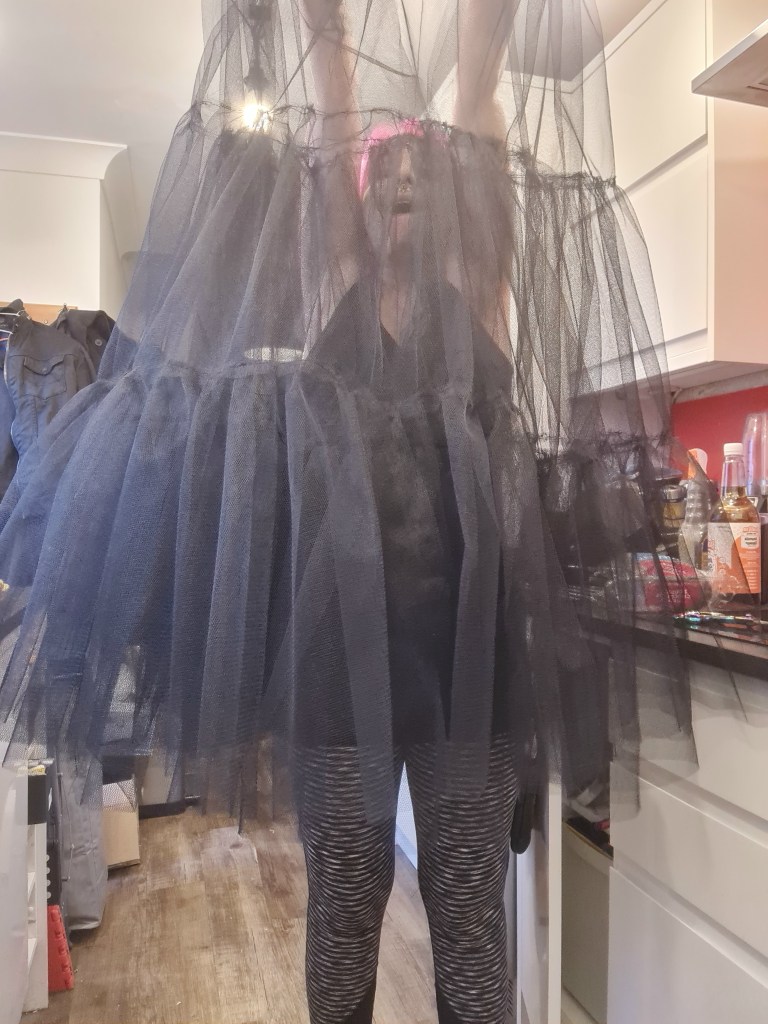
Here is the finished petticoat! Its not super full, but its exactly what I was looking for. With that done alongside the tudor stay, I then started to pattern out the dress to make a toile.
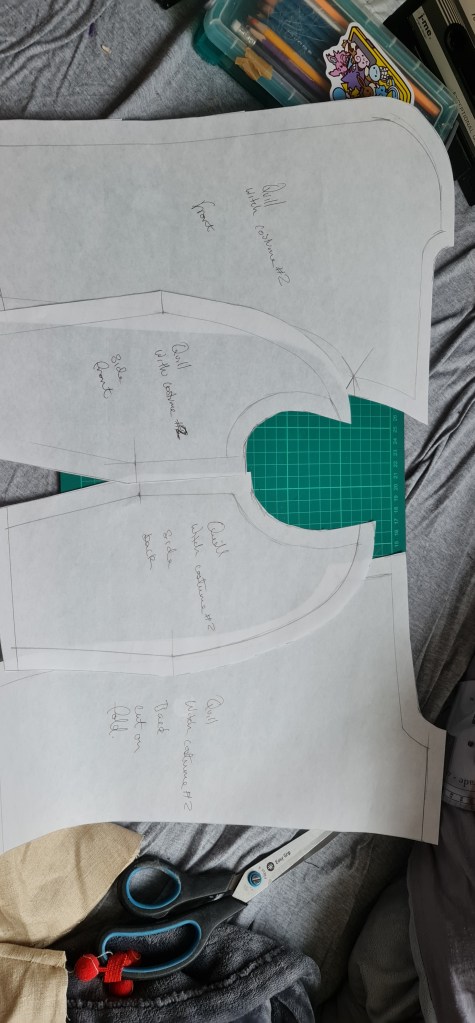
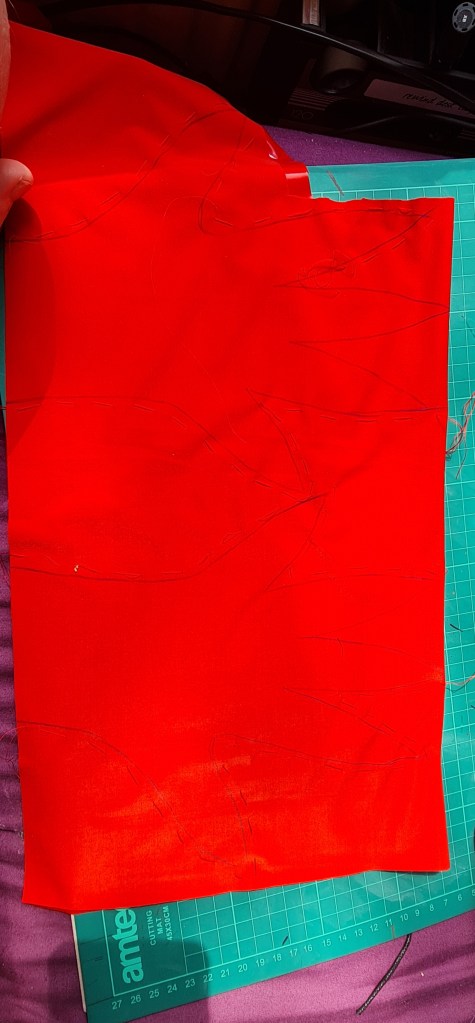
I traced off another copy of the block I made for the stay, without the stays seam lines, as I want to create a different shape for the dress.
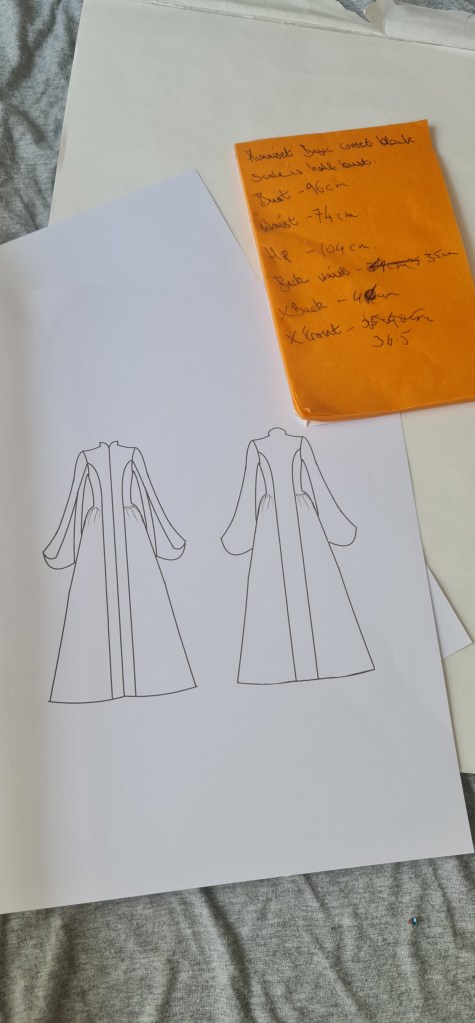

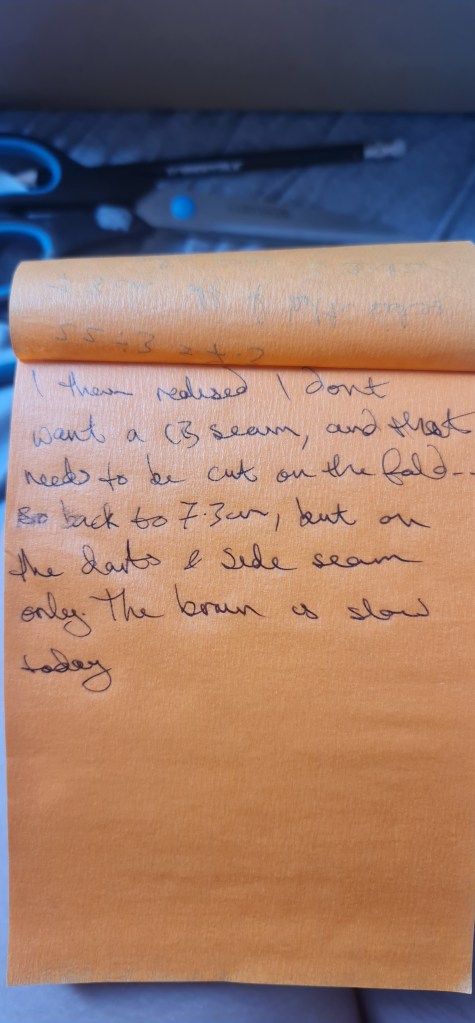
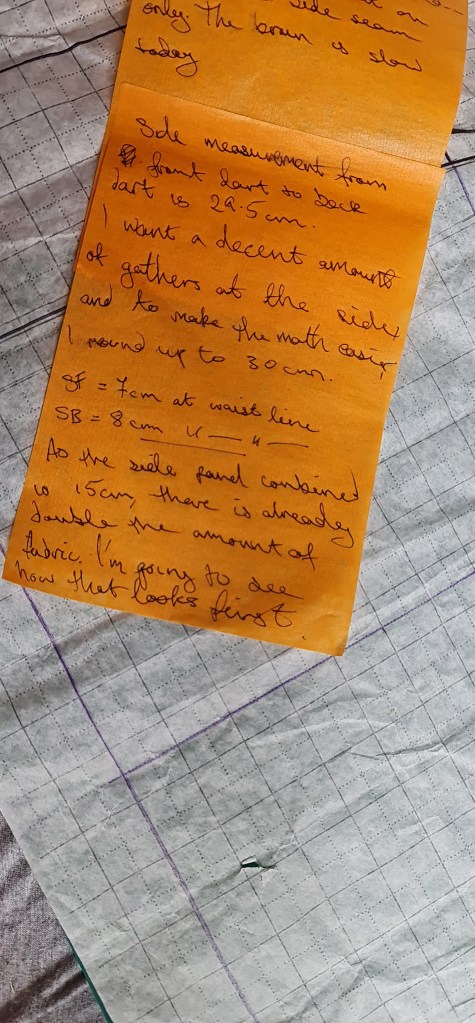
During the patterning process for the dress, I struggled quite a bit – I had been dealing with quite a high pain level, which sometimes affects my ability to figure the more mathmatical parts out. Team that up with the dyslexia, and it can be a recipe for disaster. However, I took notes the entire time, and them helped immeasurably.
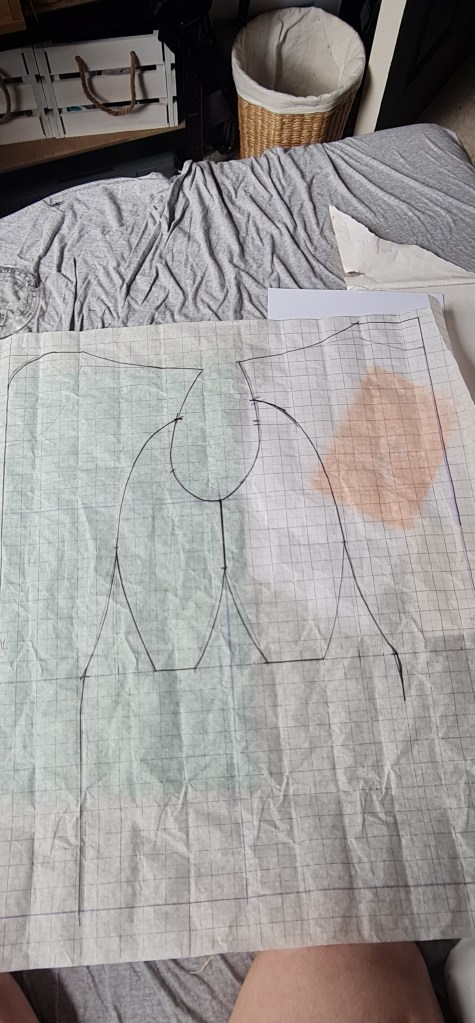
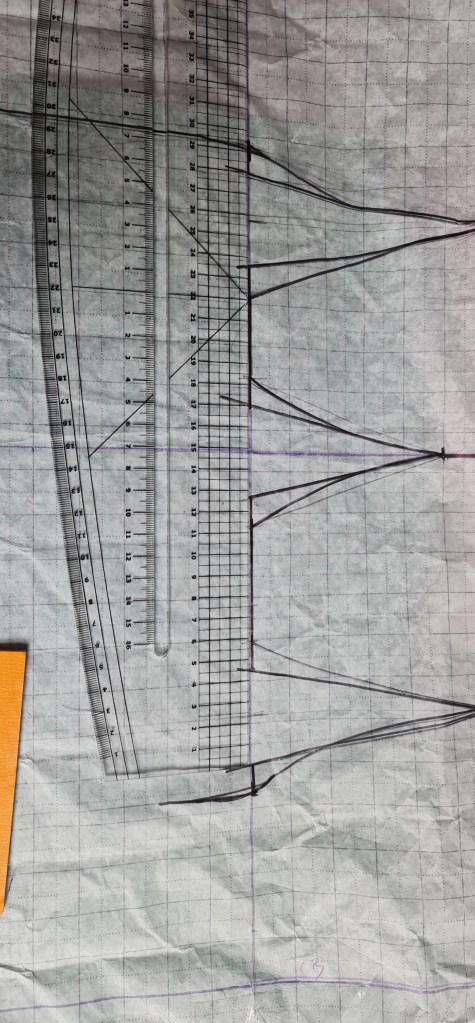
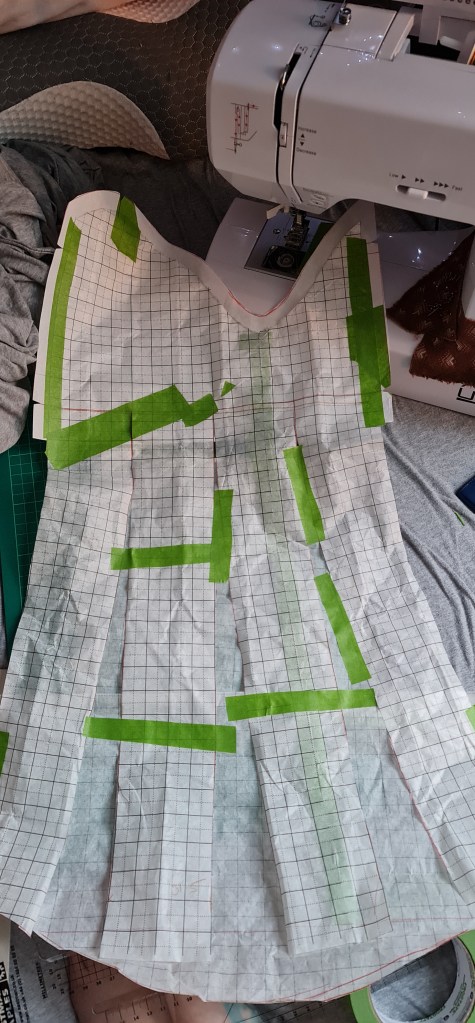
Here was attempt one at the top part of my pattern. As you can see, it didn’t fit at all, and was just all kinds of wrong. For some reason, I added in these really steep curves on my darts. I really have no idea why, its not something I’ve ever done but here we are. Fortunately, I realised it, and corrected it and drafted a new pattern without the insane looking darts
MUCH better fit – Thankfully it was an easy fix. I was worried about the shoulder here, as they look really wide, but I have much wider shoulders compared to my mannequin, and once I had fixed on a sleeve it looked much more normal.
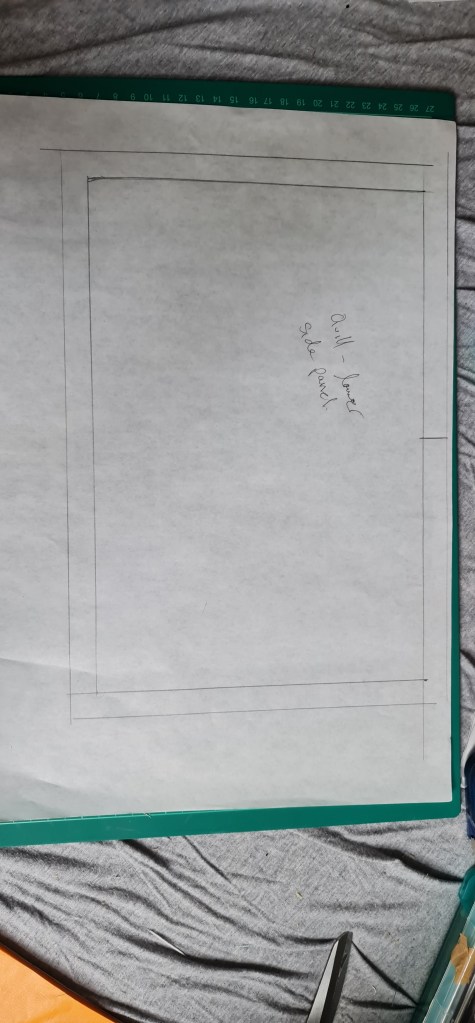
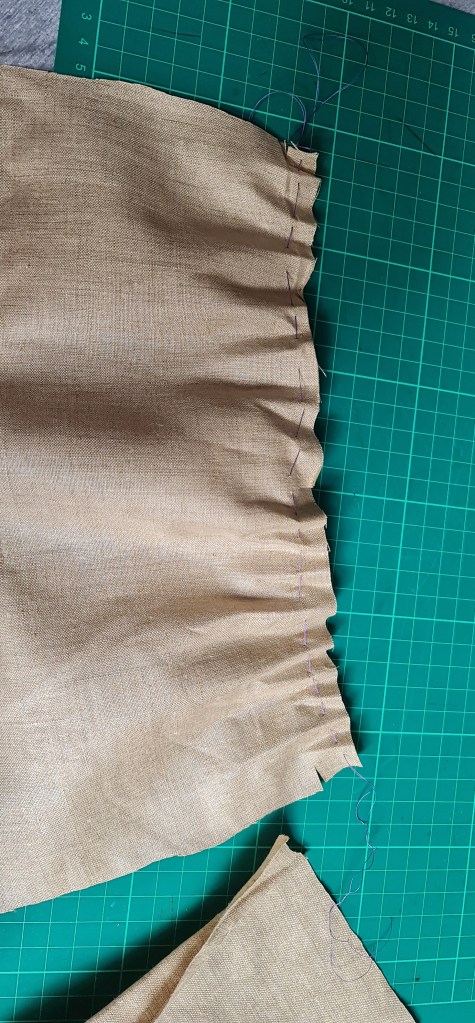
As my pattern had a little flounce around the waistline, I then took to making a little test block to see if it was the size I was looking for. It ends up working practically as I envisioned, which was a relief as the rest of the patterning process had been a bit wonky upto this point,

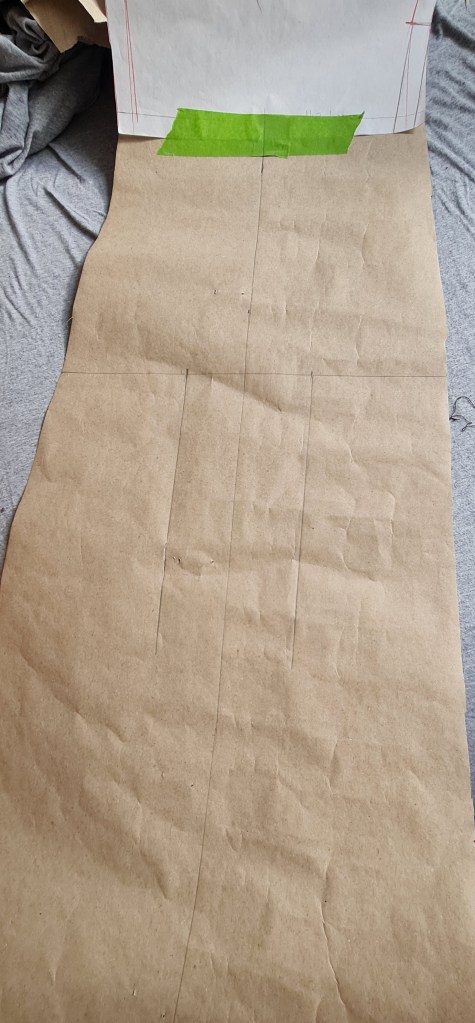
With that panel piece working as I had hoped, I then started pattering it out into the full length of the dress.

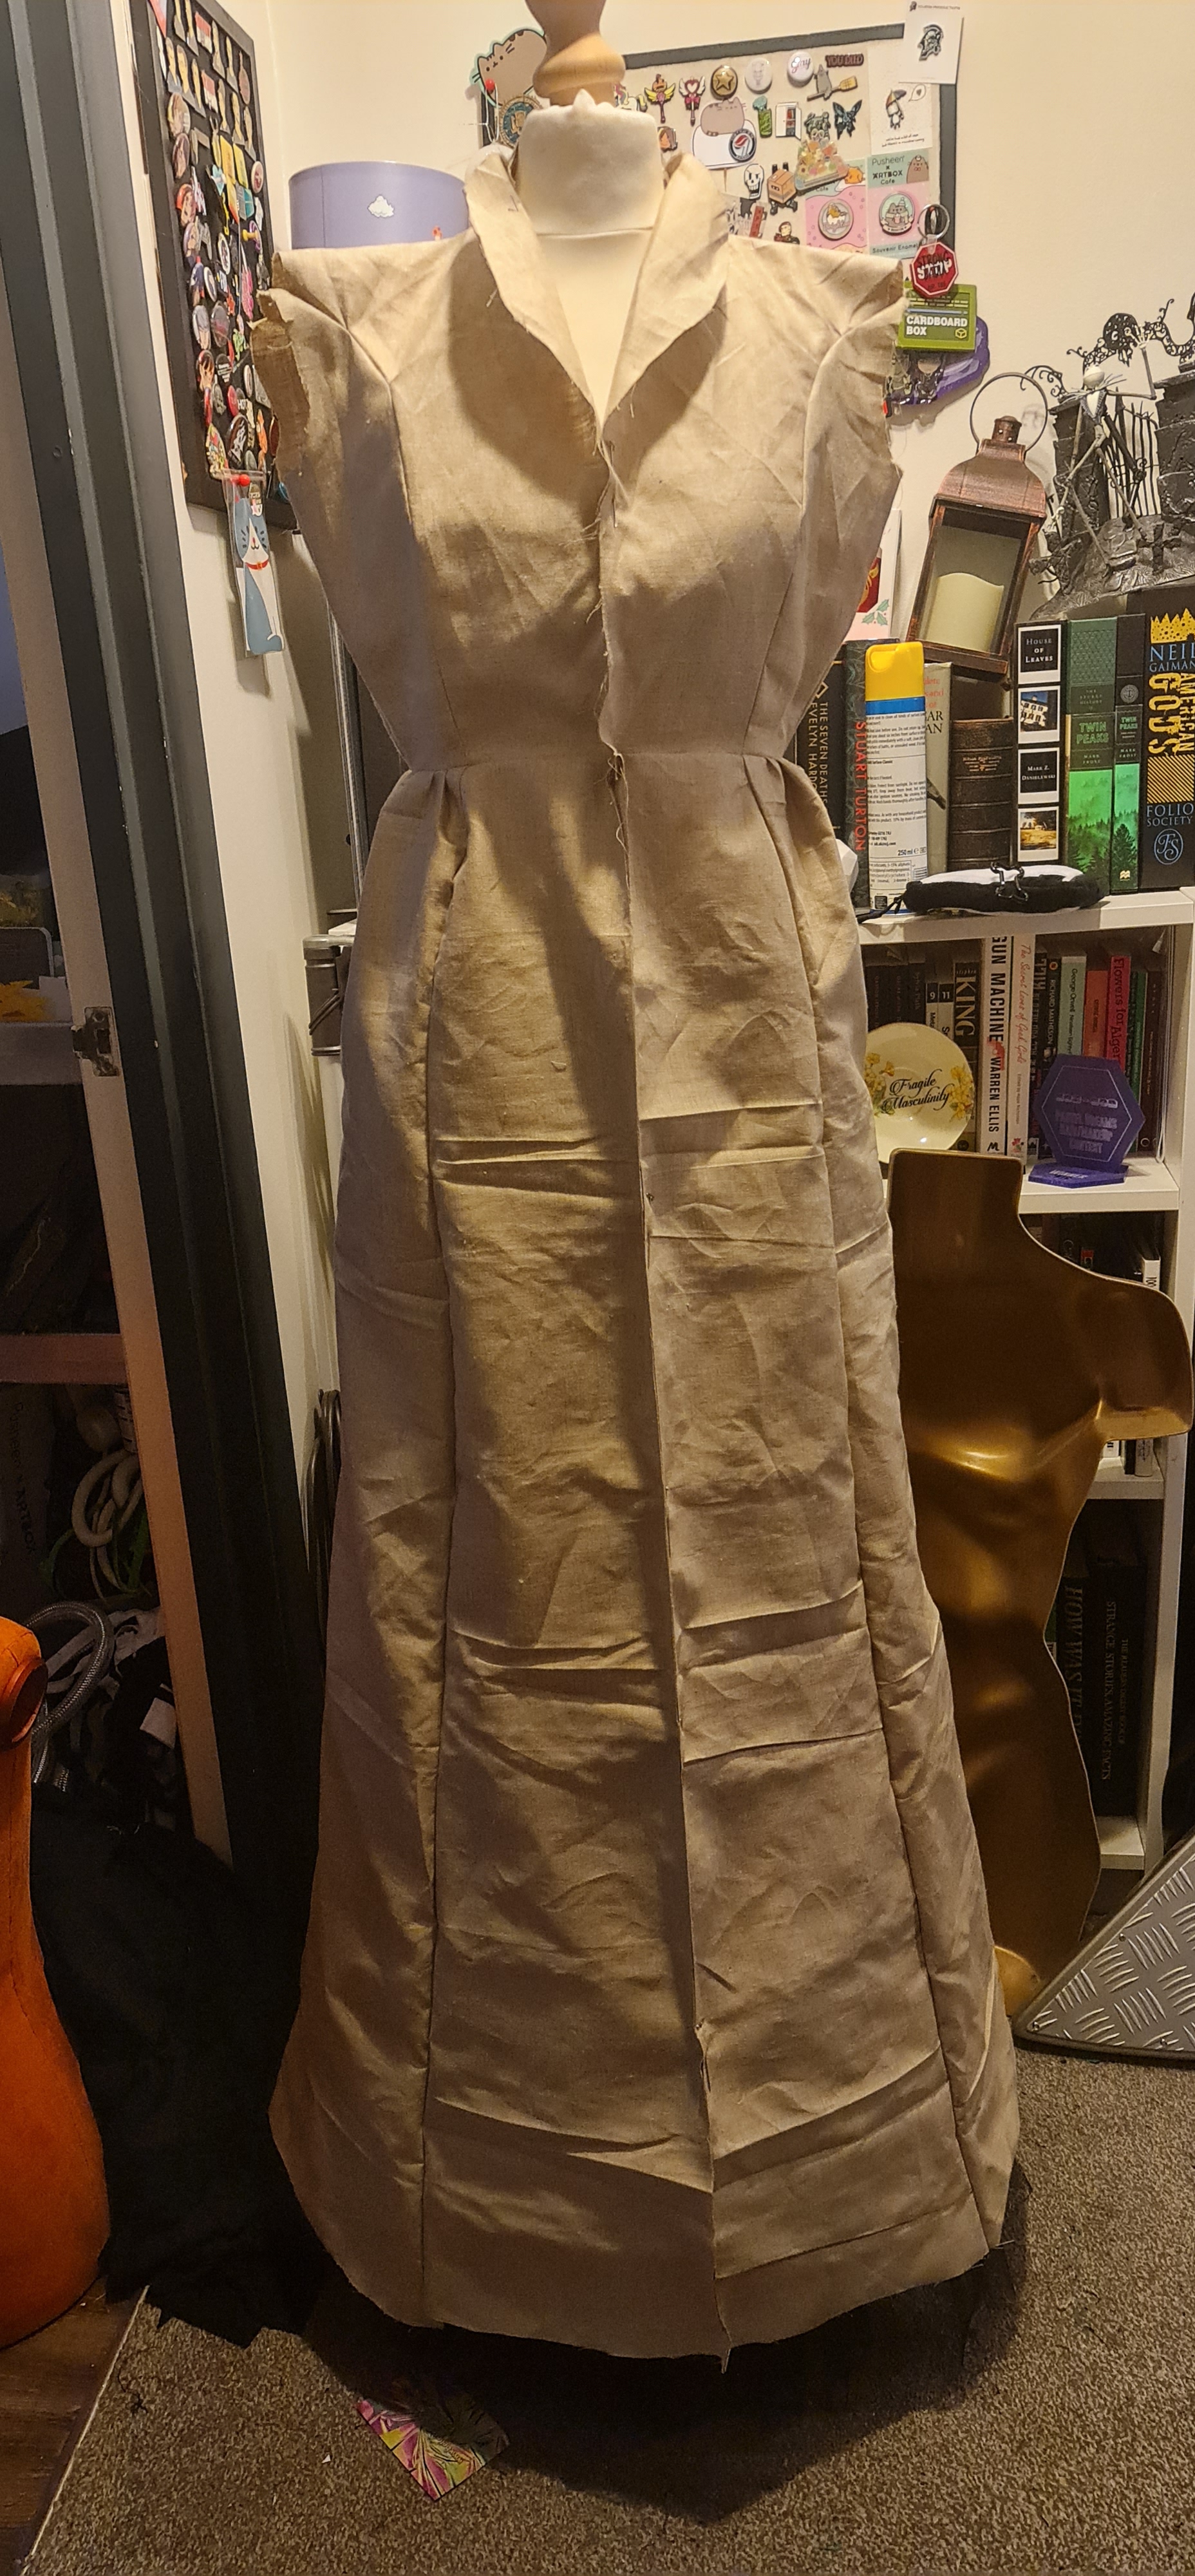
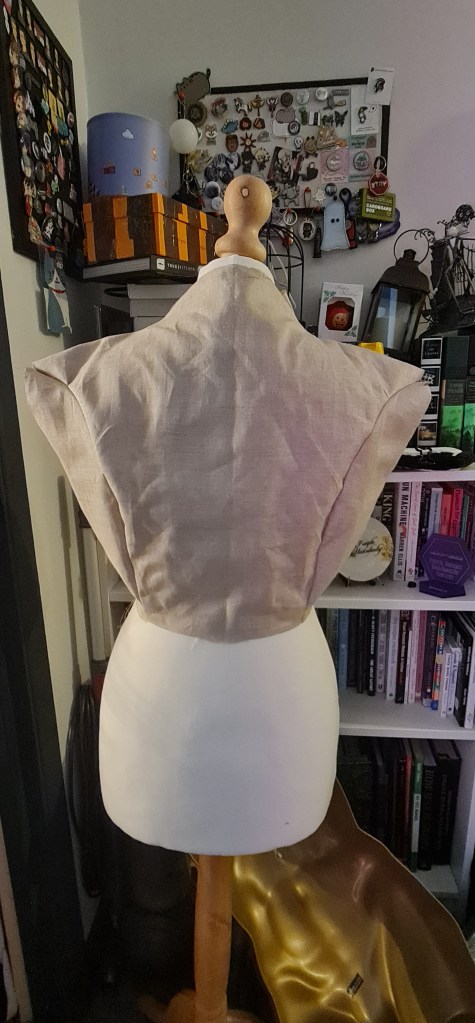
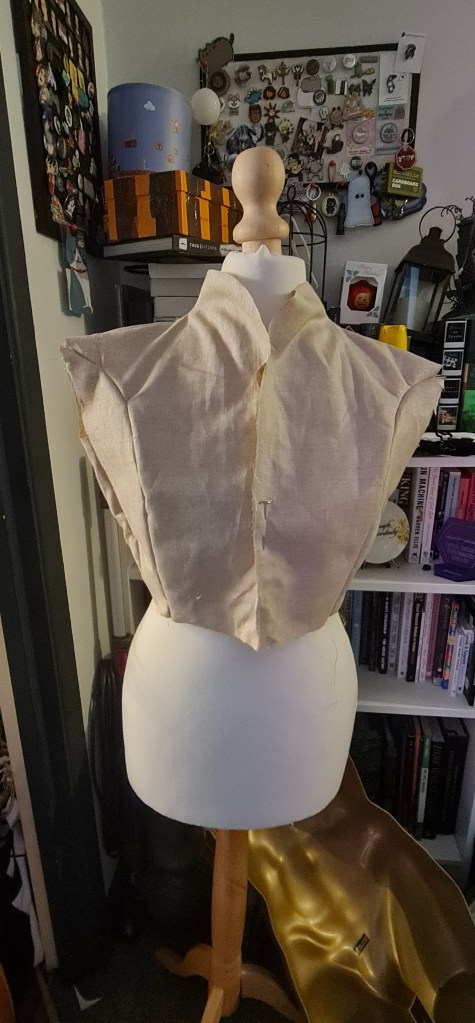
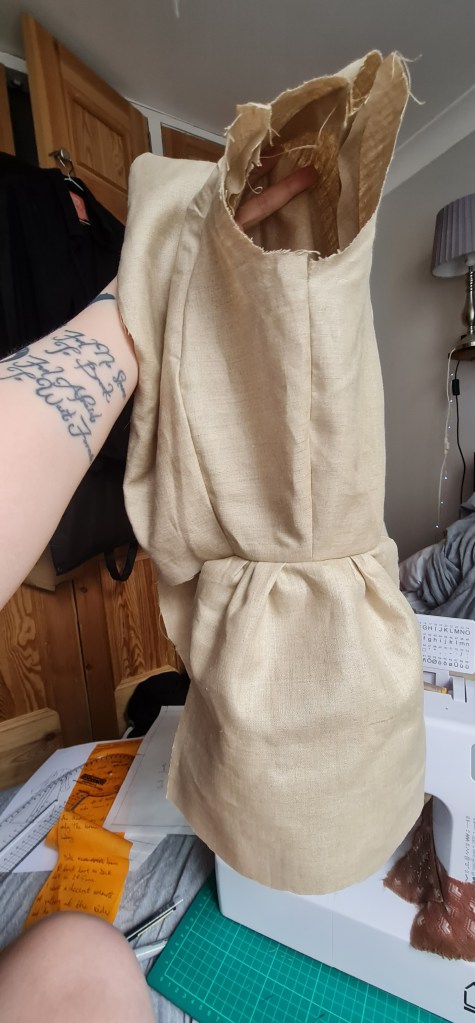
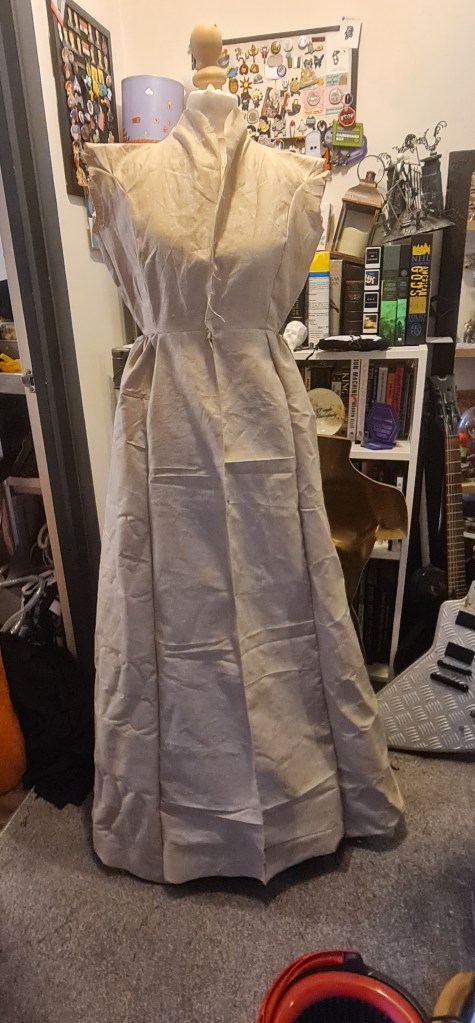
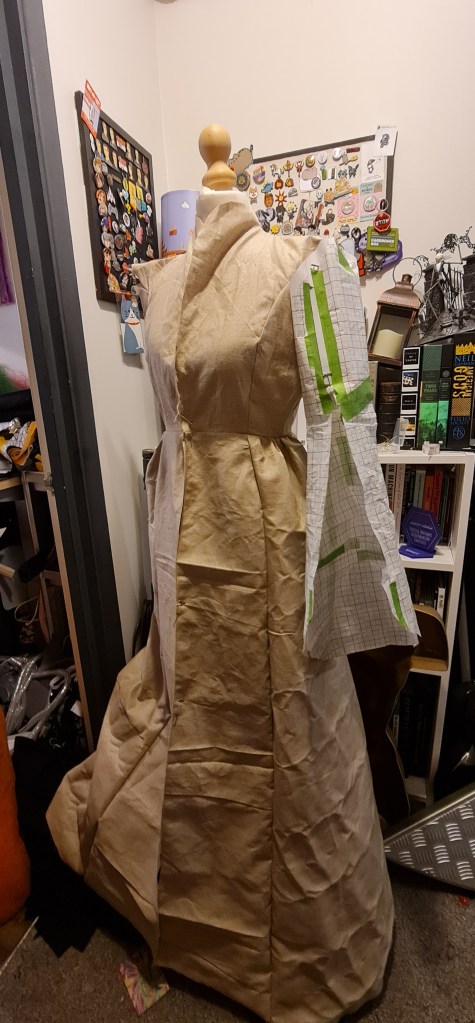
Here is the dress on top of the petticoat. While it looks okay, I wanted to have a little bit more flare at the bottom of the dress in particular. Back to the pattern pieces!

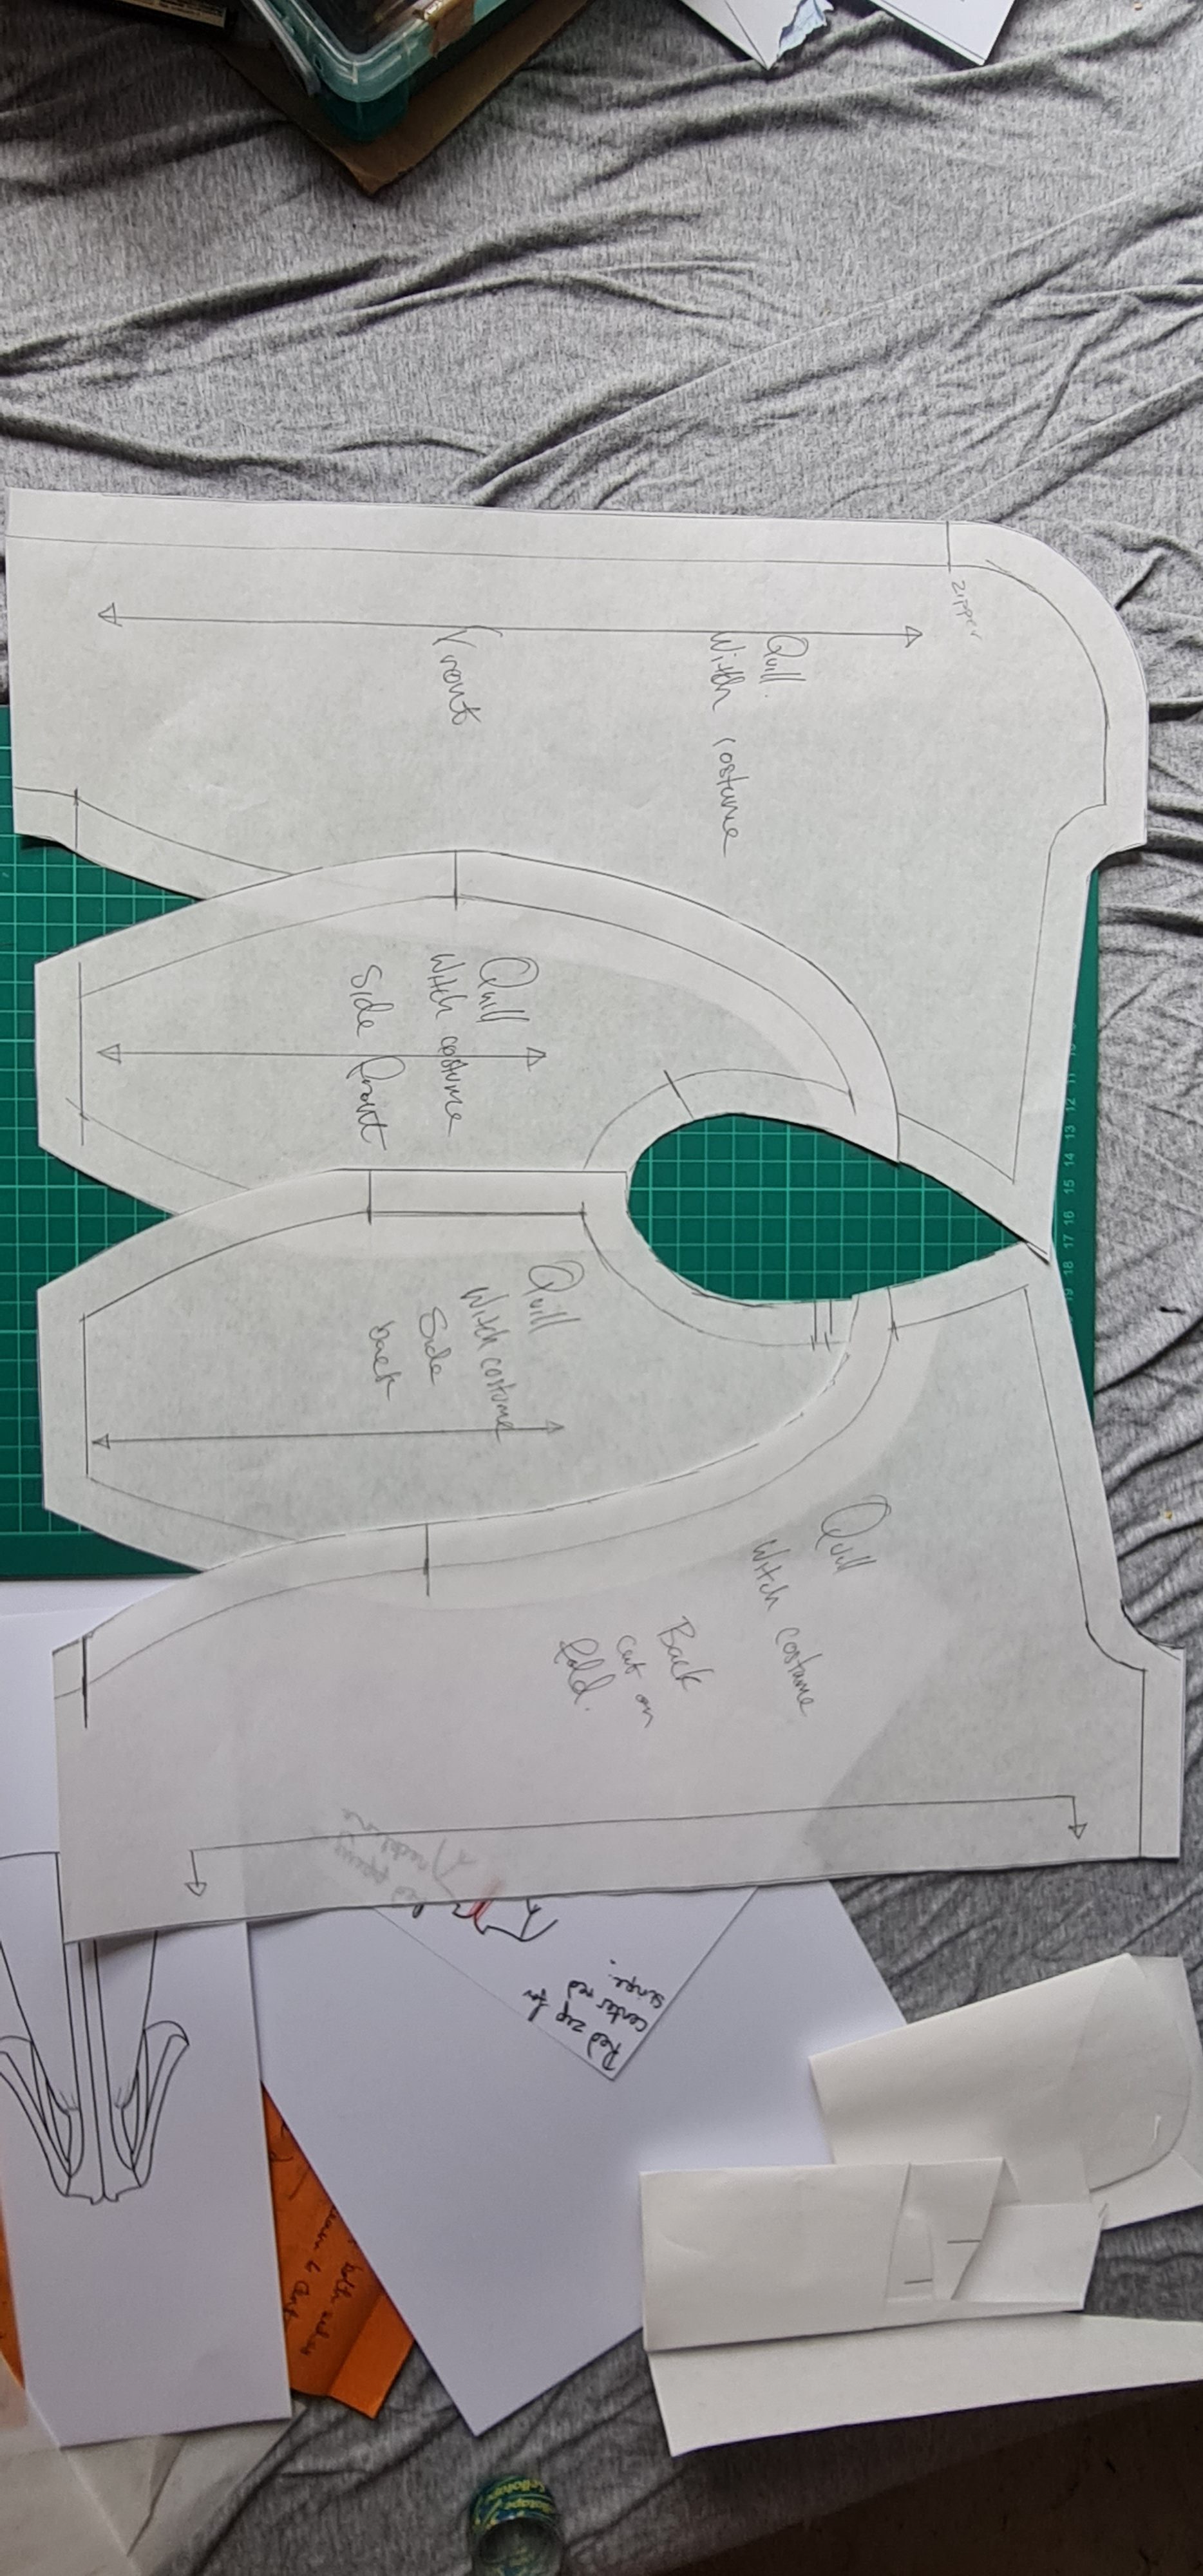
Happy with the main part of the dress, I then went back to the block to create myself a sleeve head, and make the sleeve pattern. In hindsight, I really needed to open up the armhole a little more, and have a roomier sleevehead – it fits well… almost too well, and while you can move and it sits right, it feels bad to wear. I believe this is to be from the block I was using, as the Jean Hunniset block has NO give at all.

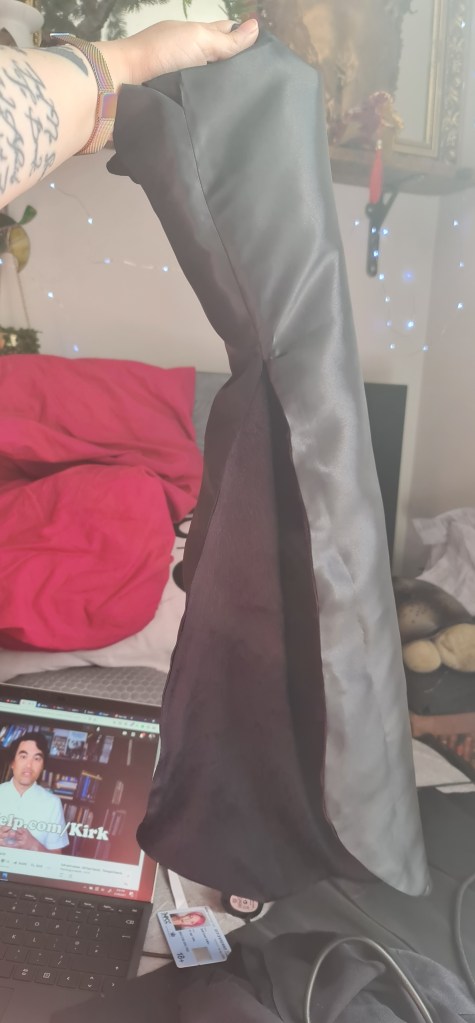
I wanted the seam of my sleeve to line up with princess seam on the bodice, I measured out how deep it goes from the shoulder seam. I then slash and spread the sleeve for the flare, and lengthen it towards the back so it created the cape like sleeve.
I don’t know how I got so lucky, because again it worked exactly like how I hoped!! The seam matches up great, and leaves a real nice kinda pointed shape.
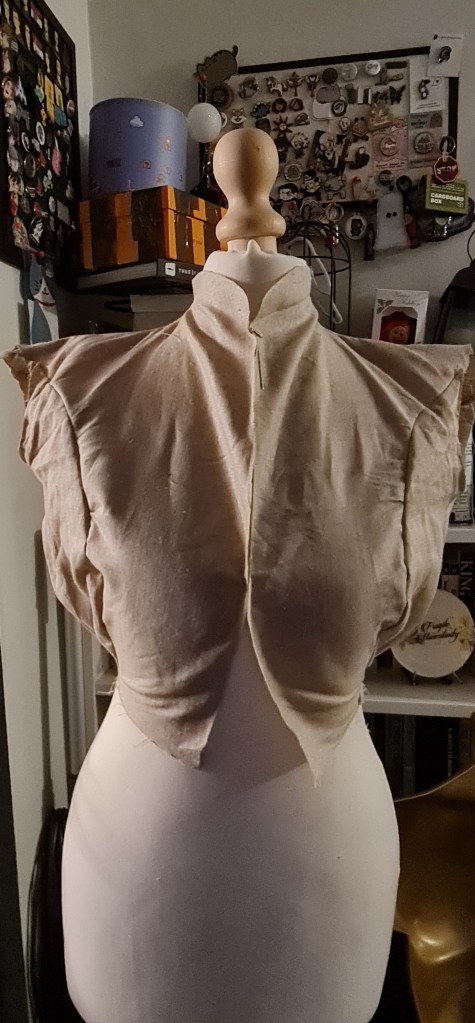
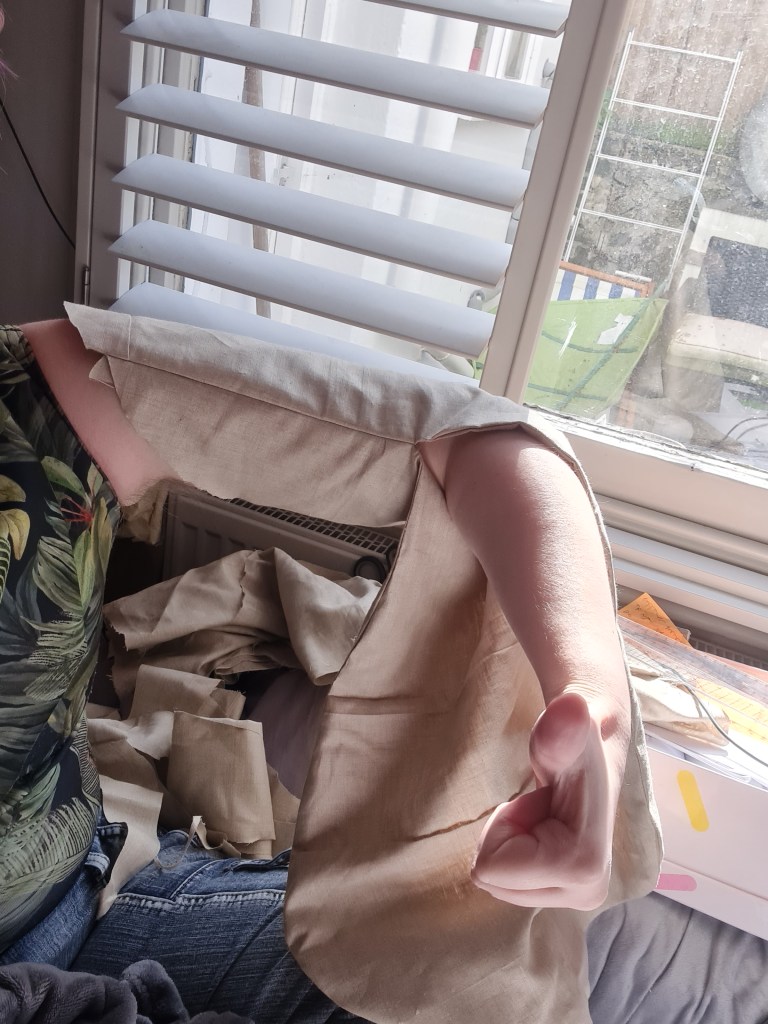
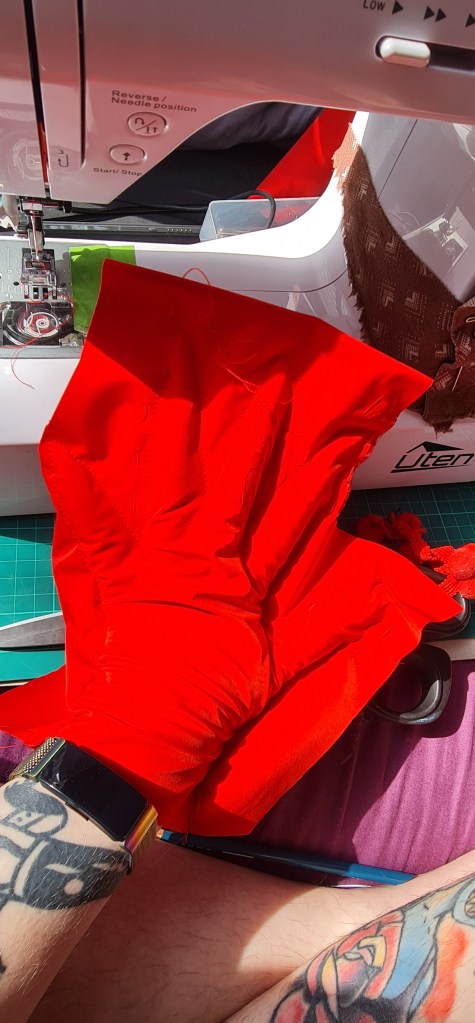
As I didn’t want there to be visible hems on the cape sleeves, I cut out two, stitched around the sleeve upto where I joint the front and back together, and then bagged it out. From there, I stitched the sleeves together, turn rightside out, and voila!
The dress looks ill fitting here – its how ive pulled the dress over, combined with the incorrect undergarments – the stay that was created really changes how this fits.
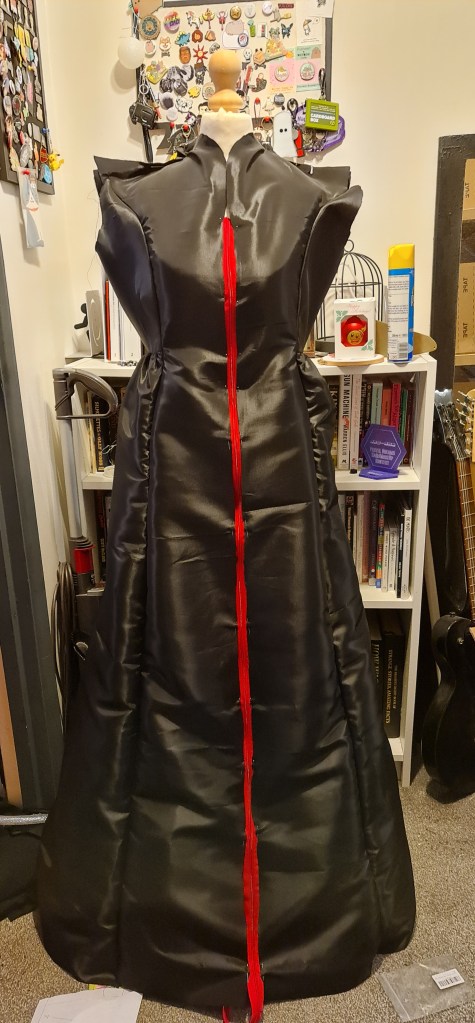
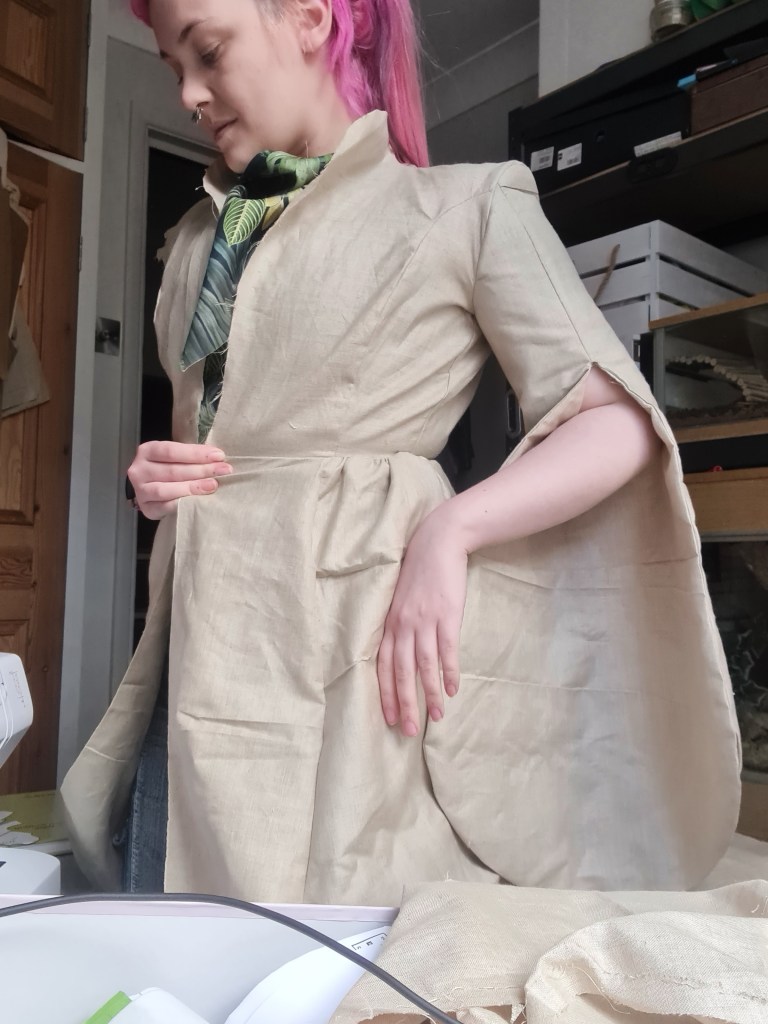
After the toile worked as I had hoped, I then combined my Side front and Side back panels into one piece, that the gathered waist is then sewn onto. I did this to eliminate the side seam, and create one long panel that matches the front and back pieces.
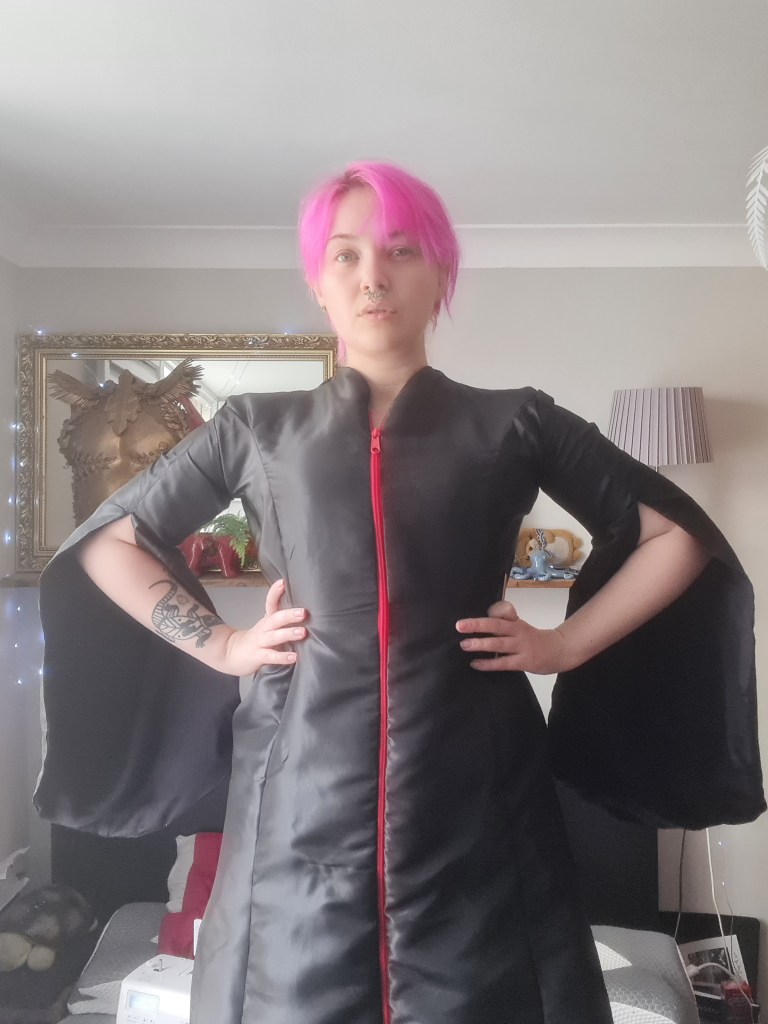
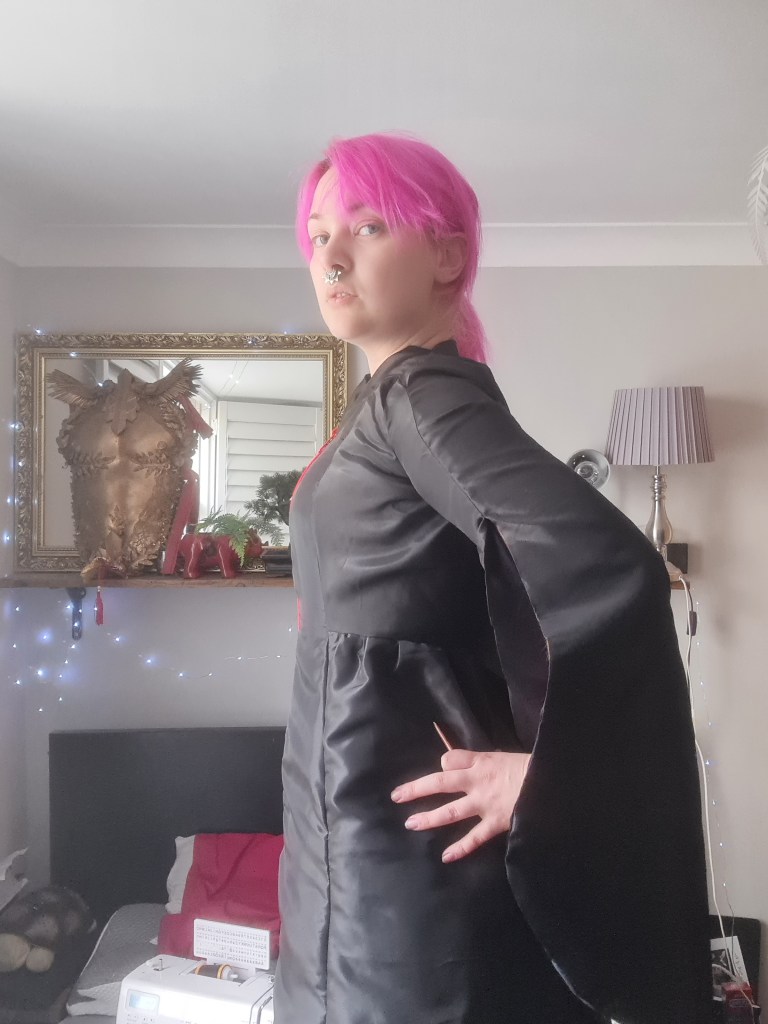
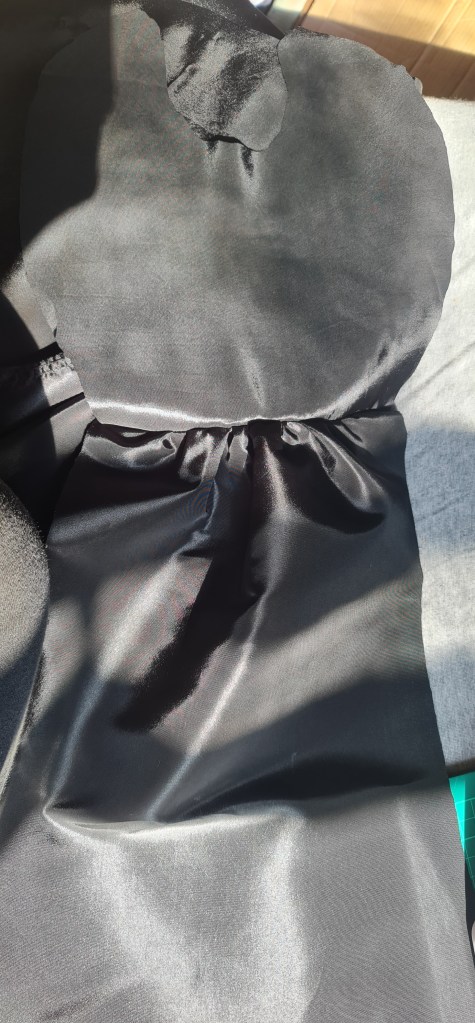
A quick test fit, and its looking good! For the inside of the sleeves, I used a matte fabric, to create a little contrast between the inside and outside. I also thought that this would read better on stage, as the taffeta is quite shiny.

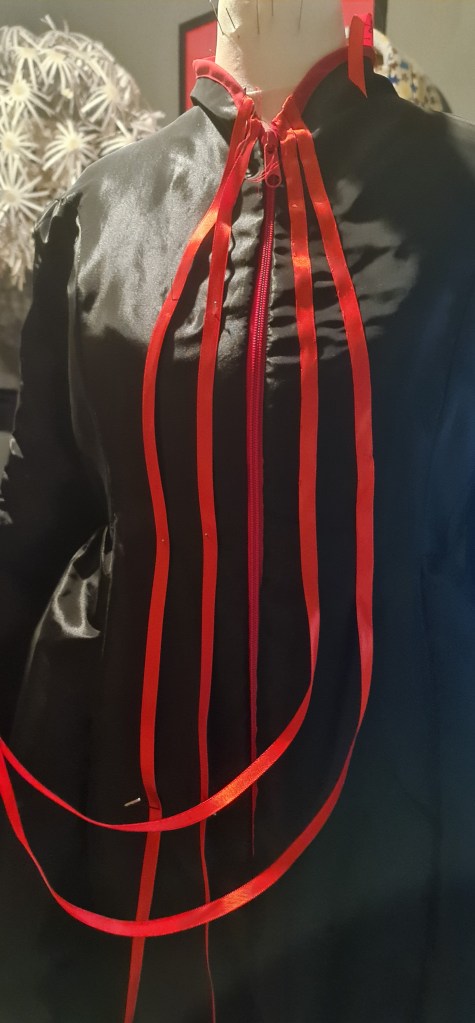
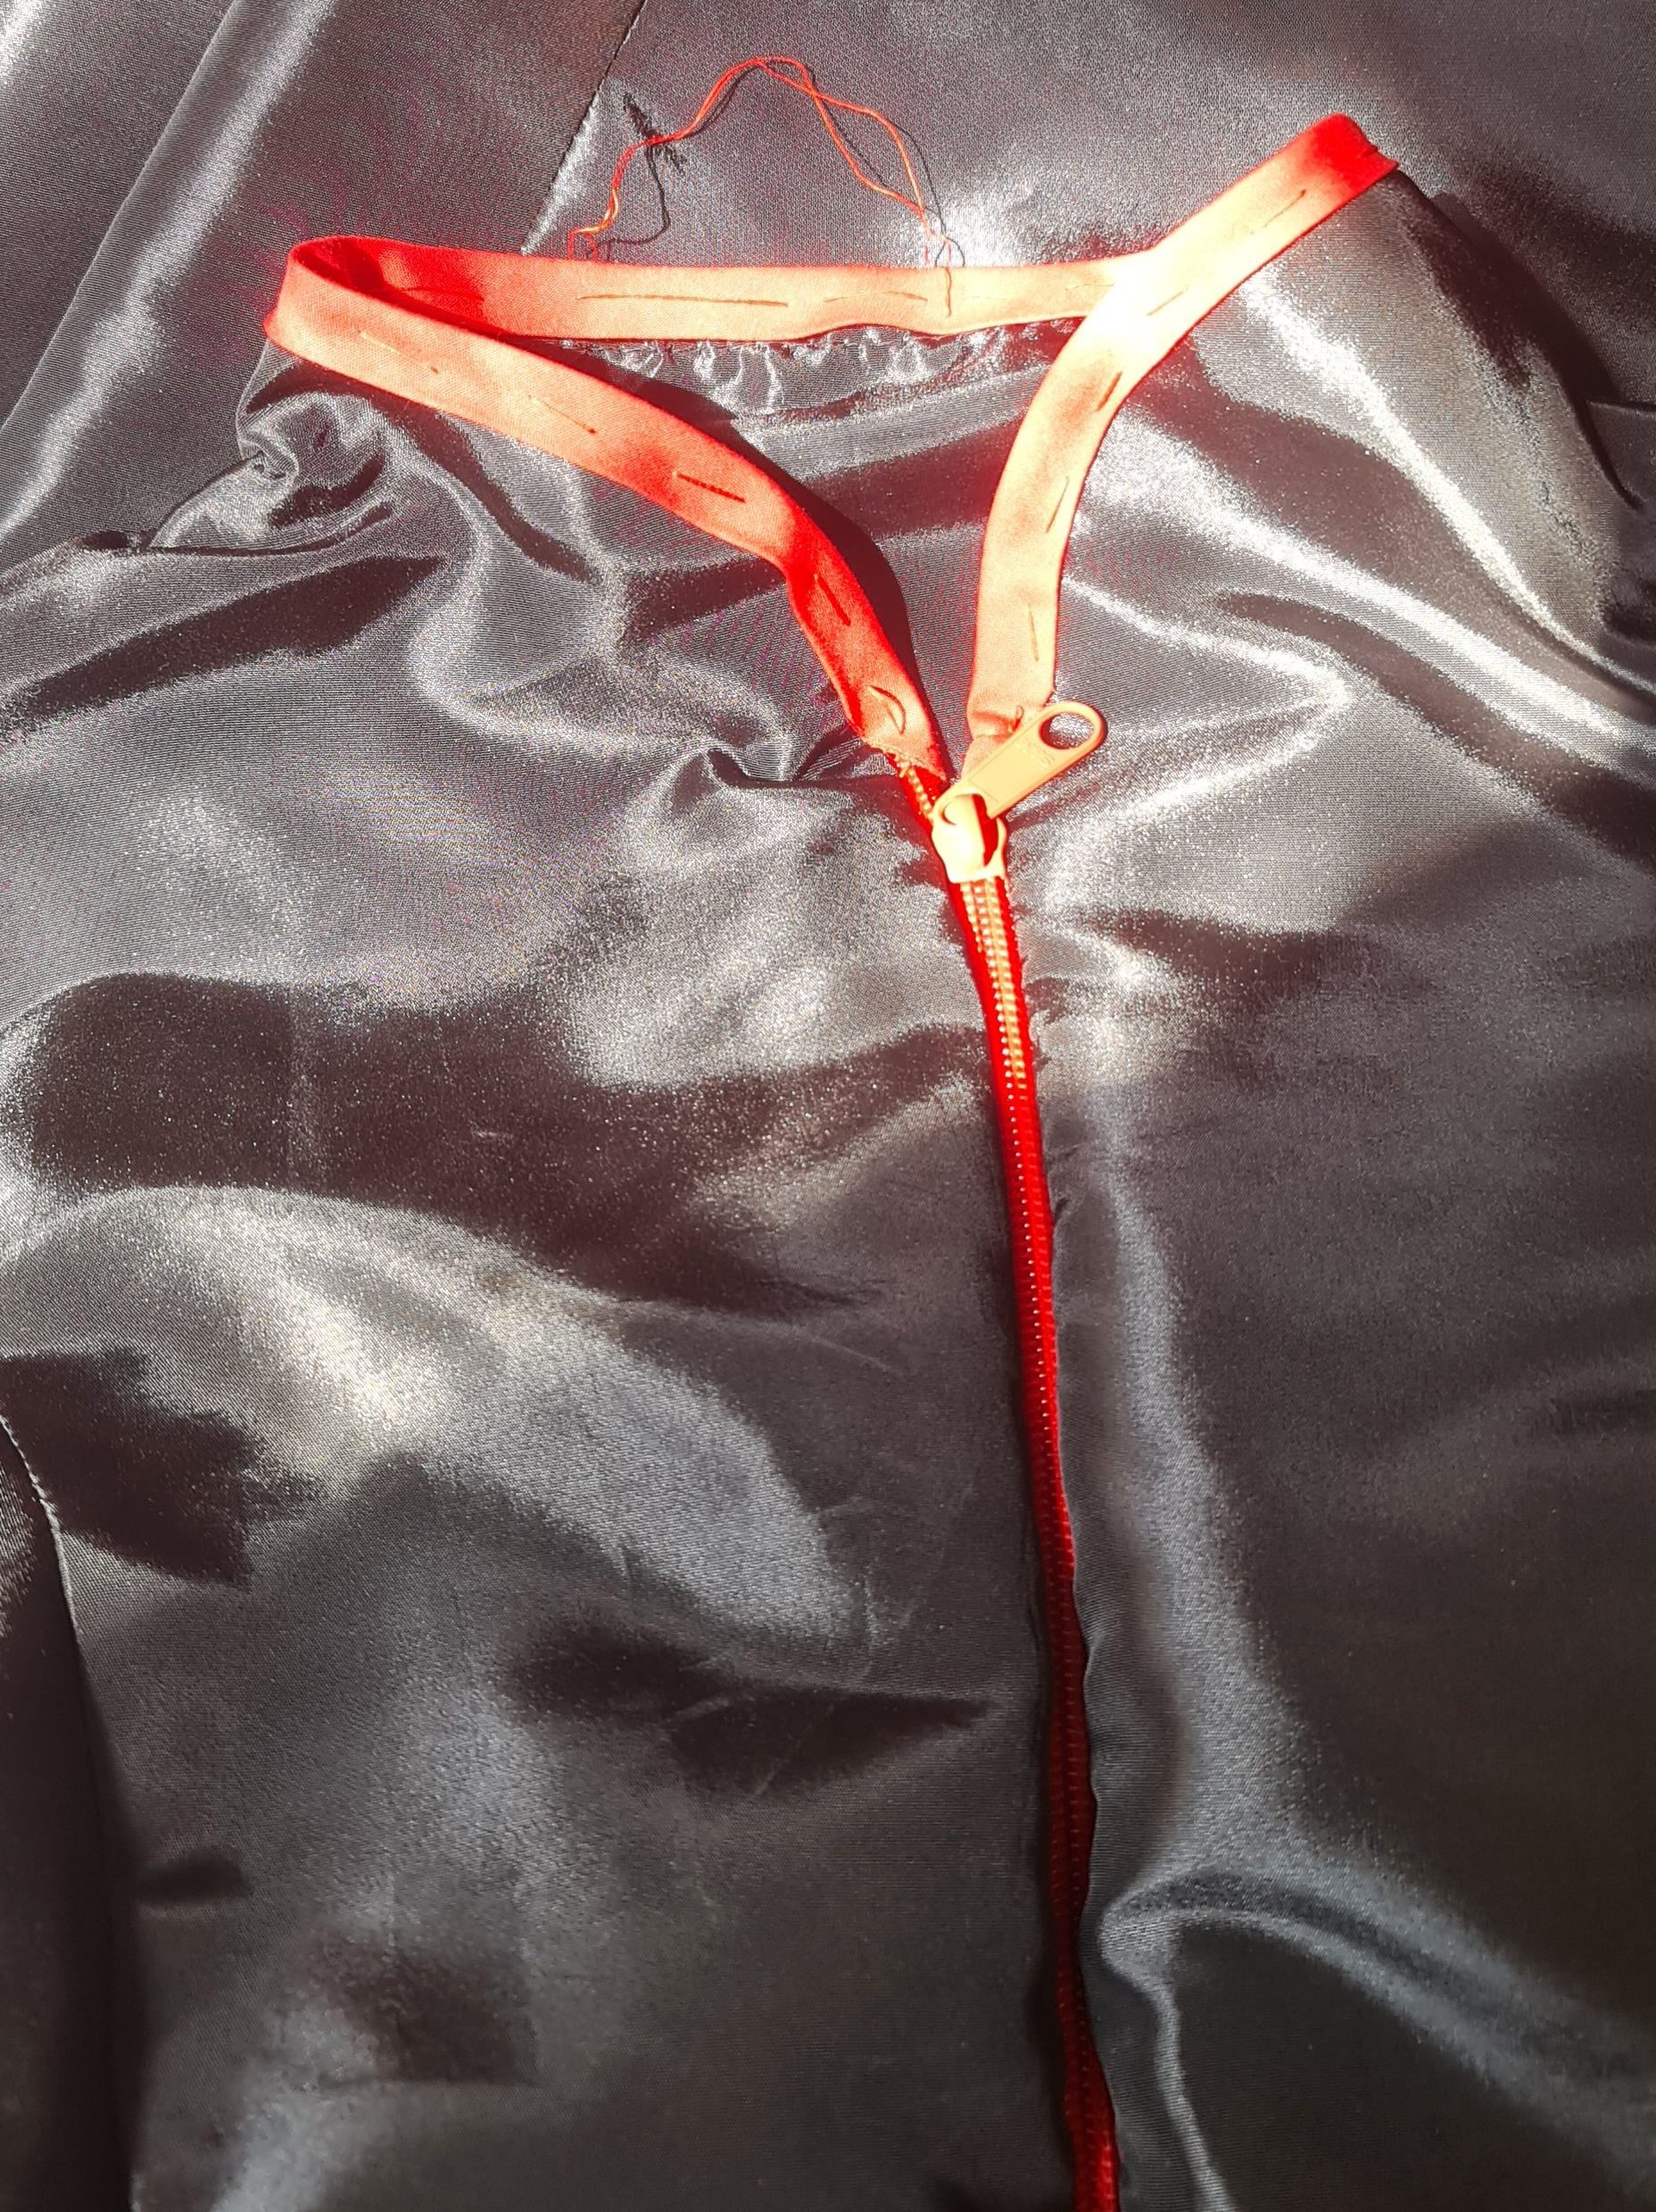
Playing around with placements of the ribbon – I originally was going to leave them completely free flowing, but it did end up looking a little strange, an sometimes would tangle. In the end, I tacked them down to around the waist line, and let them flow freely from there. The effect it creates is lovely, as they all flare out in directions and move a little, without it being too much. I think fully tacked to the bottom would look a little strange in comparasion.
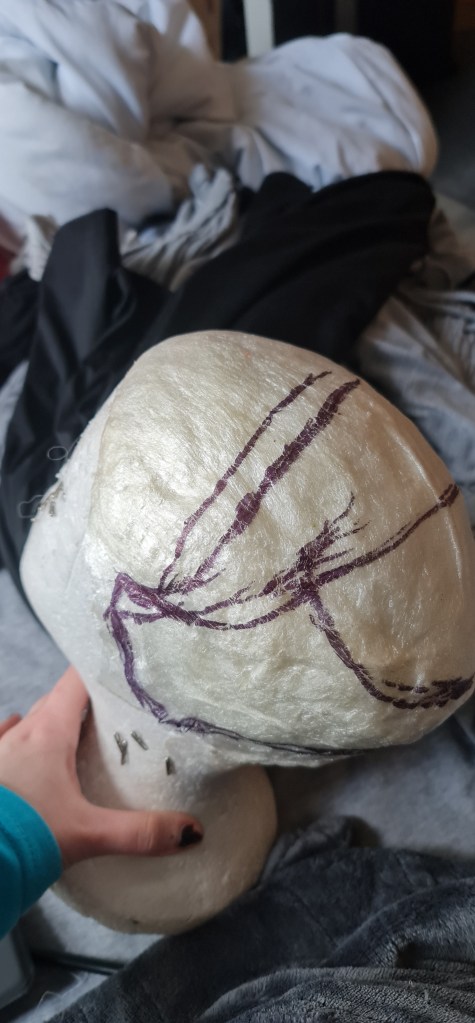
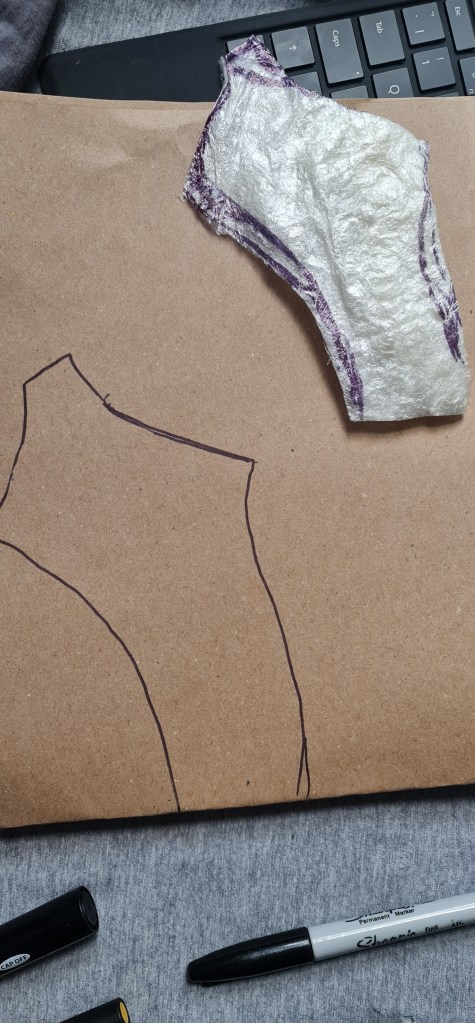
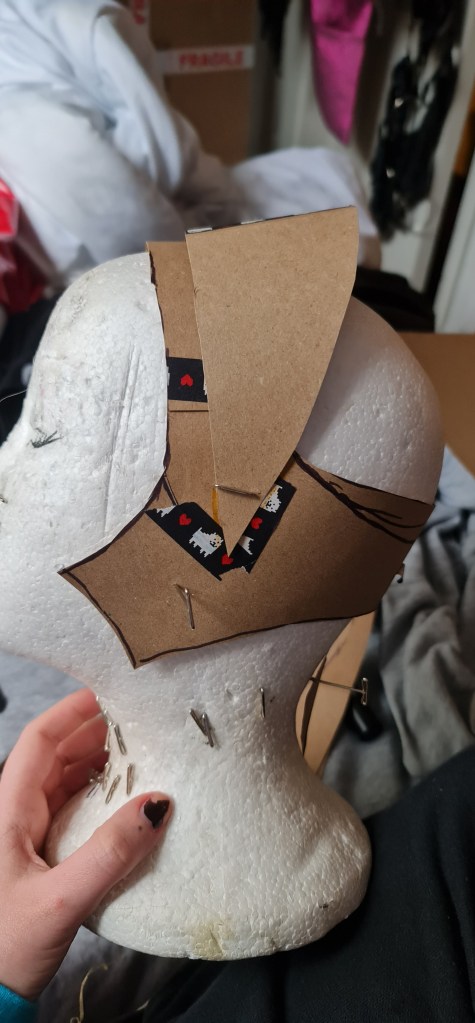
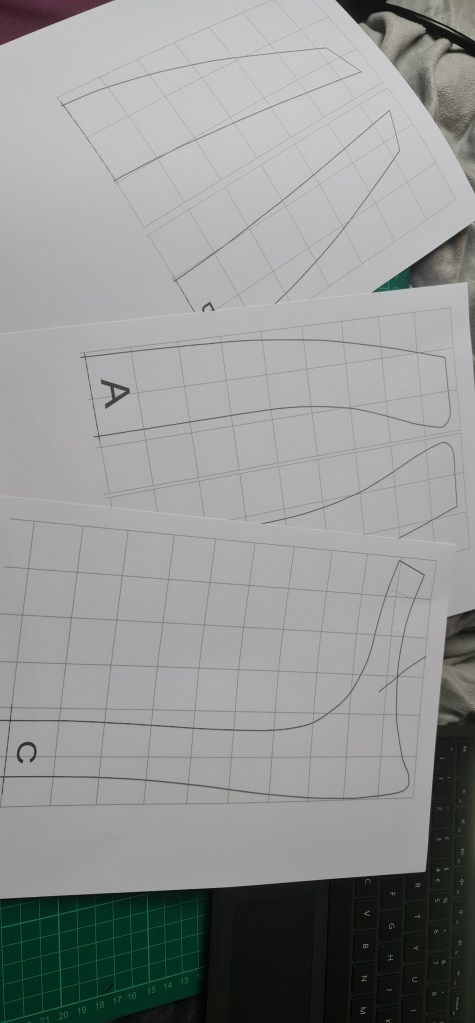
Time to move onto the head piece. I spent ages wrapping my mannequin head in clingflim, and then drawing the shape I wanted, translating it back to paper and then resizing as I liked. All of this work, only to unfortunately lose it! We were in the process of moving house (although that turned out to be a scam, which is a whole other story!) and I think I packed it away accidentally. I turned my sewing space upside down to find it, but no luck, and now time was against me.
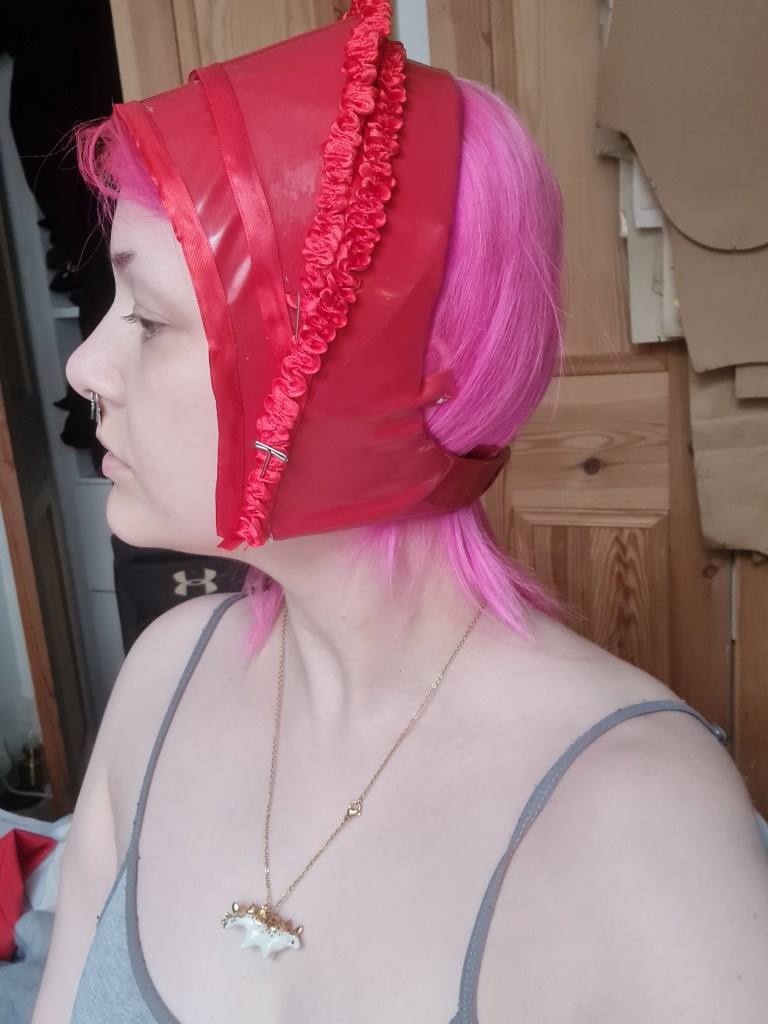
So I ended up using this pattern that I found online. While it’s not exactly the same shape, it is close enough and a more traditional shape than what I had created, so I believe it’ll still look good. I used worbla as a base, and shaped it with heat and moulding it over the mannequin head.
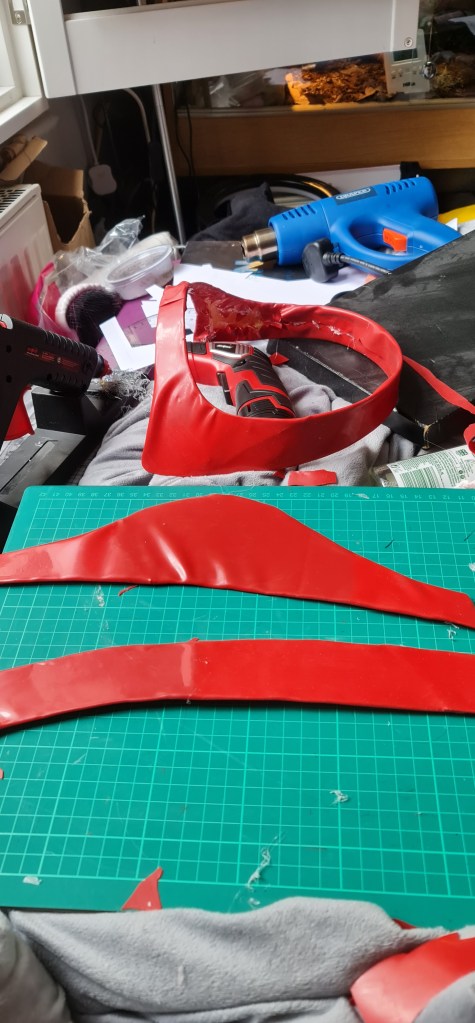
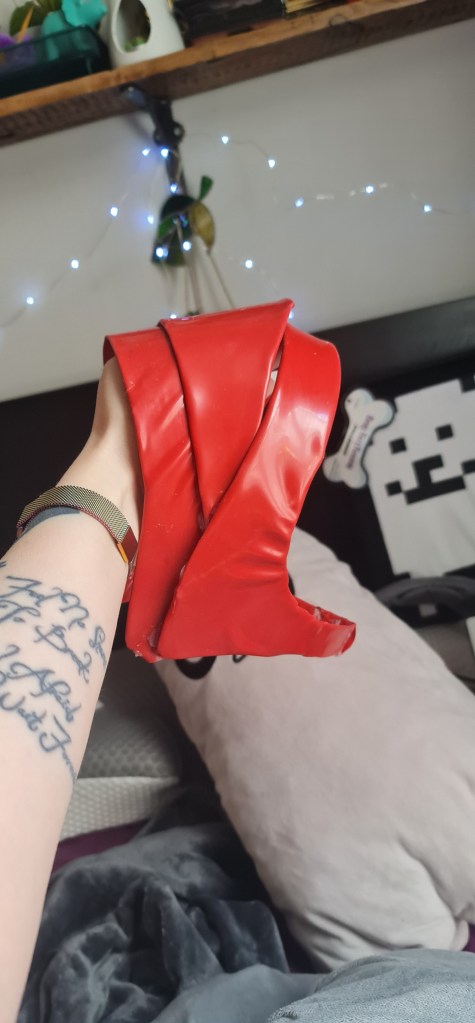
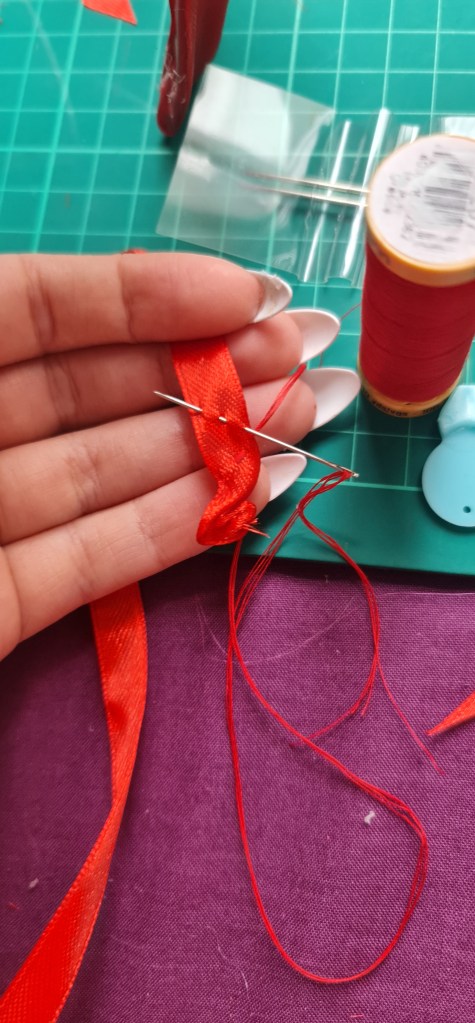
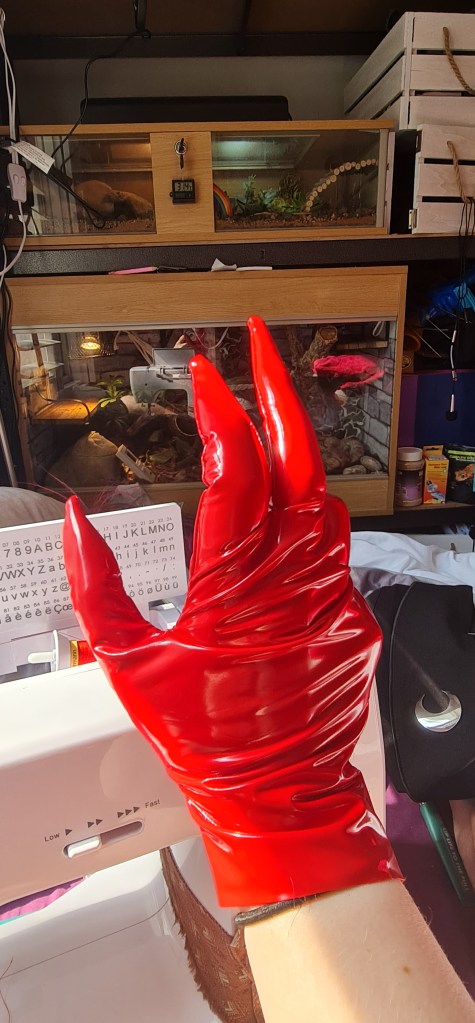
I decided to use the latex I had bought to cover the headdress pieces. From my research, I realised that I could only make fingerless gloves, as the fingers on latex gloves are created in a mould, rather than a typical glove pattern. I coated the worbla pieces, and the middle photo is how they turned out. It looked okay, but just a little too bland, and to me looked a little strange. I added some ribbon left over from the dress, and it was a step in the right direction! I then done this technique that we learned early in our tech skills, to make a little fancier ribbon to put on some of the parts.
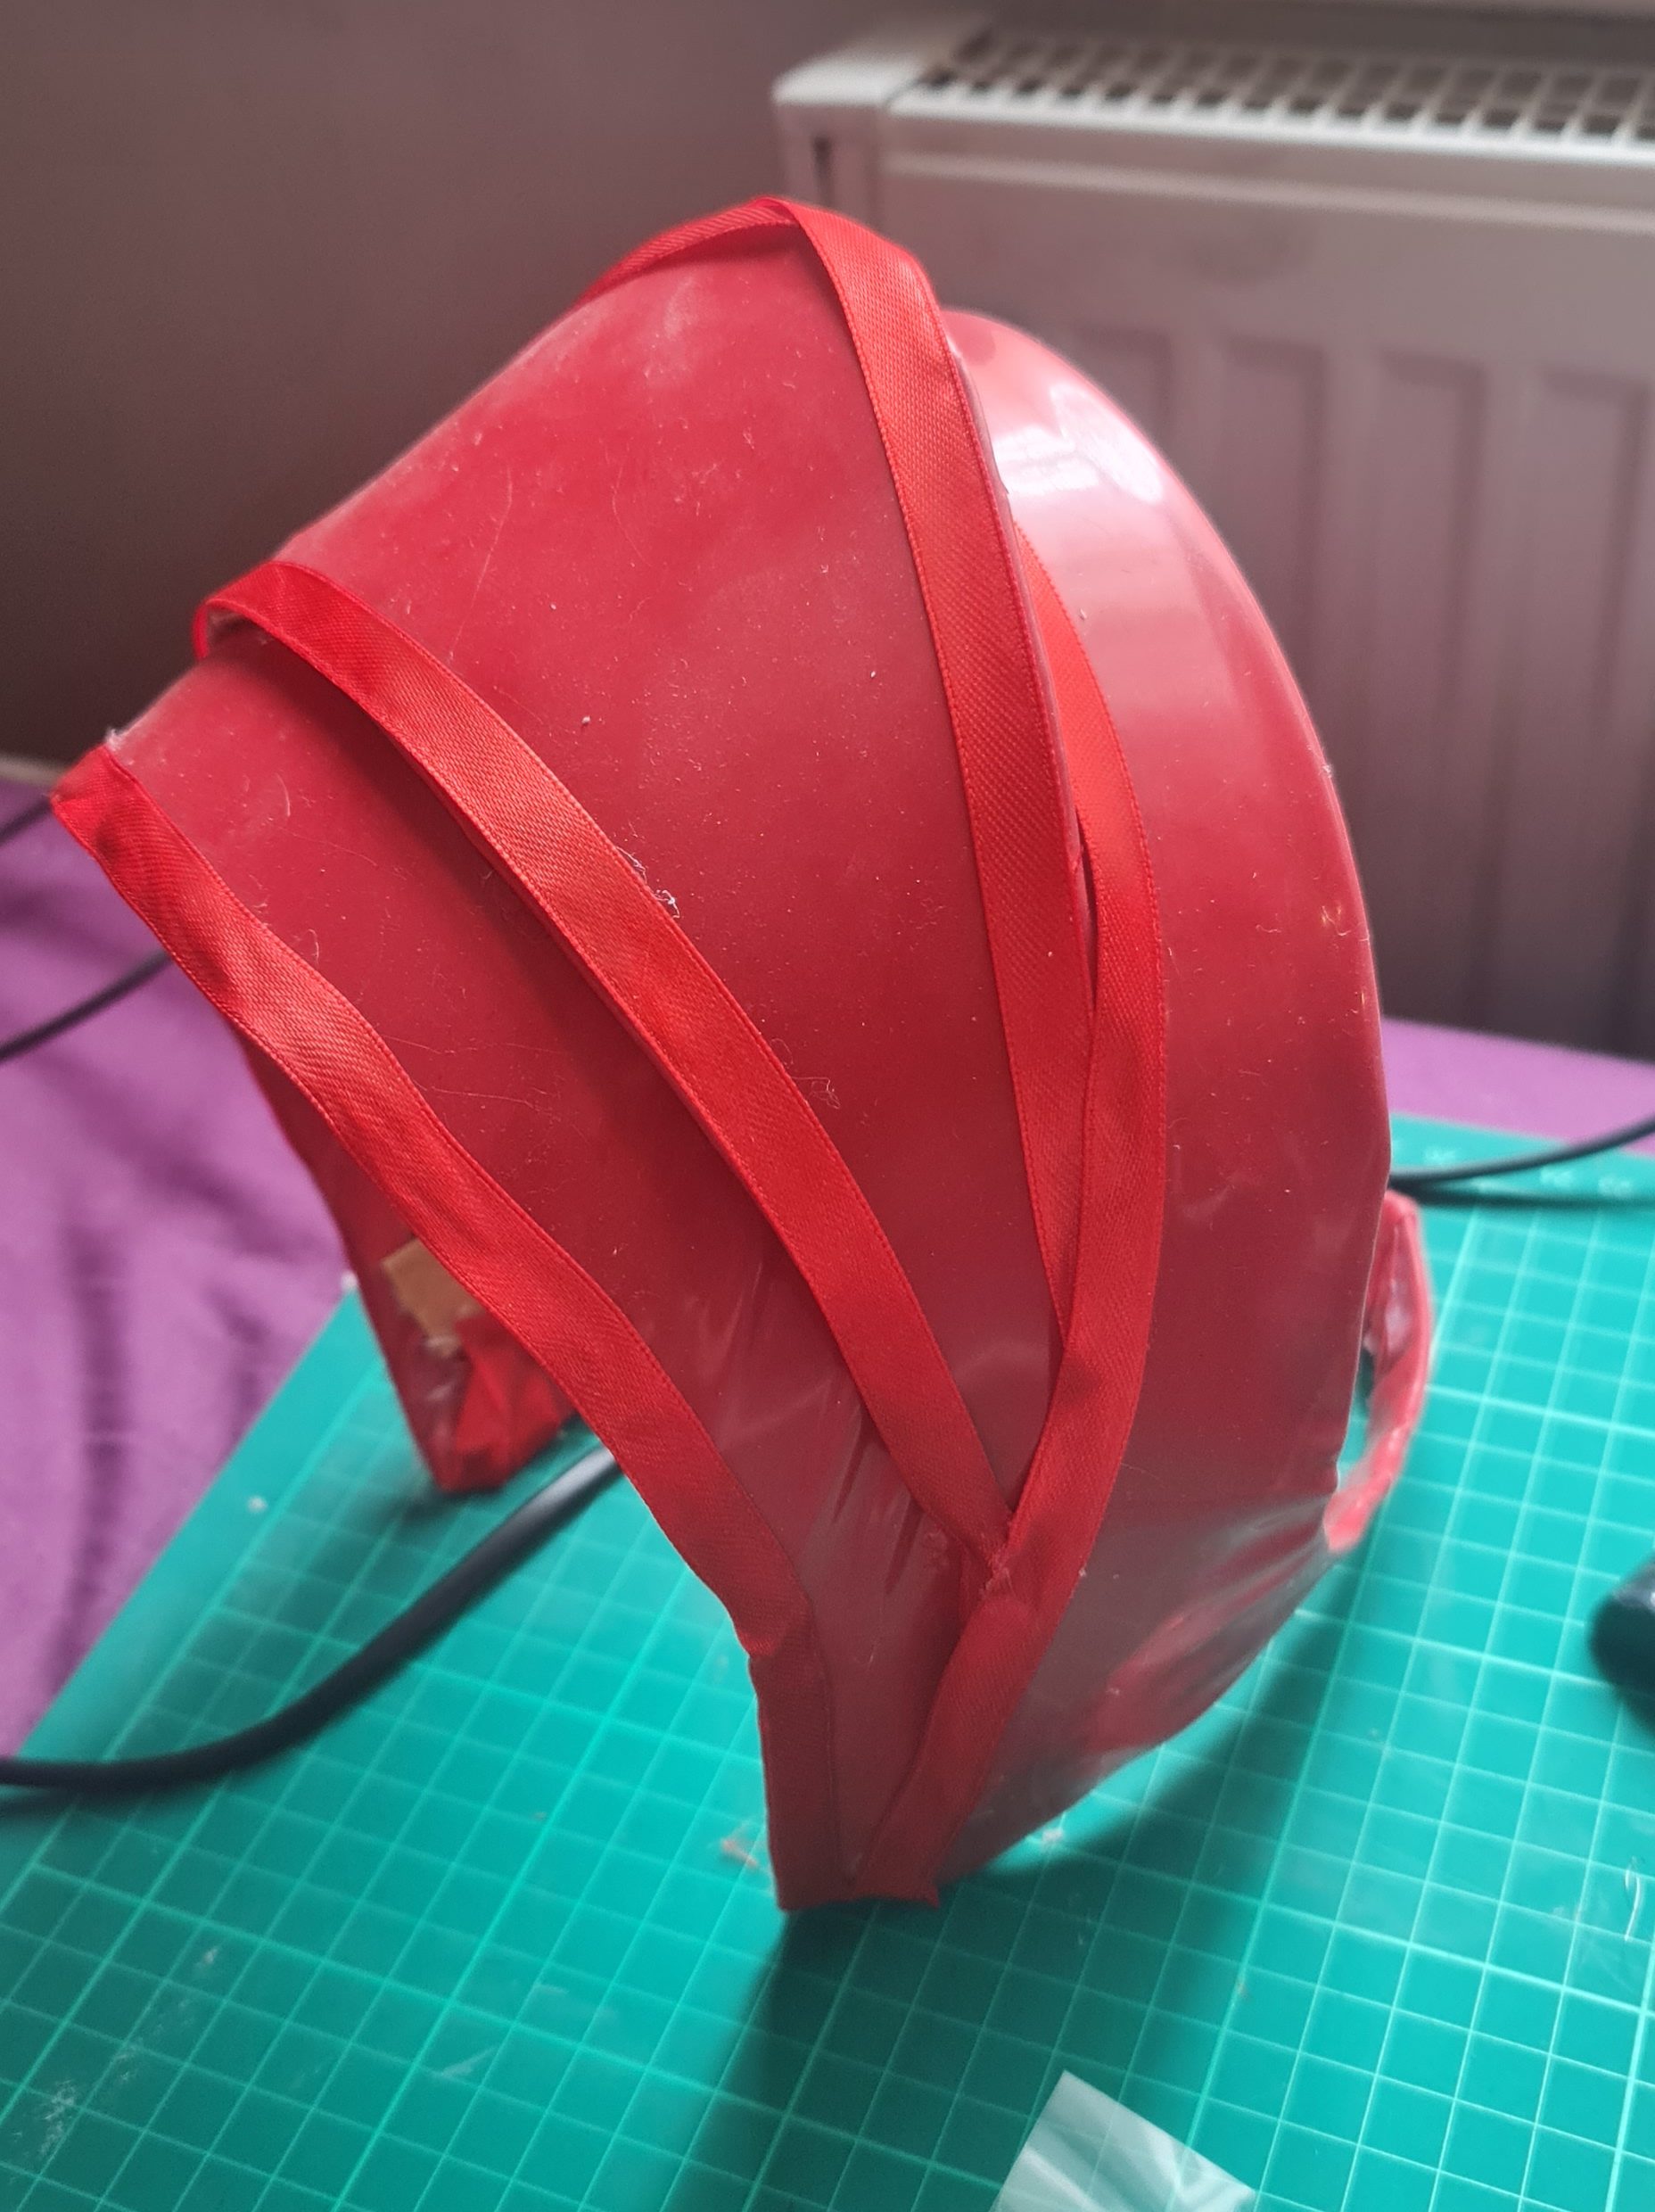

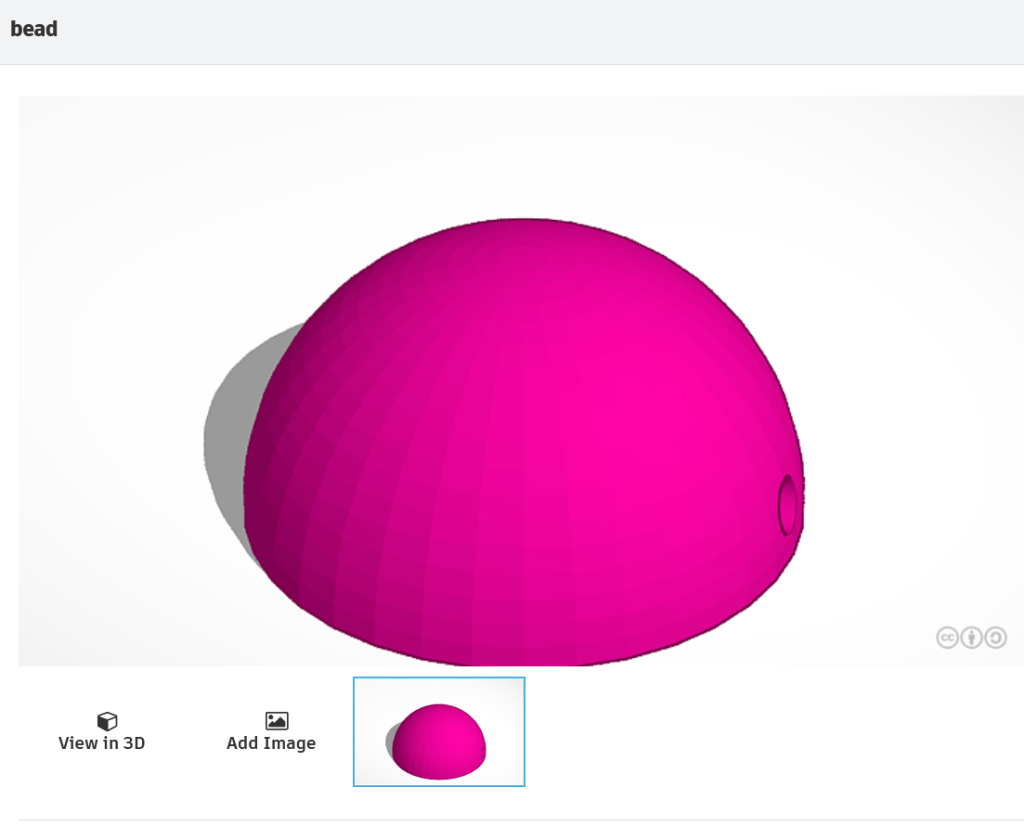


I decided I wanted to make my own beads, as they are just plain black on the reference image. I opened up tinkercad, and made a simple half dome shape, with a tunnel towards the bottom so I can stitch them though. I then 3D printed them, and spray painted them black! I made them 1cm x 1cm, so they would be the same size as the decorative ribbon.
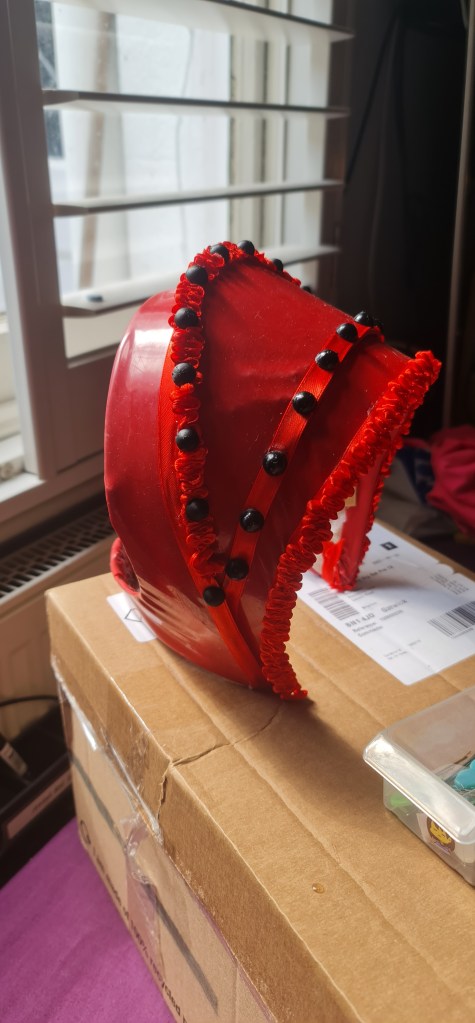
Much better looking – Now for the gloves!
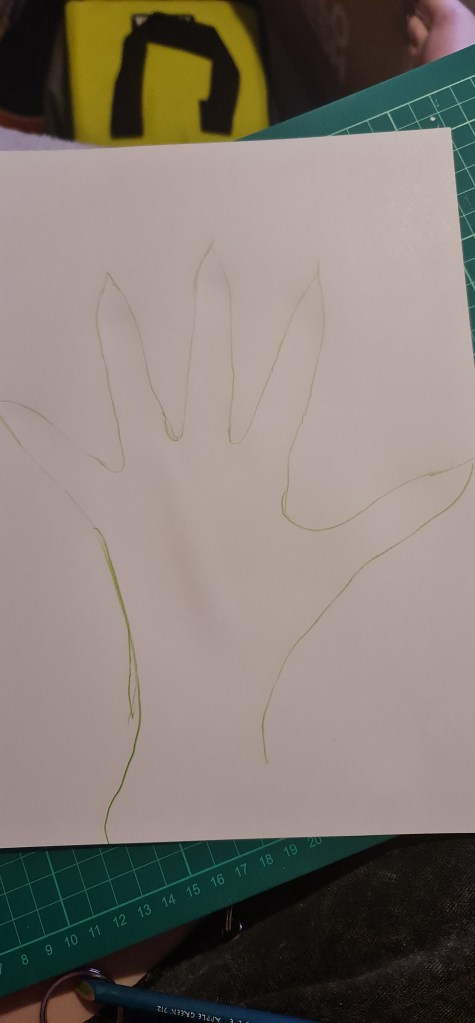


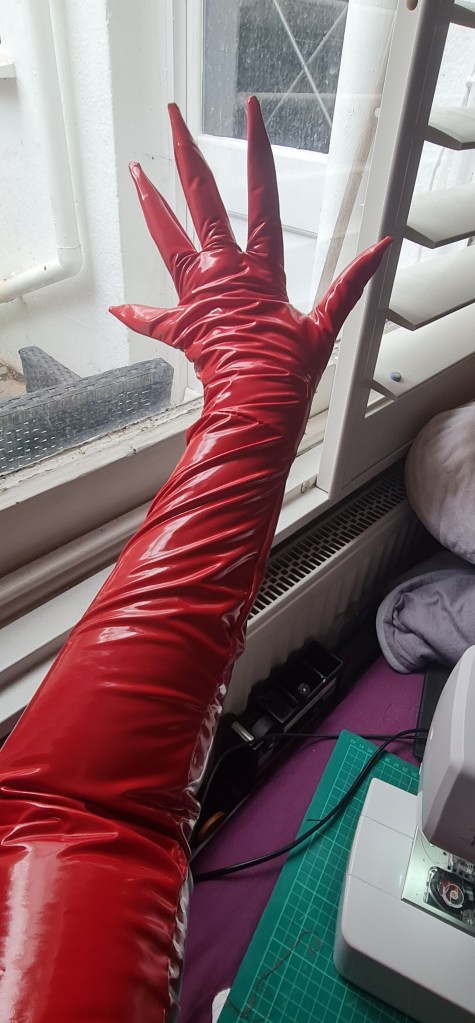
For the gloves, I used the PVC instead of latex. After talking with my tutor, and doing some reasearch, there is a couple of reasons why. One being that there are quite a few people with a latex allergy, and two being the style glove that I wanted, the fingers needed to be moulded, which wasn’t an option availble to me. I found 4way stretch thin PVC though, and I love how this looks. It ends up twisting and gnarling around the arm, which I think looks suitably witchy.
I chose to do the hand and arm seperately for a couple of reasons – I wanted it to all be on the fold originally, but it meant I couldnt space the fingers as I wanted. I also wanted as litle seams as possible, so I didn’t want long seams on both sides of the arm, and lastly, I had to cut smart with my fabric – I only had half a meter, but it was 150cm long, so I folded it for the arm pieces, and then used the bottom square for the gloves. It worked out in the end!

Heres the gloves! While I am happy with them, there is definitely a few changes I would do for future use – They are tricky to put on and off, espesically quickly, so it would be no good for a quick change performer. To rectify this, I would put and invisible zipper into the inside arm, shown in the the second picture.
Gloves done now onto the makeup and hair styling!

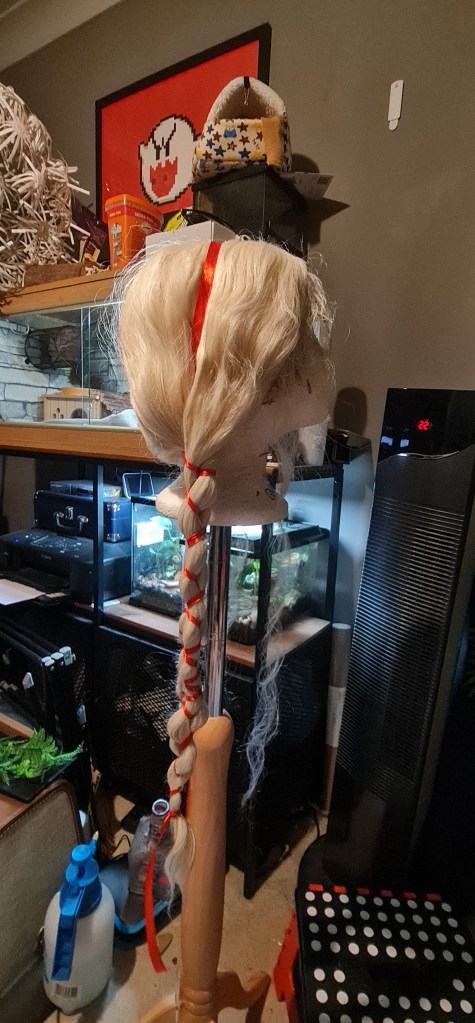
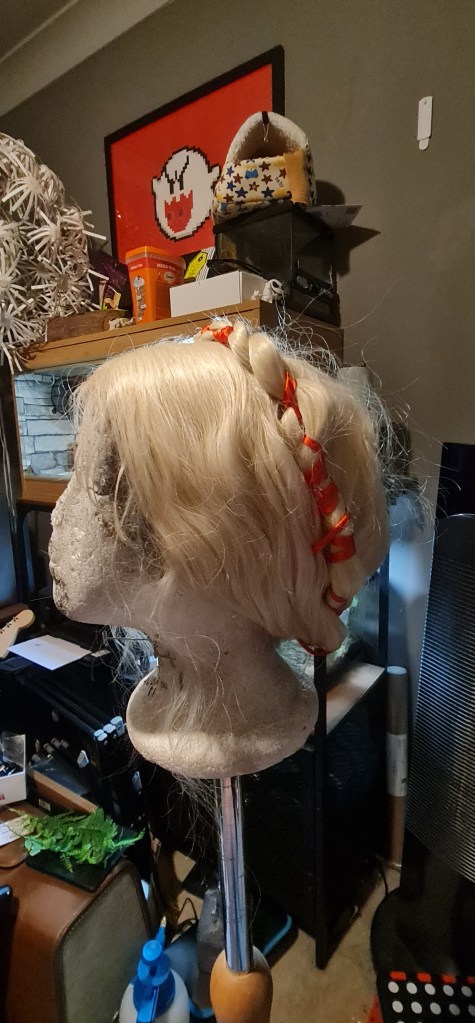
I had a blonde with ready to style up – The design doesn’t really show much of the hair, just that it’s blonde, and looked tied up. I found a great tutorial online while doing research that showed how peope would have tied their hair up in Tudor paintings – Hair ties as we know them today wouldnt have existed, but lots of people made use of ribbon!
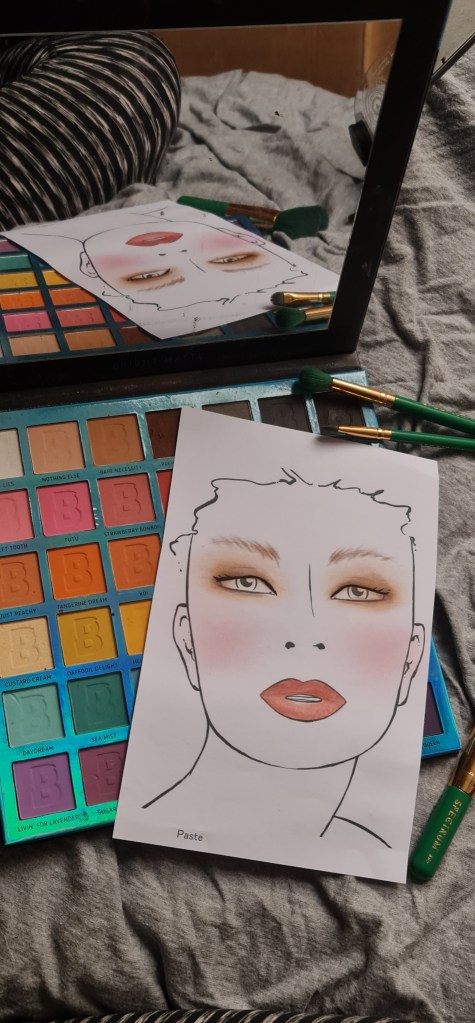

Makeup chart and makeup test. Wanted it simple as there is not much makeup on the original picture
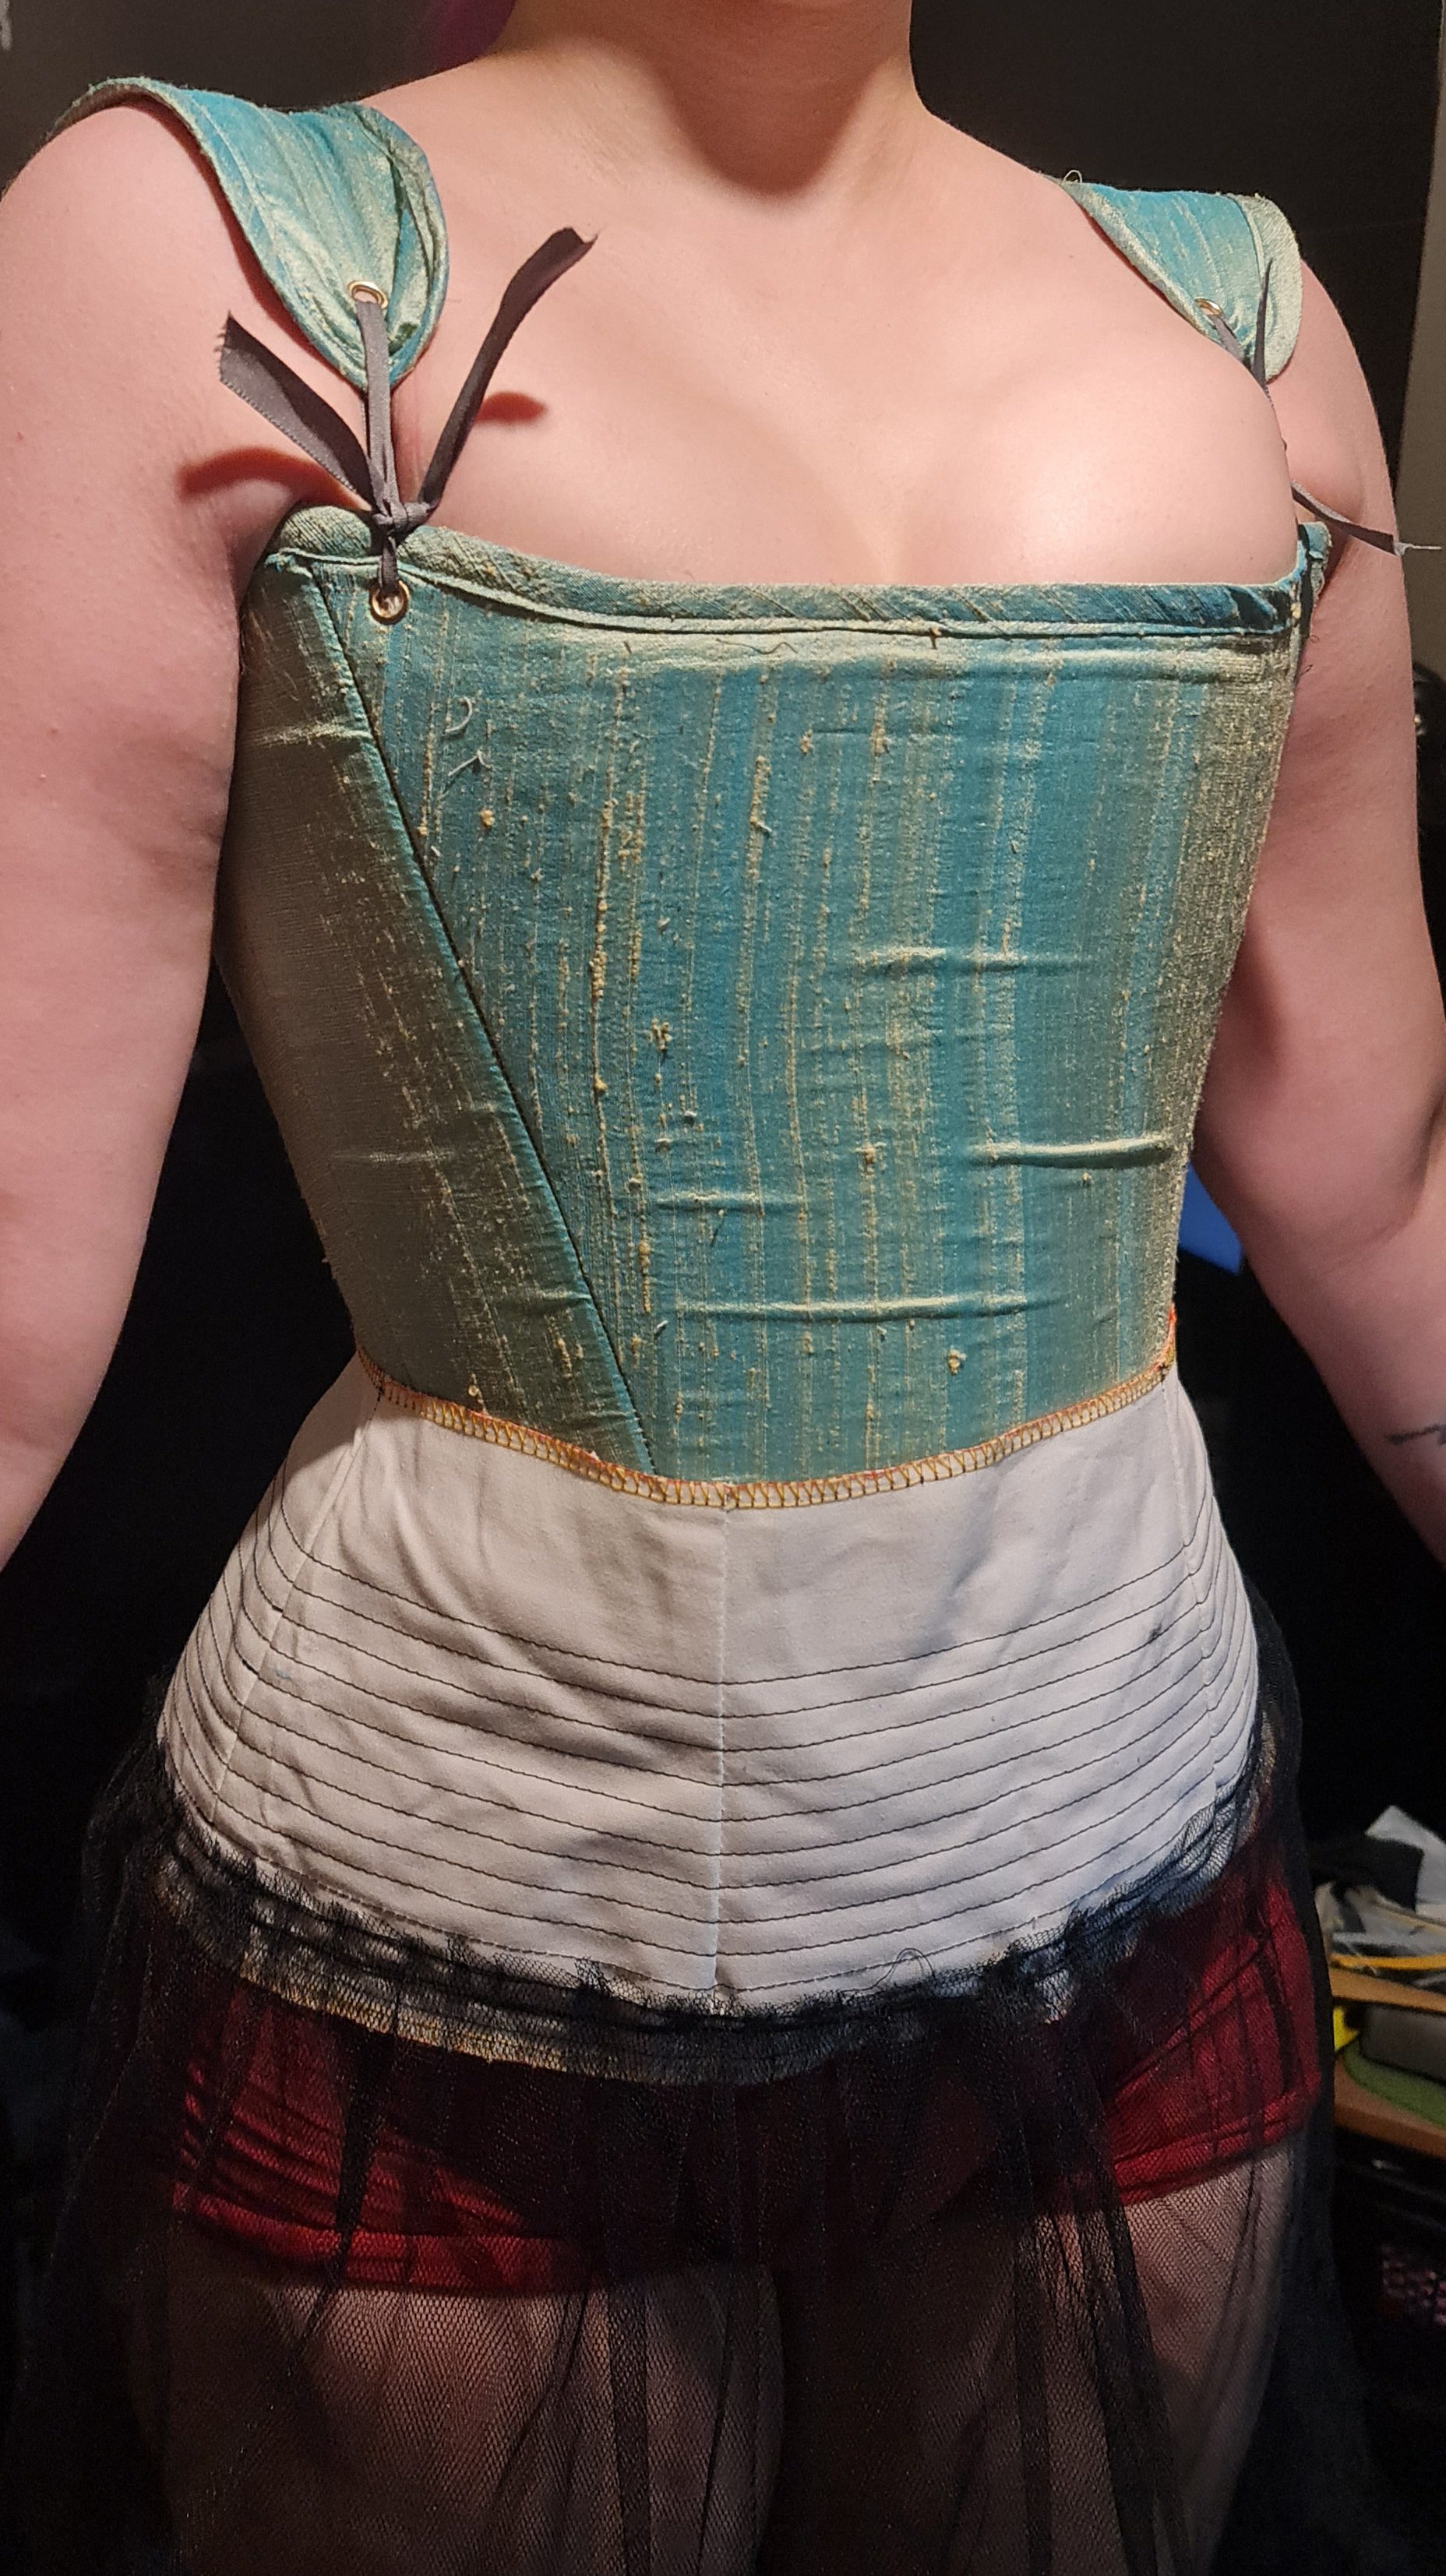
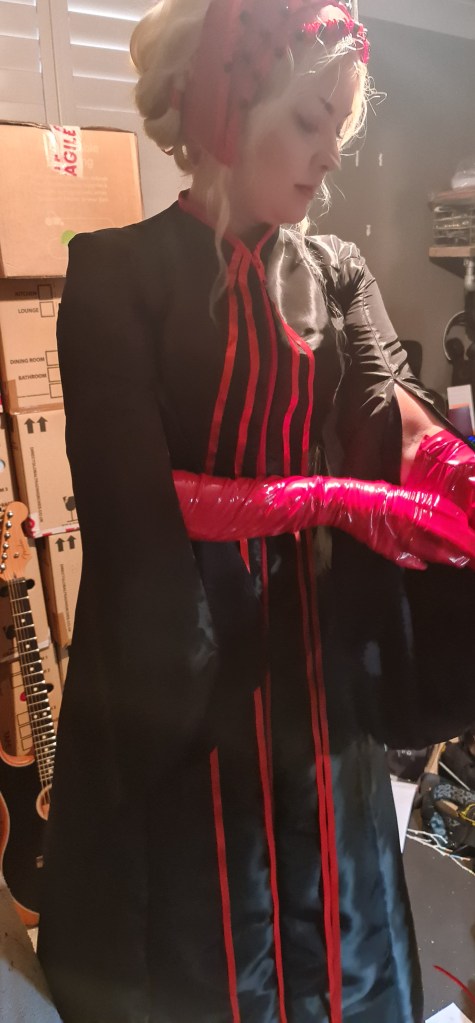
Little test run – you can see how the right undergarments really changes how it looks. It needs an extra press on the front.

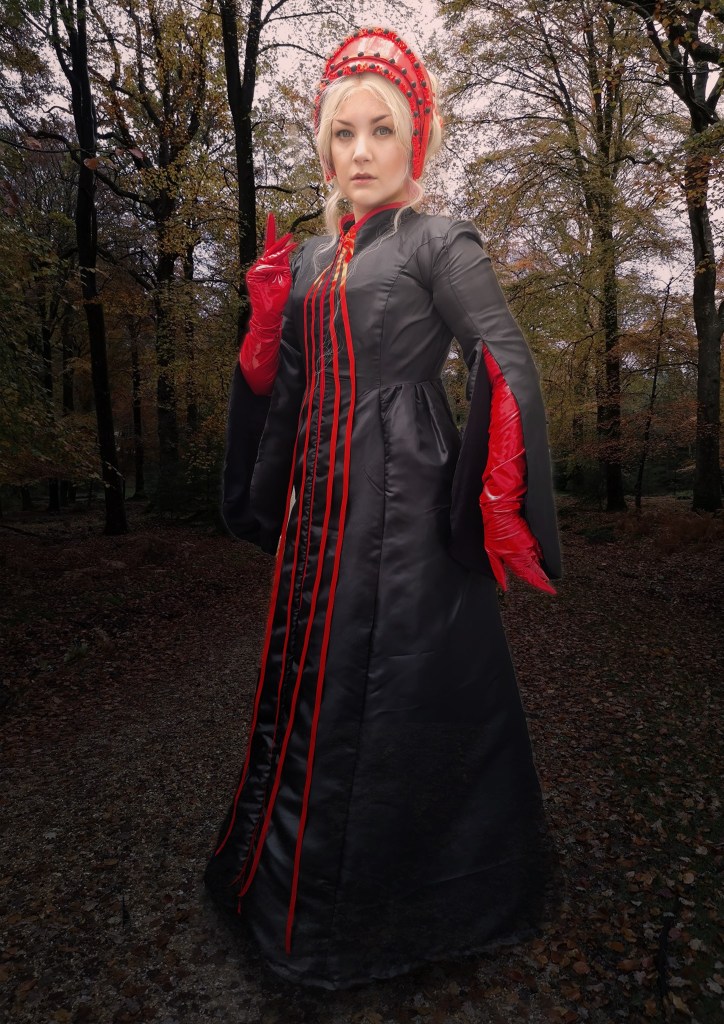


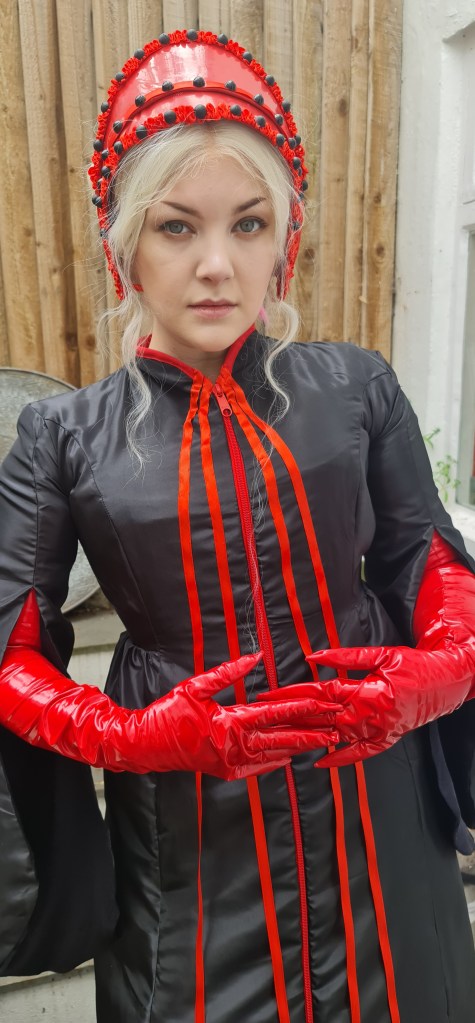
And there is the final results! Overall, I’m pretty happy with how it turned out, and I do think it represents its source materials. The taffeta ends up looking quite slick, and I joked about how I look like I’ve made a Handsmaid Tale outfit combined with The Matrix. If I could do it again, I would maybe try a more matte fabric to see how it looks against the PVC and latex. I love the full length zipper for the middle stripe – it worked better than I imagined. I definitely would make the arms a little wider, and add that zipper in for the gloves. I would retry the headpiece with PVC as well, as I think that would be easier to work with than the latex, but I wanted the experience working with latex.

Leave a comment