Here I go sewing again… The tech skill this time is the tudor bodice! This would be worn over the stay that was made in the previous post. I have fallen in love with Tudor fashion turning this unit – its so fun and flirty, espeically compared to Victorians later. Couldn’t imagine wearing this day in day out though! I was tired after trying it on. Interestingly though, I found it more comfortable than a modern day bra. With my condition, even with proper sizing, the combination of thin straps digging into my shoulders and collar bone alongside the metal boning sitting on the ribcage, it can really cause a flare-up, leaving in pain for days. Ridiculious really. ANYWAY ONTO THE BODICE!
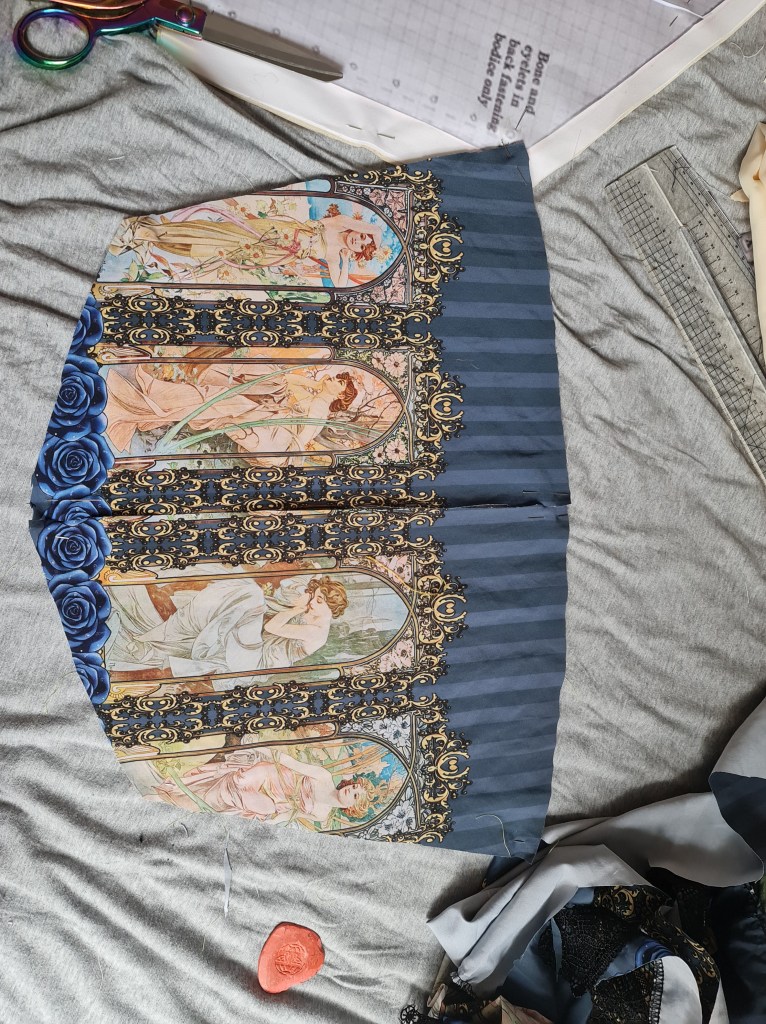
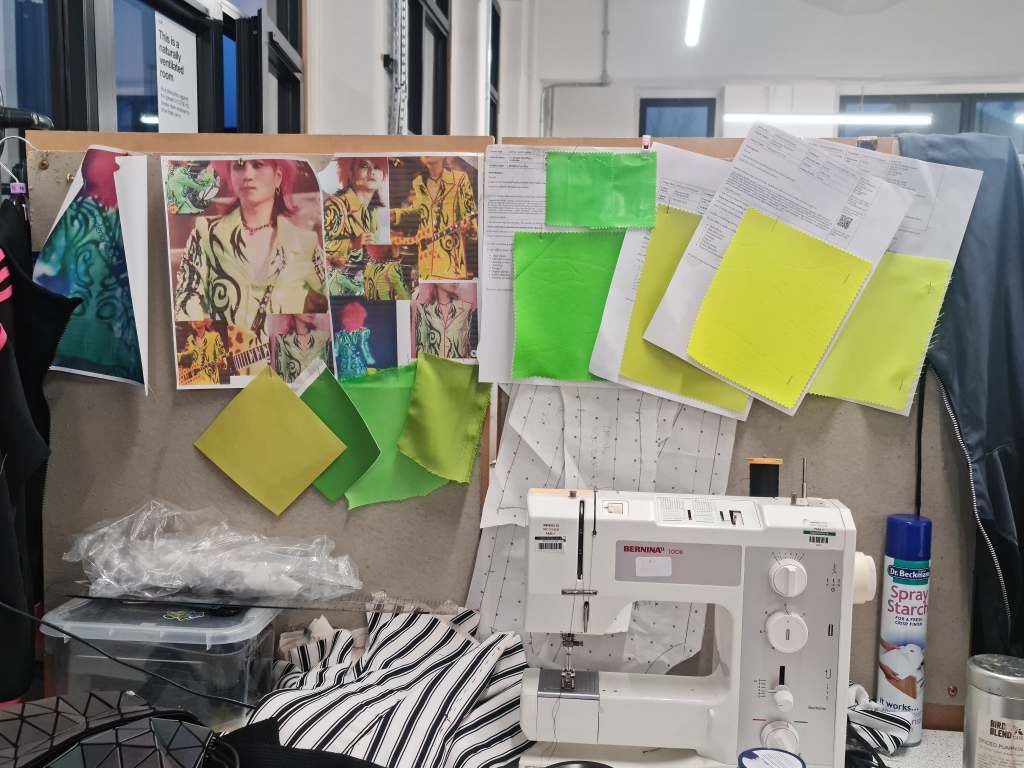
Working with this top fabric really helped with my mood – It was so pleasent to look at, that it pulled me through. I have been struggling hard with the latest lockdown, and overwhelmed by many things in my personal life. One look at this fabric though and I’m excited to create again.
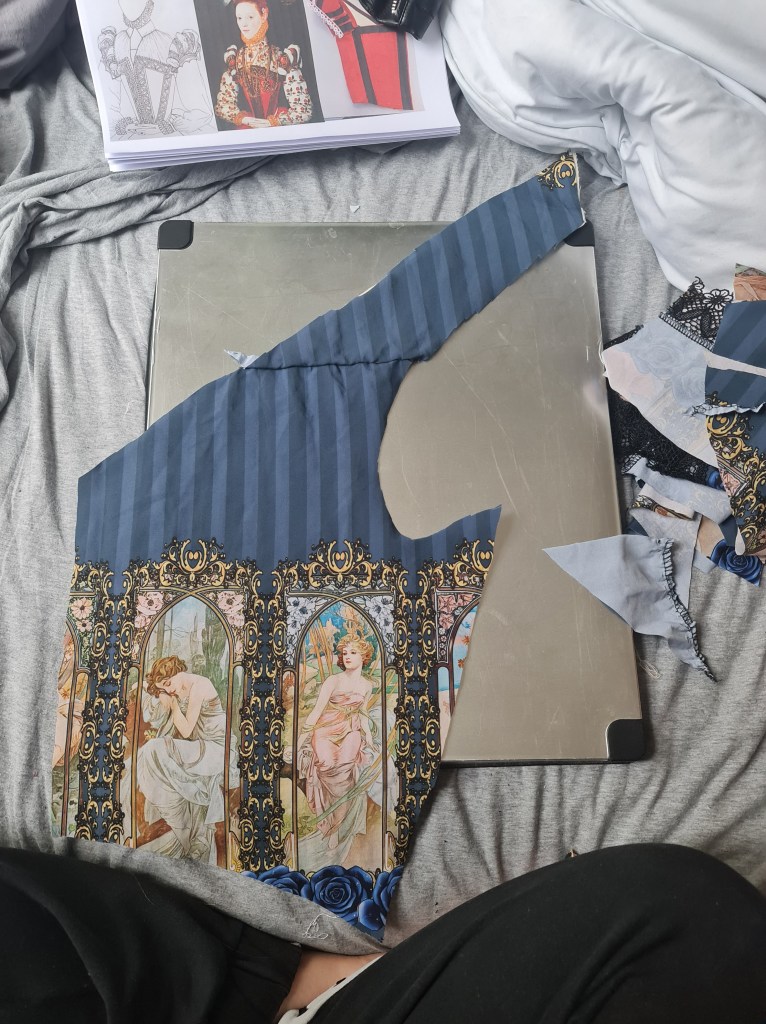
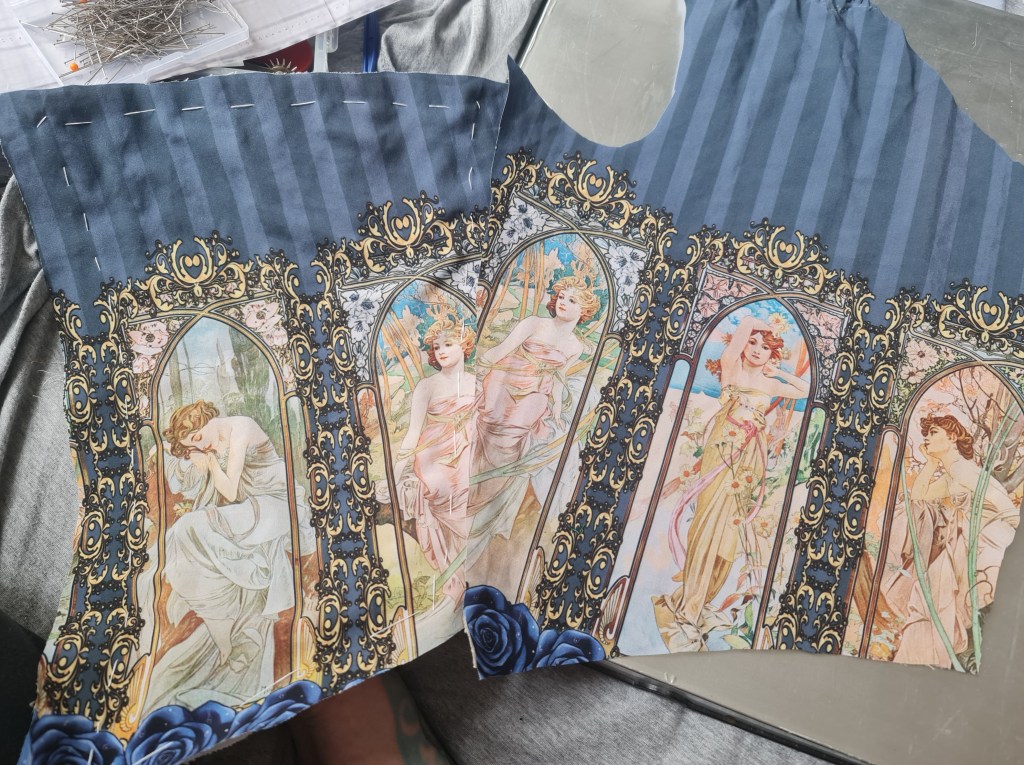
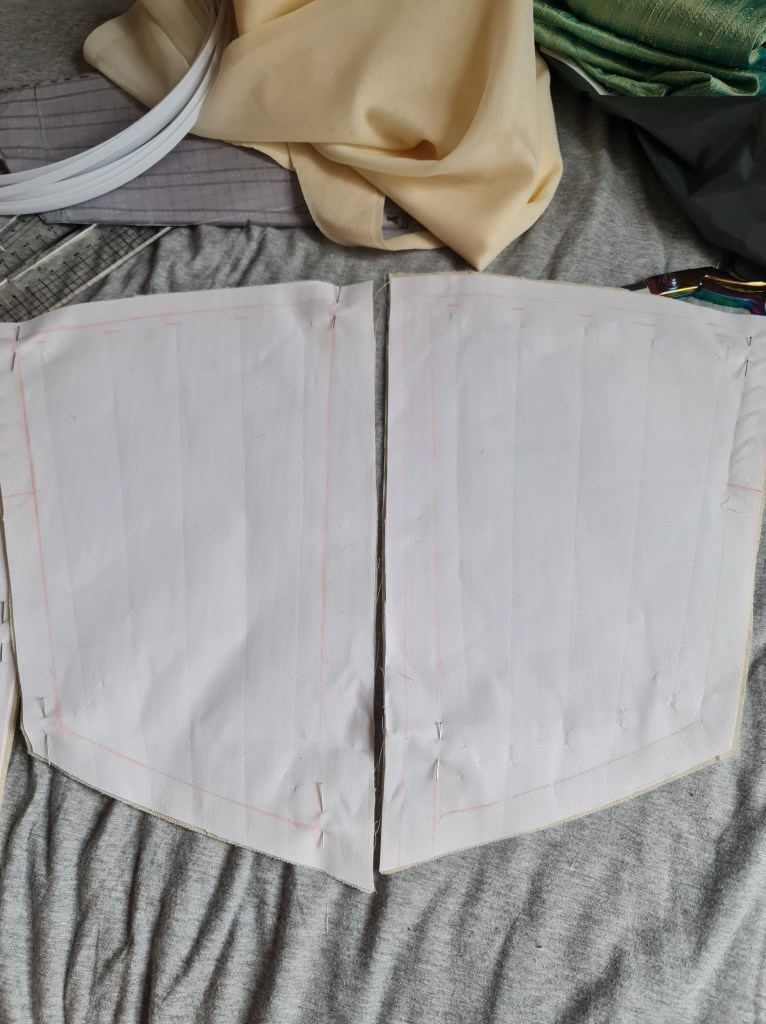
I did really try to line up the side panels, but alas, it was not to be. I don’t mind though – it’ll be mostly hidden by arms anyway!

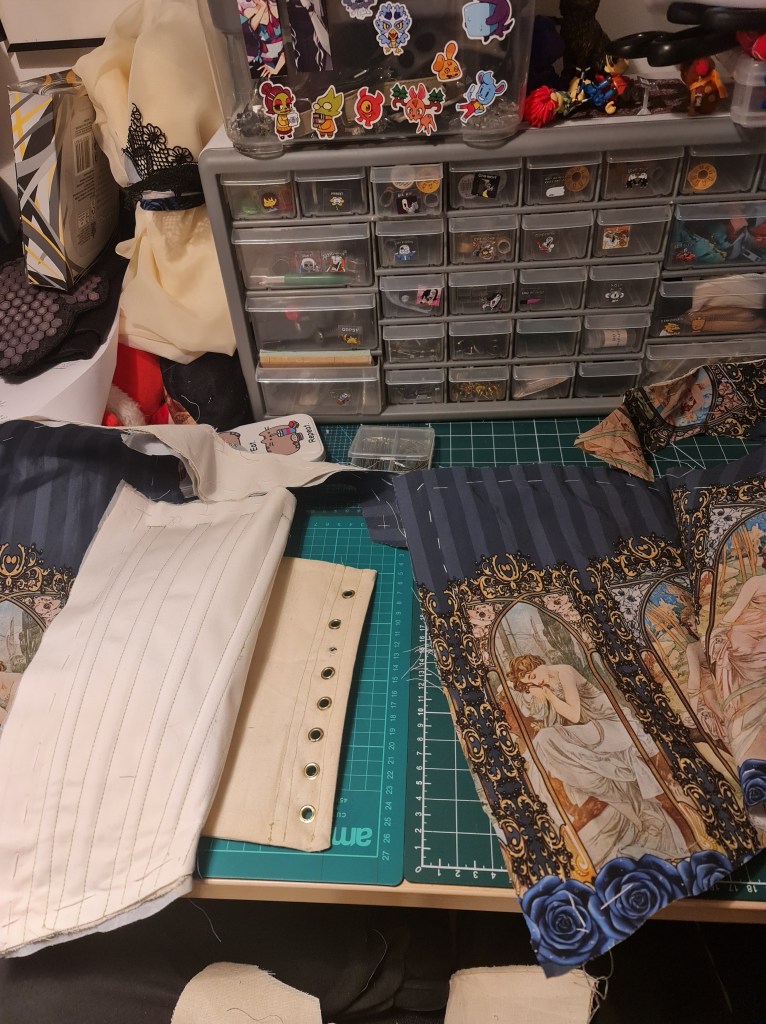
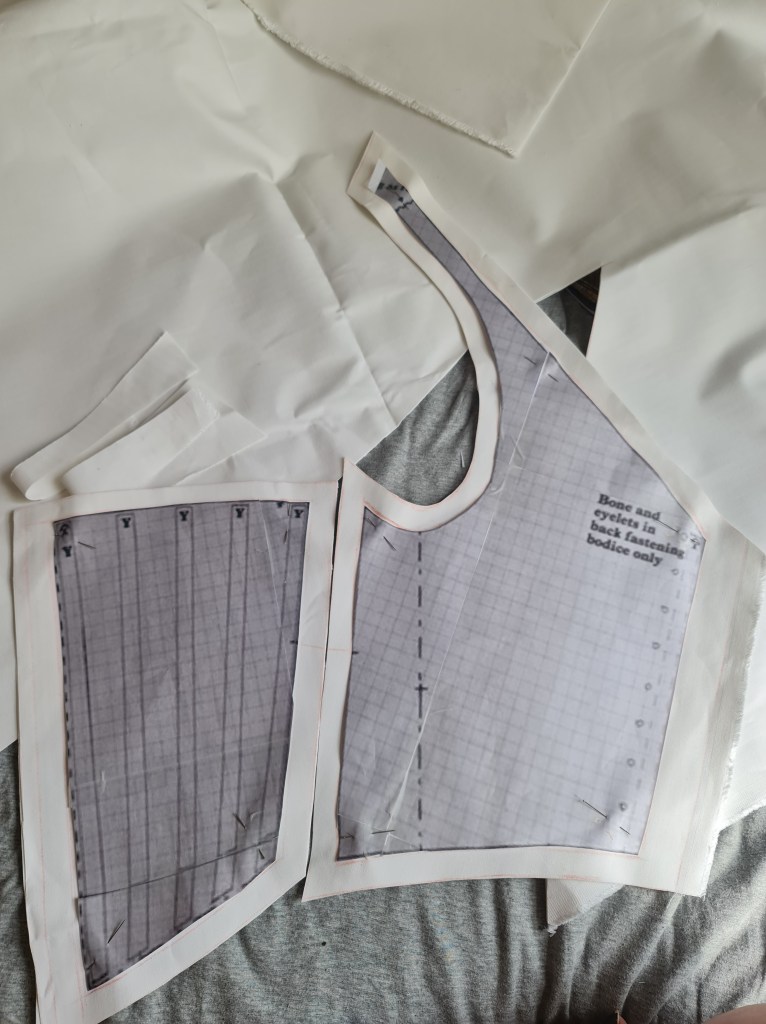
With the pieces tacked together, sewing it together was honestly a piece of cake. I think it felt so easy, because its just 4 panels (or 3 if you remember to cut the back on the fold…) and there is no mean curve. I’m looking at you, Victorian Bodice.
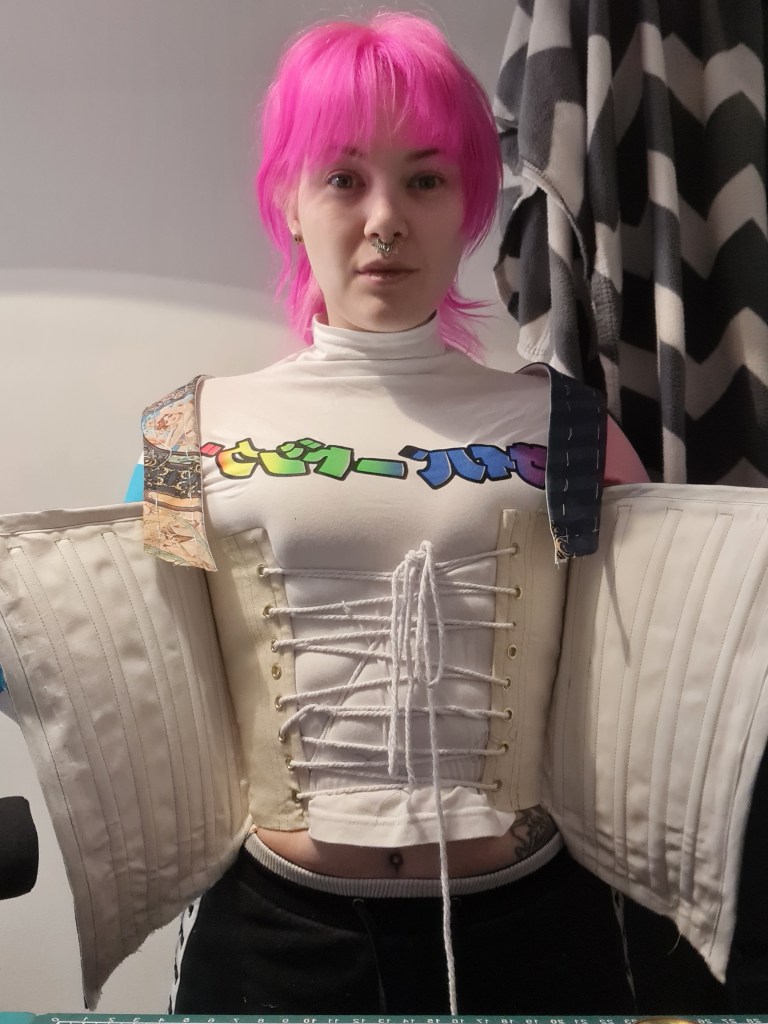

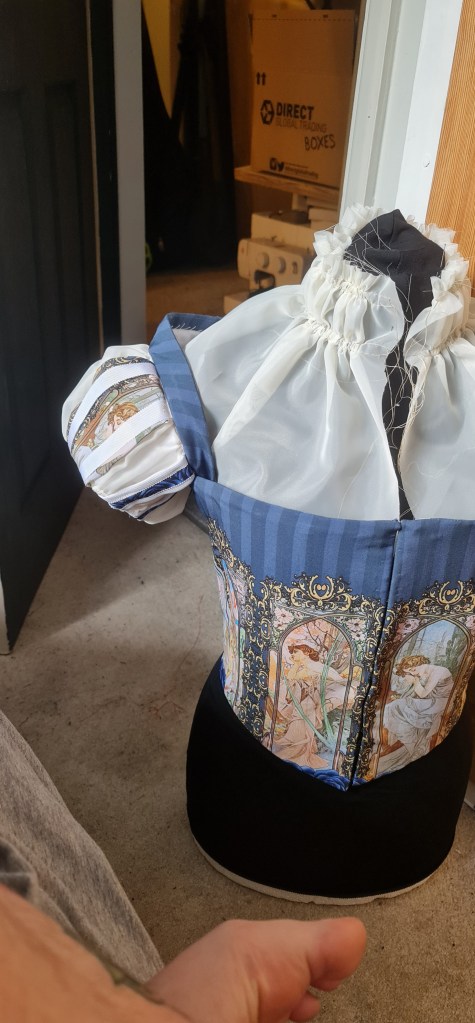
I had to do a sneaky test fit – I have never worn anything that had the tudor style shape, so curiosity got the better of me. I kind of love it, and secretly want to dress as a tudor everywhere now… Maybe with softer boning in the corsets though…
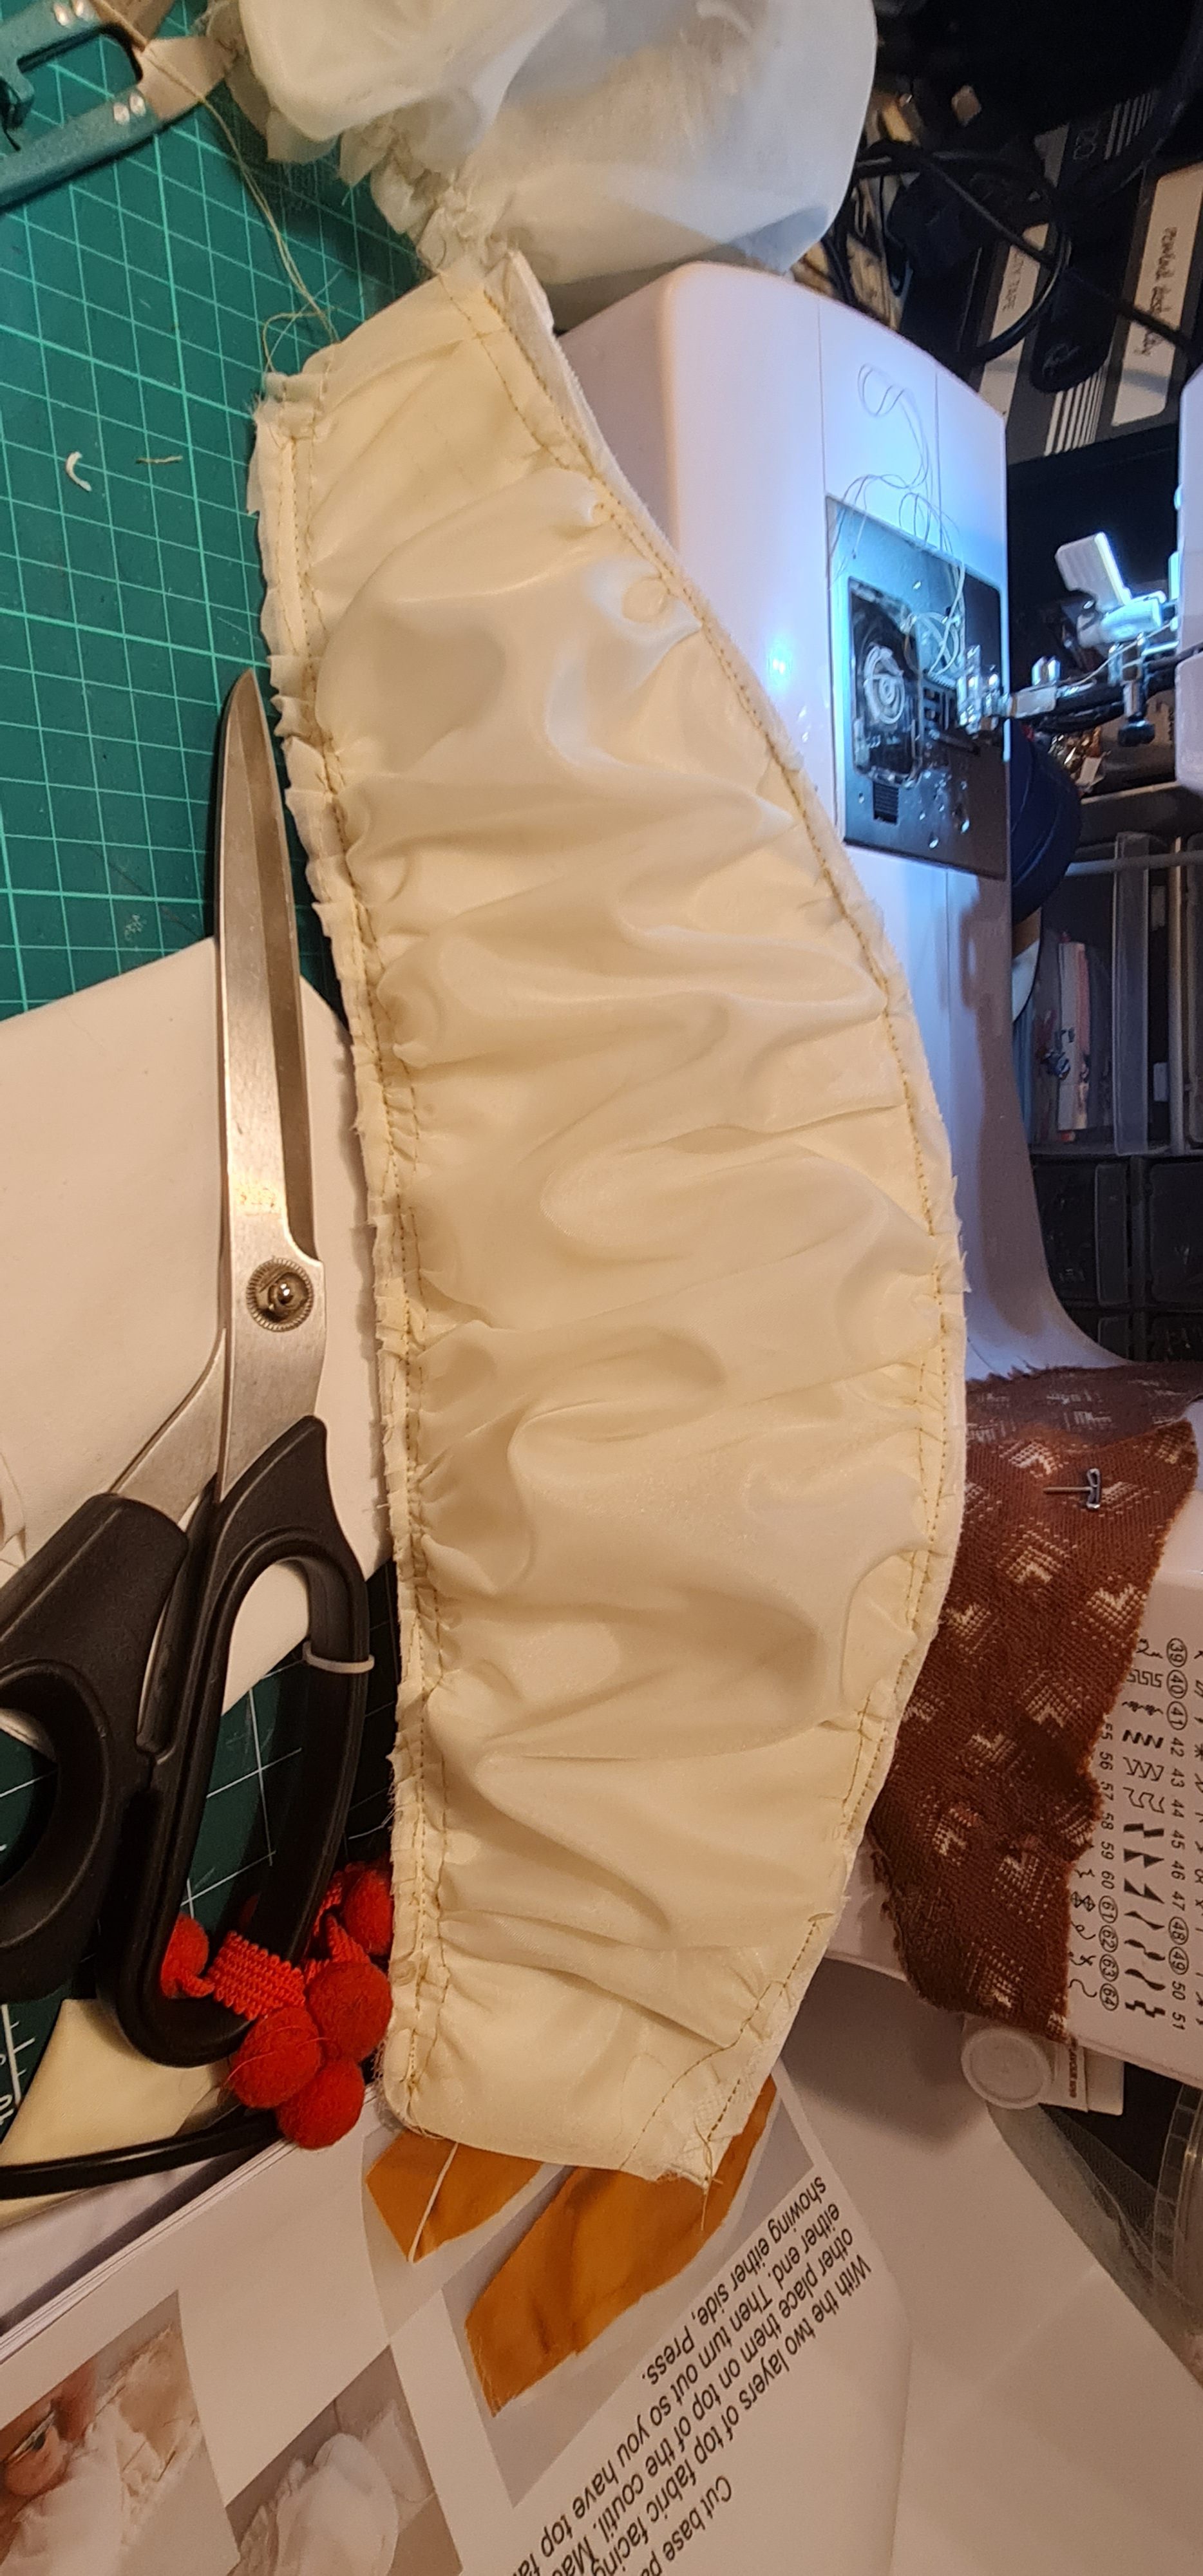
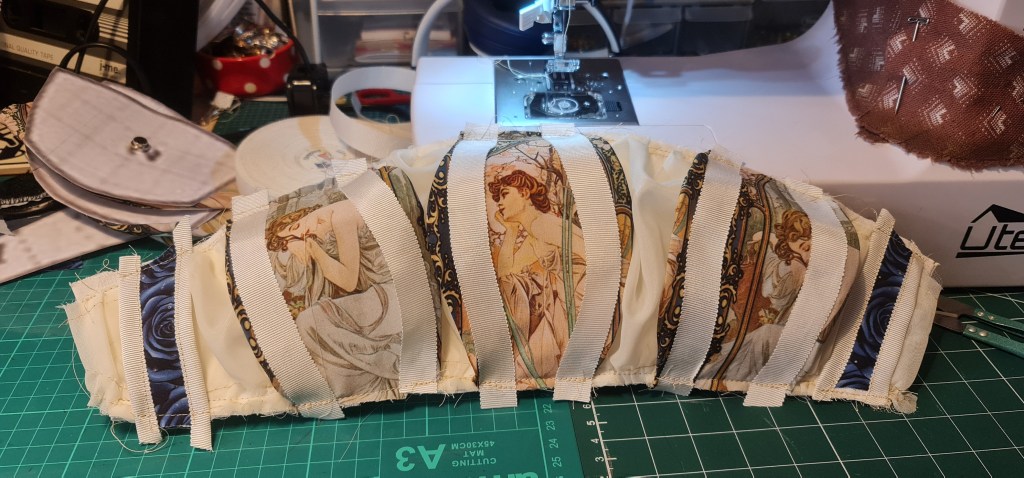
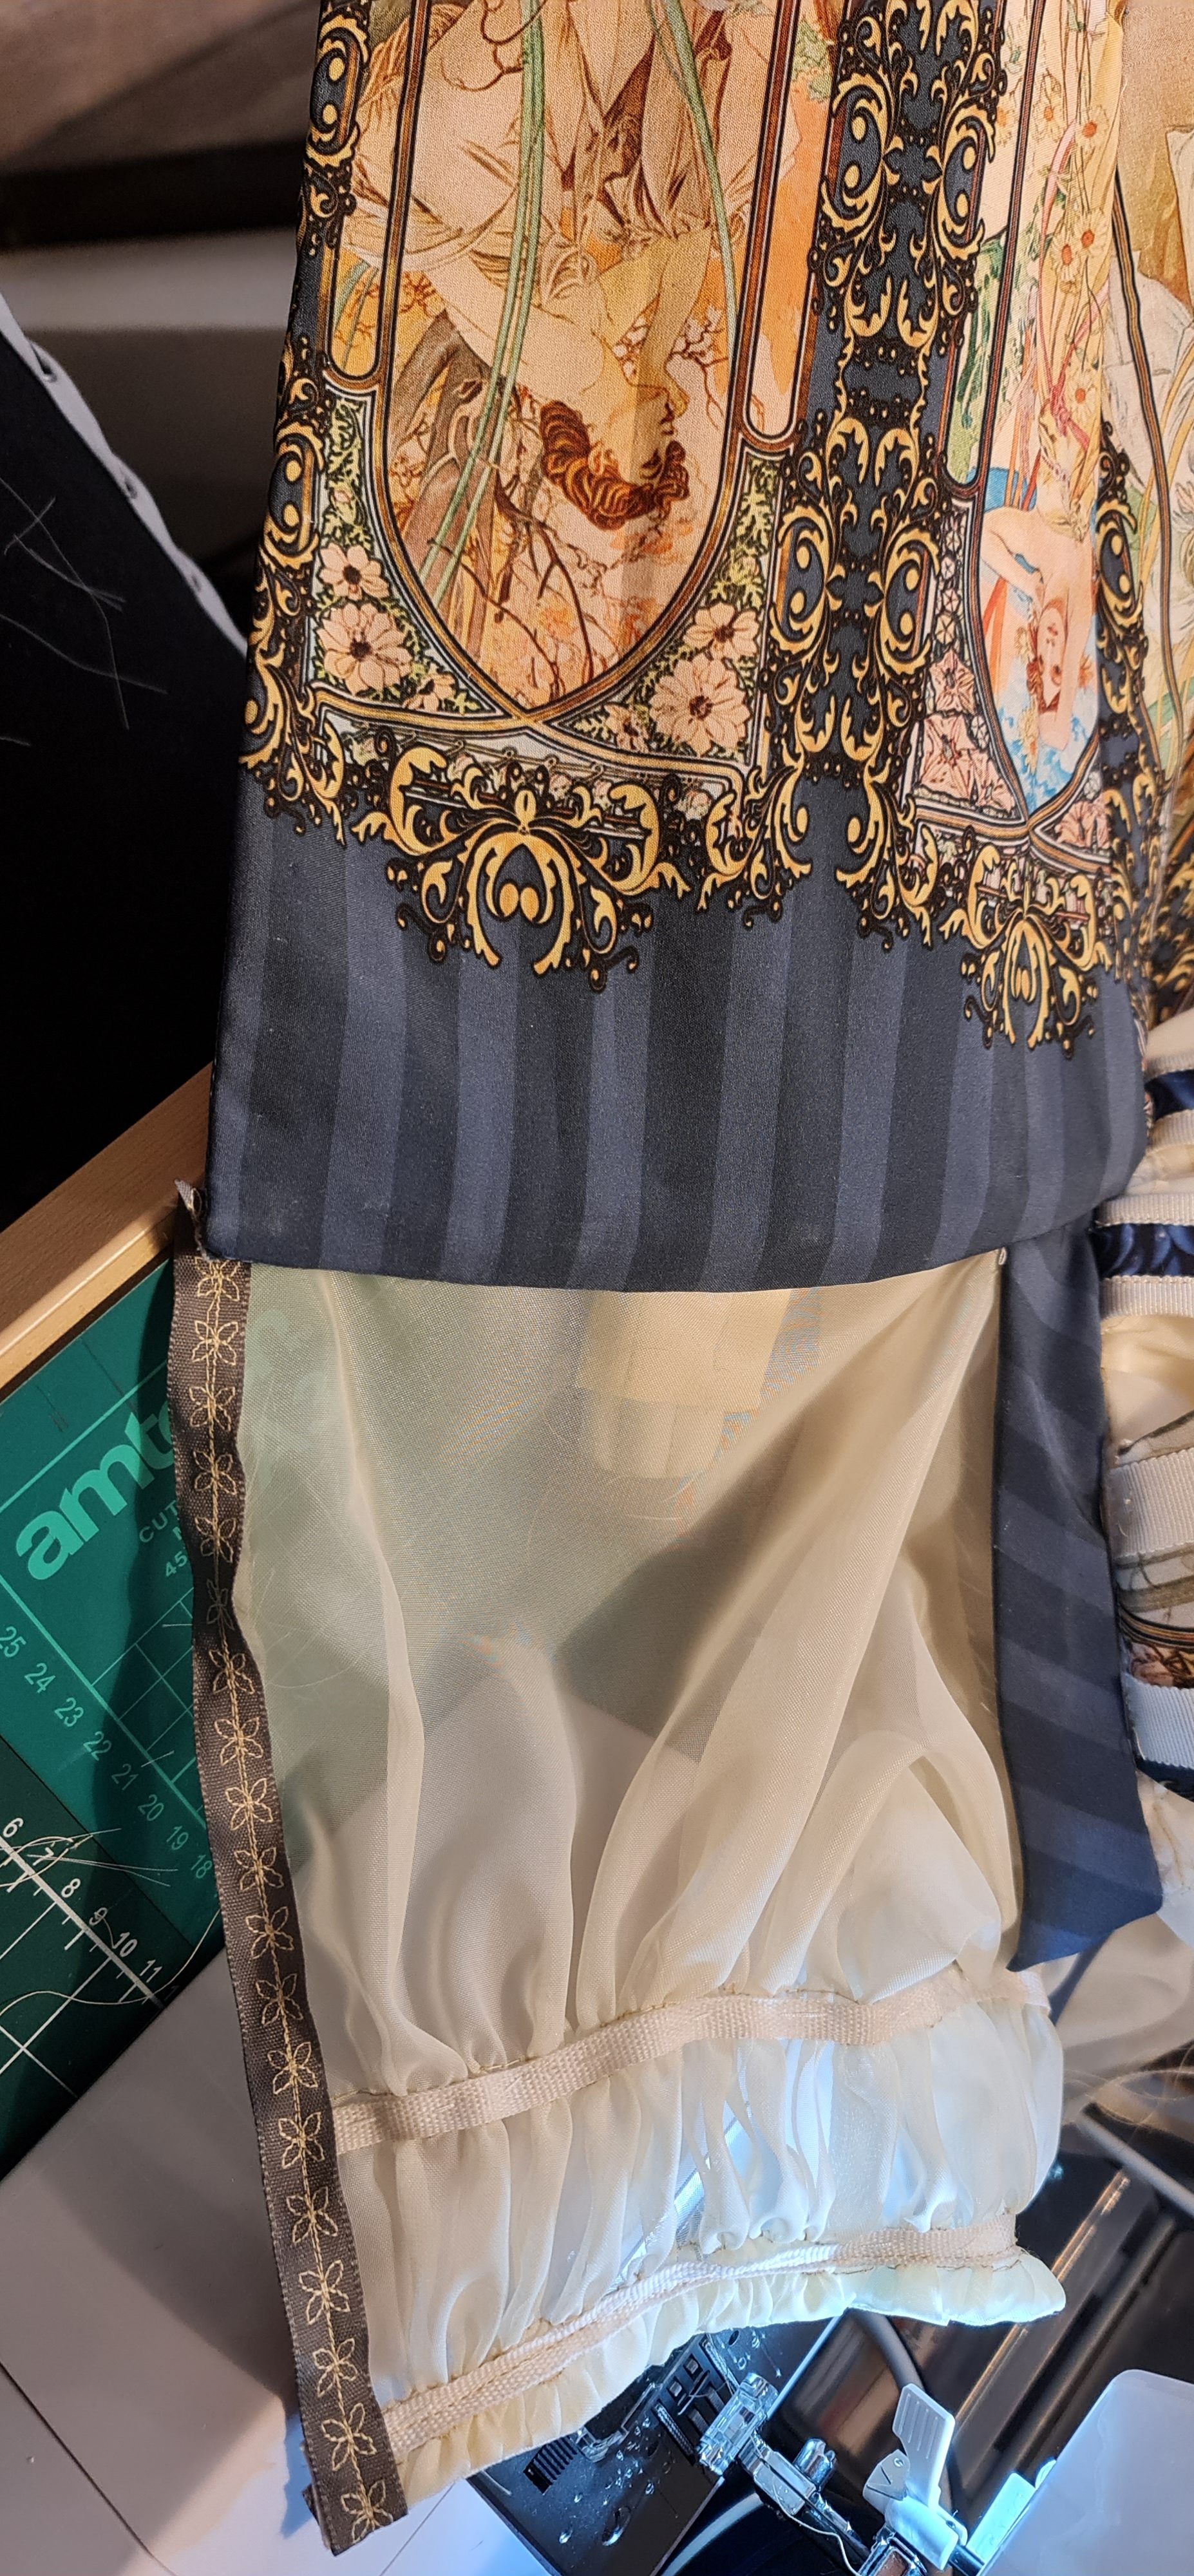
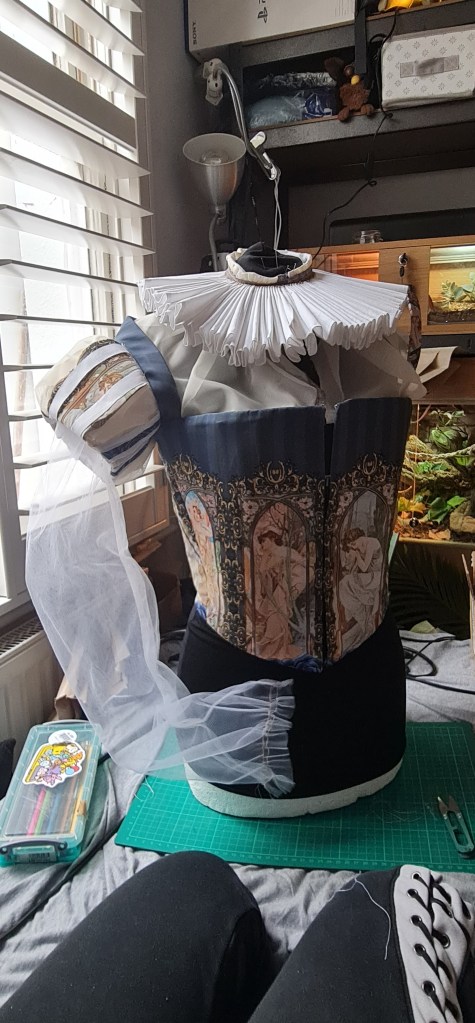
Epaulette time, babey! I had a lot of fun making these – they are just *so* extra, espeically once I put on what I’ve called “window panes” over the layers of tulle and voile. Quick note here though – I had polyester voile arrive instead of cotton voile. If I were to make this again, I would absolutely pick cotton instead. The polyester is bouncey, and a little weird looking. I think I got it looking managable in the end, but I do not recommend buying poly voile.
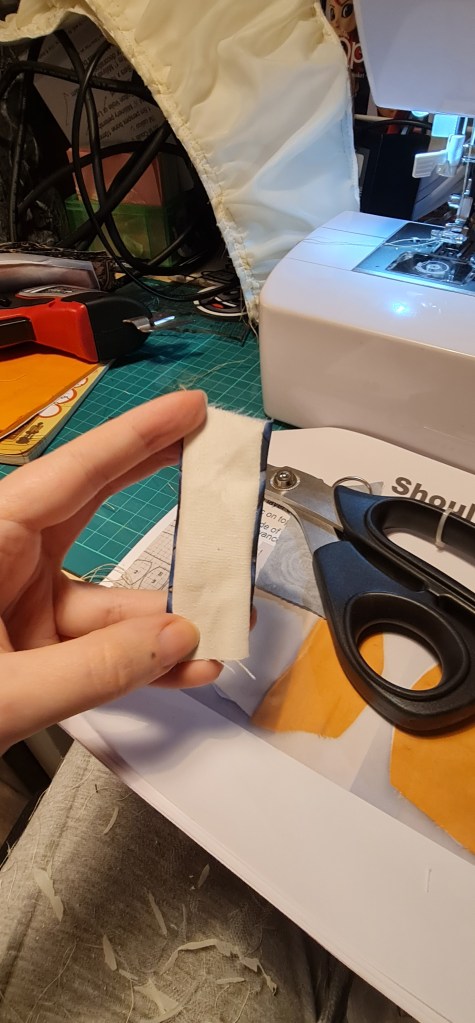
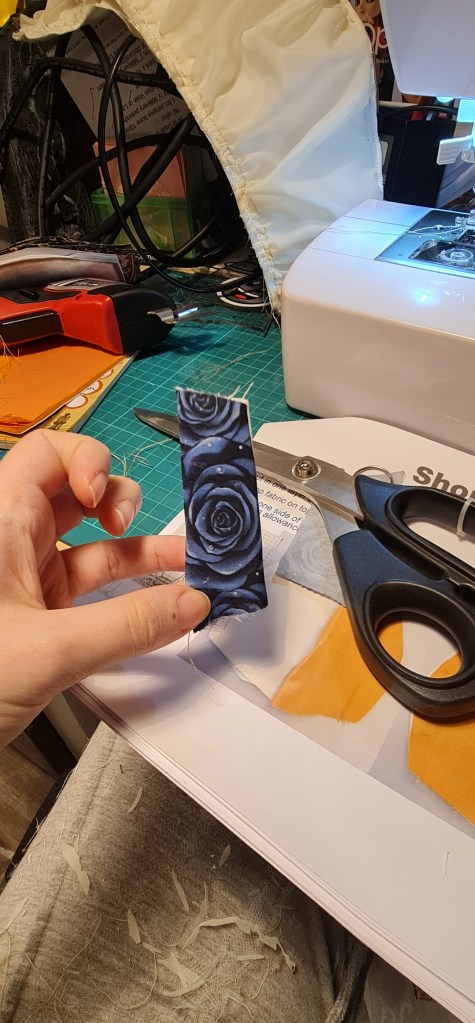
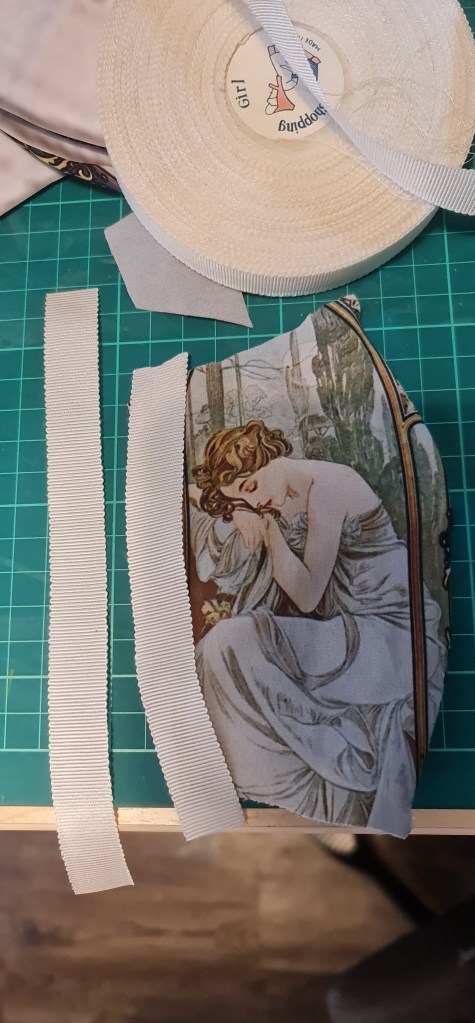
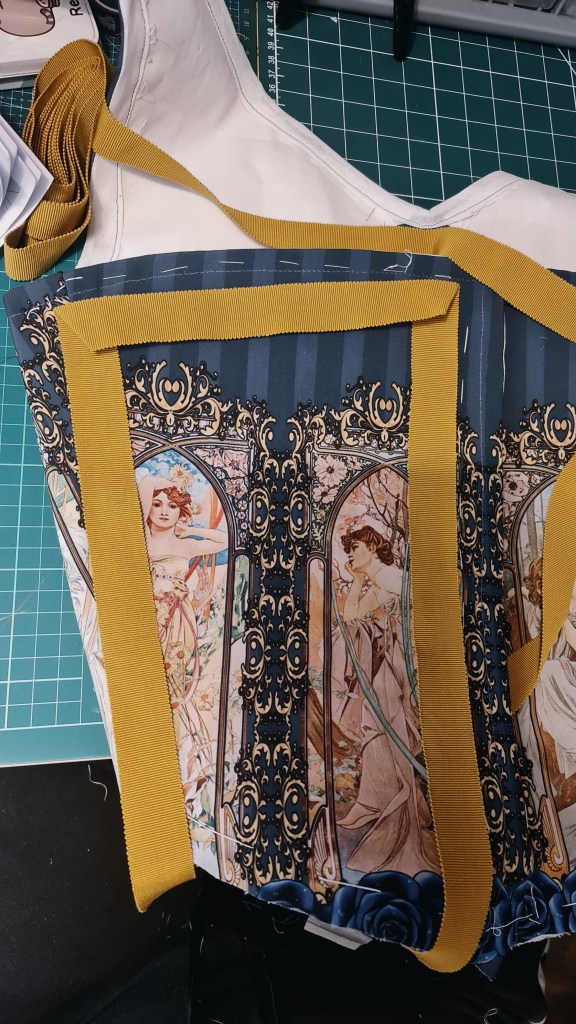
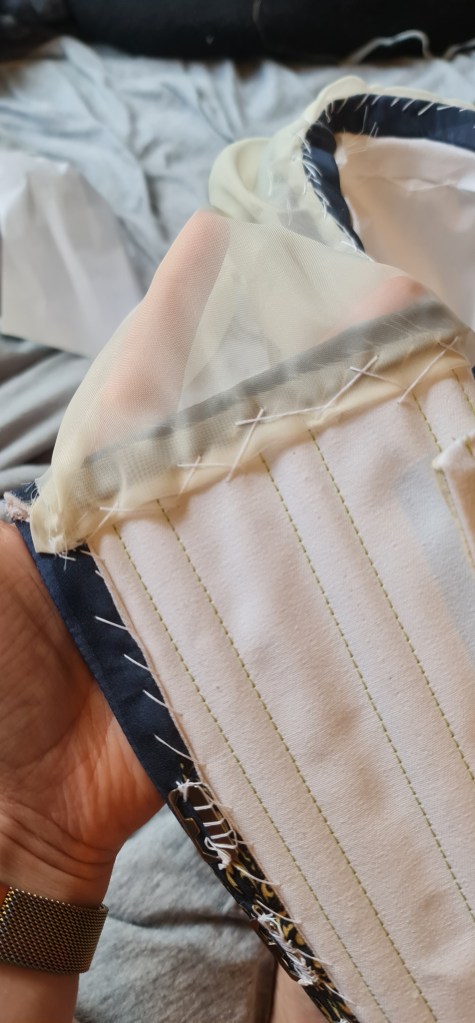
The shoulder panes… Or window panes as I like, were a little tricky, and I did have to re-do a couple as they didn’t sit quite right. I used coutil as backing, as per the instructions I had, but I think I would pick a slightly softer fabric next time – the coutil was just a smidgen too thick. Here you can see the petersham i decided on as well – I really like how the white complimented the lady’s outfits, rather than the dark mustard colour. I was trying to play with complimentry colours (opposites on the colour wheel) but I just wasn’t feeling it.
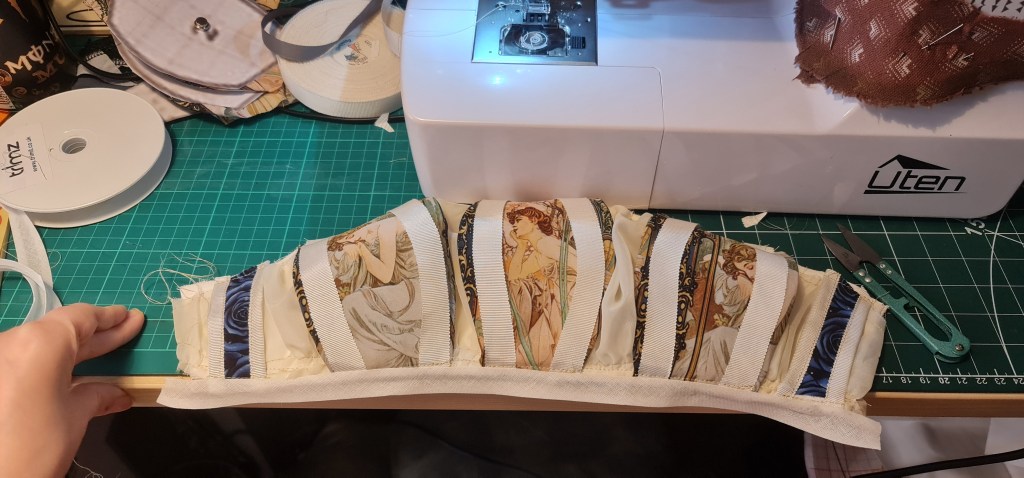
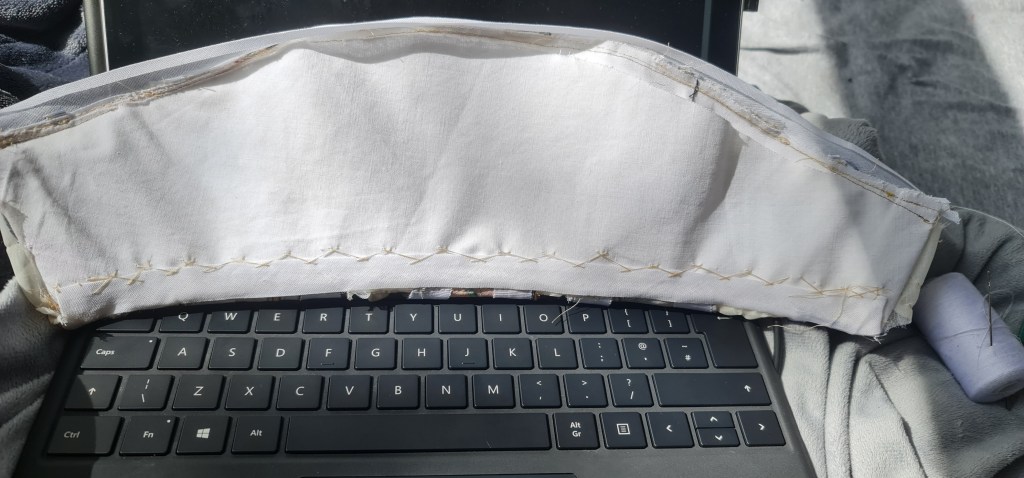
For awhile, I debated not adding the petersham here too, however, it just looked… not quite right with out it. I then bias binding the top and bottom, and herringbone stitched them down on the inside. From here on out, I only start finishing one side of the bodice – that is what is needed for the tech skills marking, and I started running out of time to do both sides. I think it could have been done, but I didn’t want to be panicking last minute. I will return to this to finish it off though, as I really love how it’s turning out, and I absolutely want to send it to a photographer to get some super fancy photos.

I am doing everything I can not to make some form of egg pun, cause now I’m working on the yoke, and that sounds just a little too close to yolk for it not to cross my mind.

Even though the decorative ribbon will be most likely hidden by a ruff in a real piece, it added a nice touch all the same.
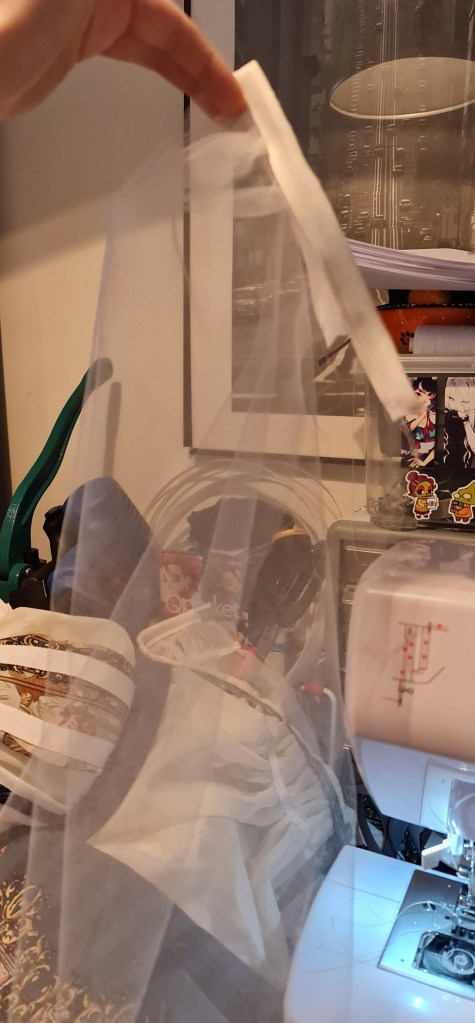
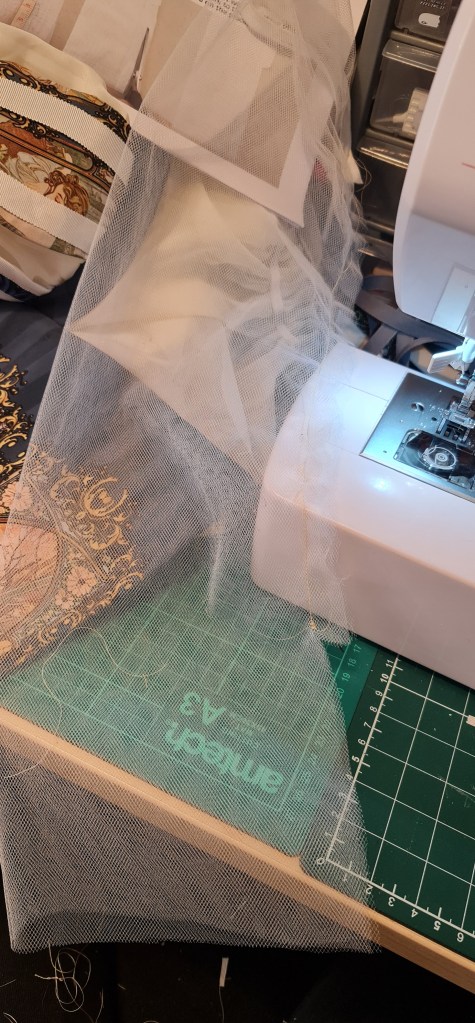
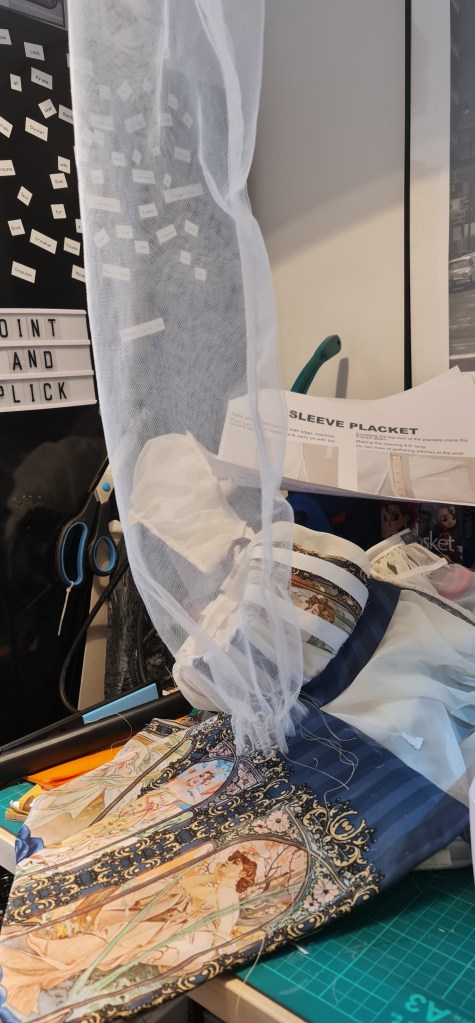
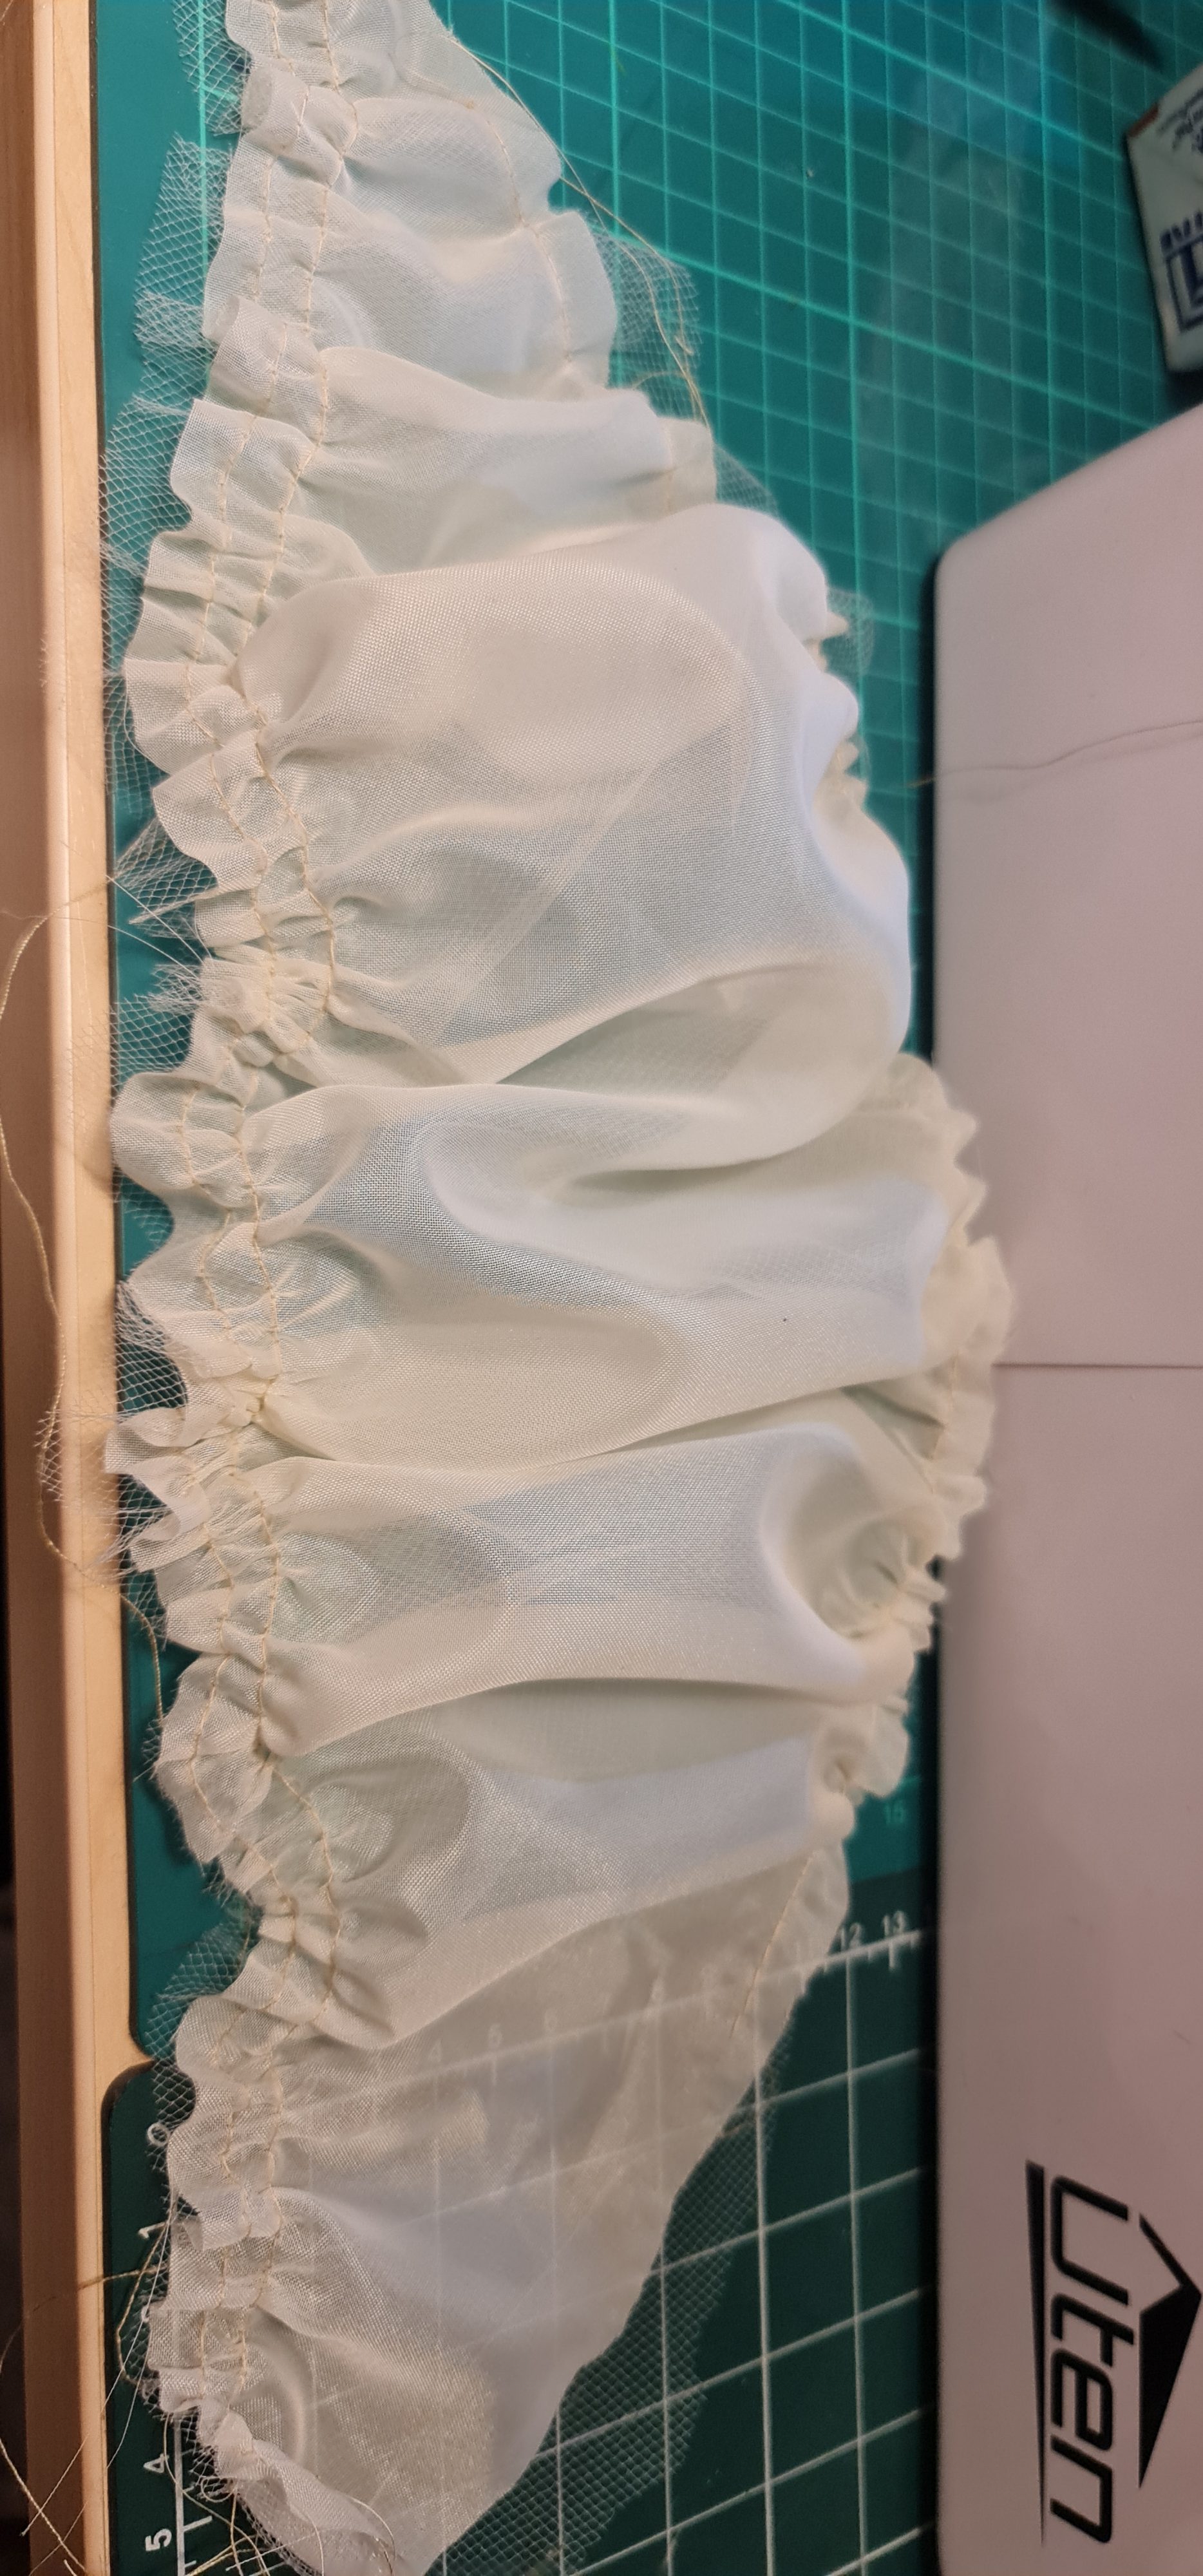
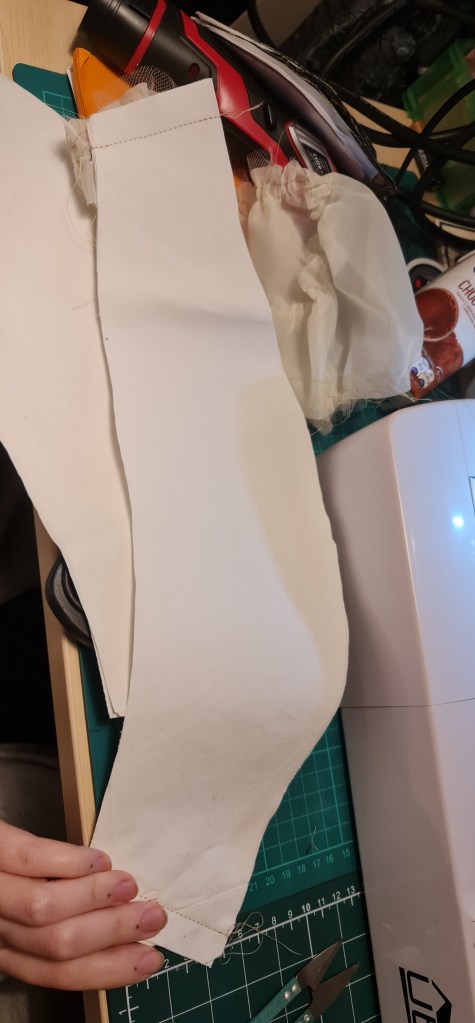
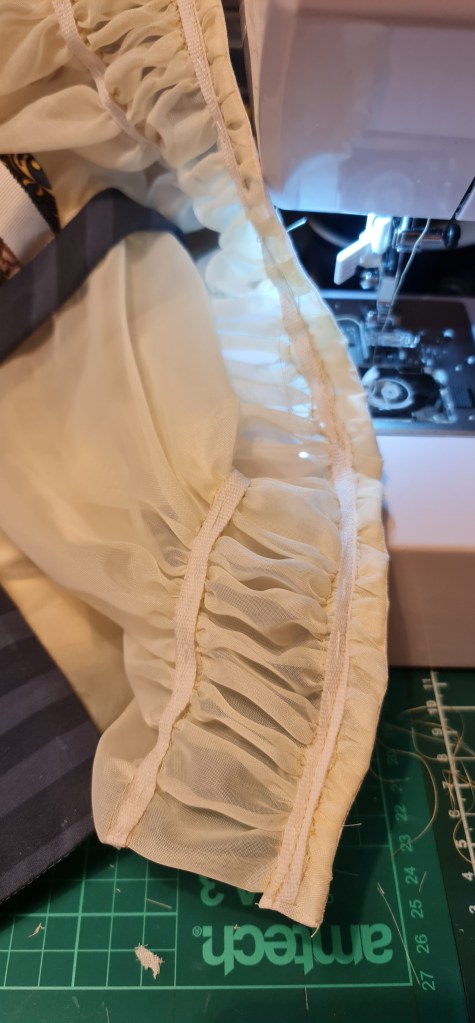
This part was difficult to photograph, as the dress net is so fine and soft. I bias binding the top of the sleeve, so that this piece can be tacked into the epaulette, and then changed later. After that, I began a french seam, leaving a space for the sleeve plackets. For the plackets, its a simple rolled hem, and then finish of the french seam to finish! I am tempted to try this sleeve again, with the voile, just to see how it looks.

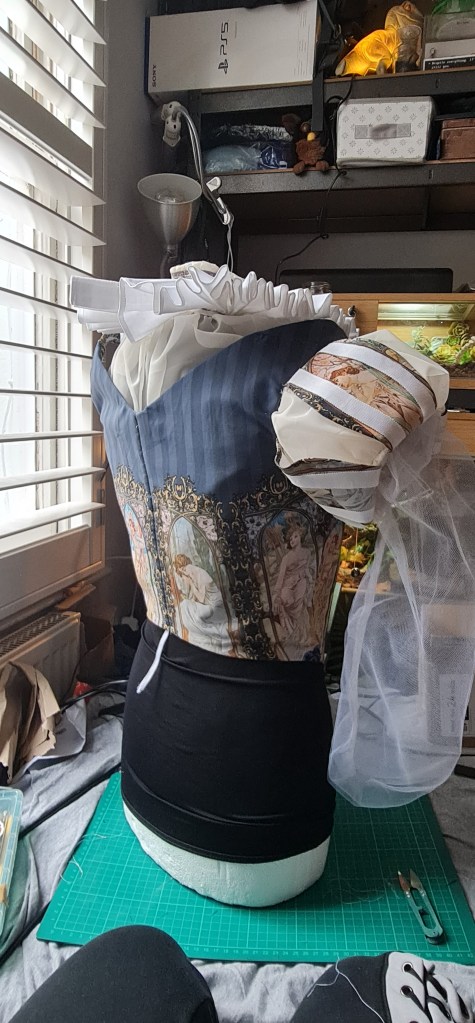
Aaaaand here is it done! Well, sorta – Done in terms of tech skills, but I will be returning to these to finish the other epaulette and sleeve. The epaulette is also just tacked on (i used an invisible stitch) and so it too along with the sleeve can be changed up for different looks.
Oh hey theres a ruff here too?!? Luck you dear reader, the making of the ruff will be uploaded too – its not completely finished here, I still need to tack the figure 8’s into shape, but hoo boy, thats a task and a half.

Leave a comment