Sorry, no pun for this one as I am awake far earlier than my usual night owl hours allow for. However! Today I can post about the sewing part of the stay, and thats exciting seeing it come to life!
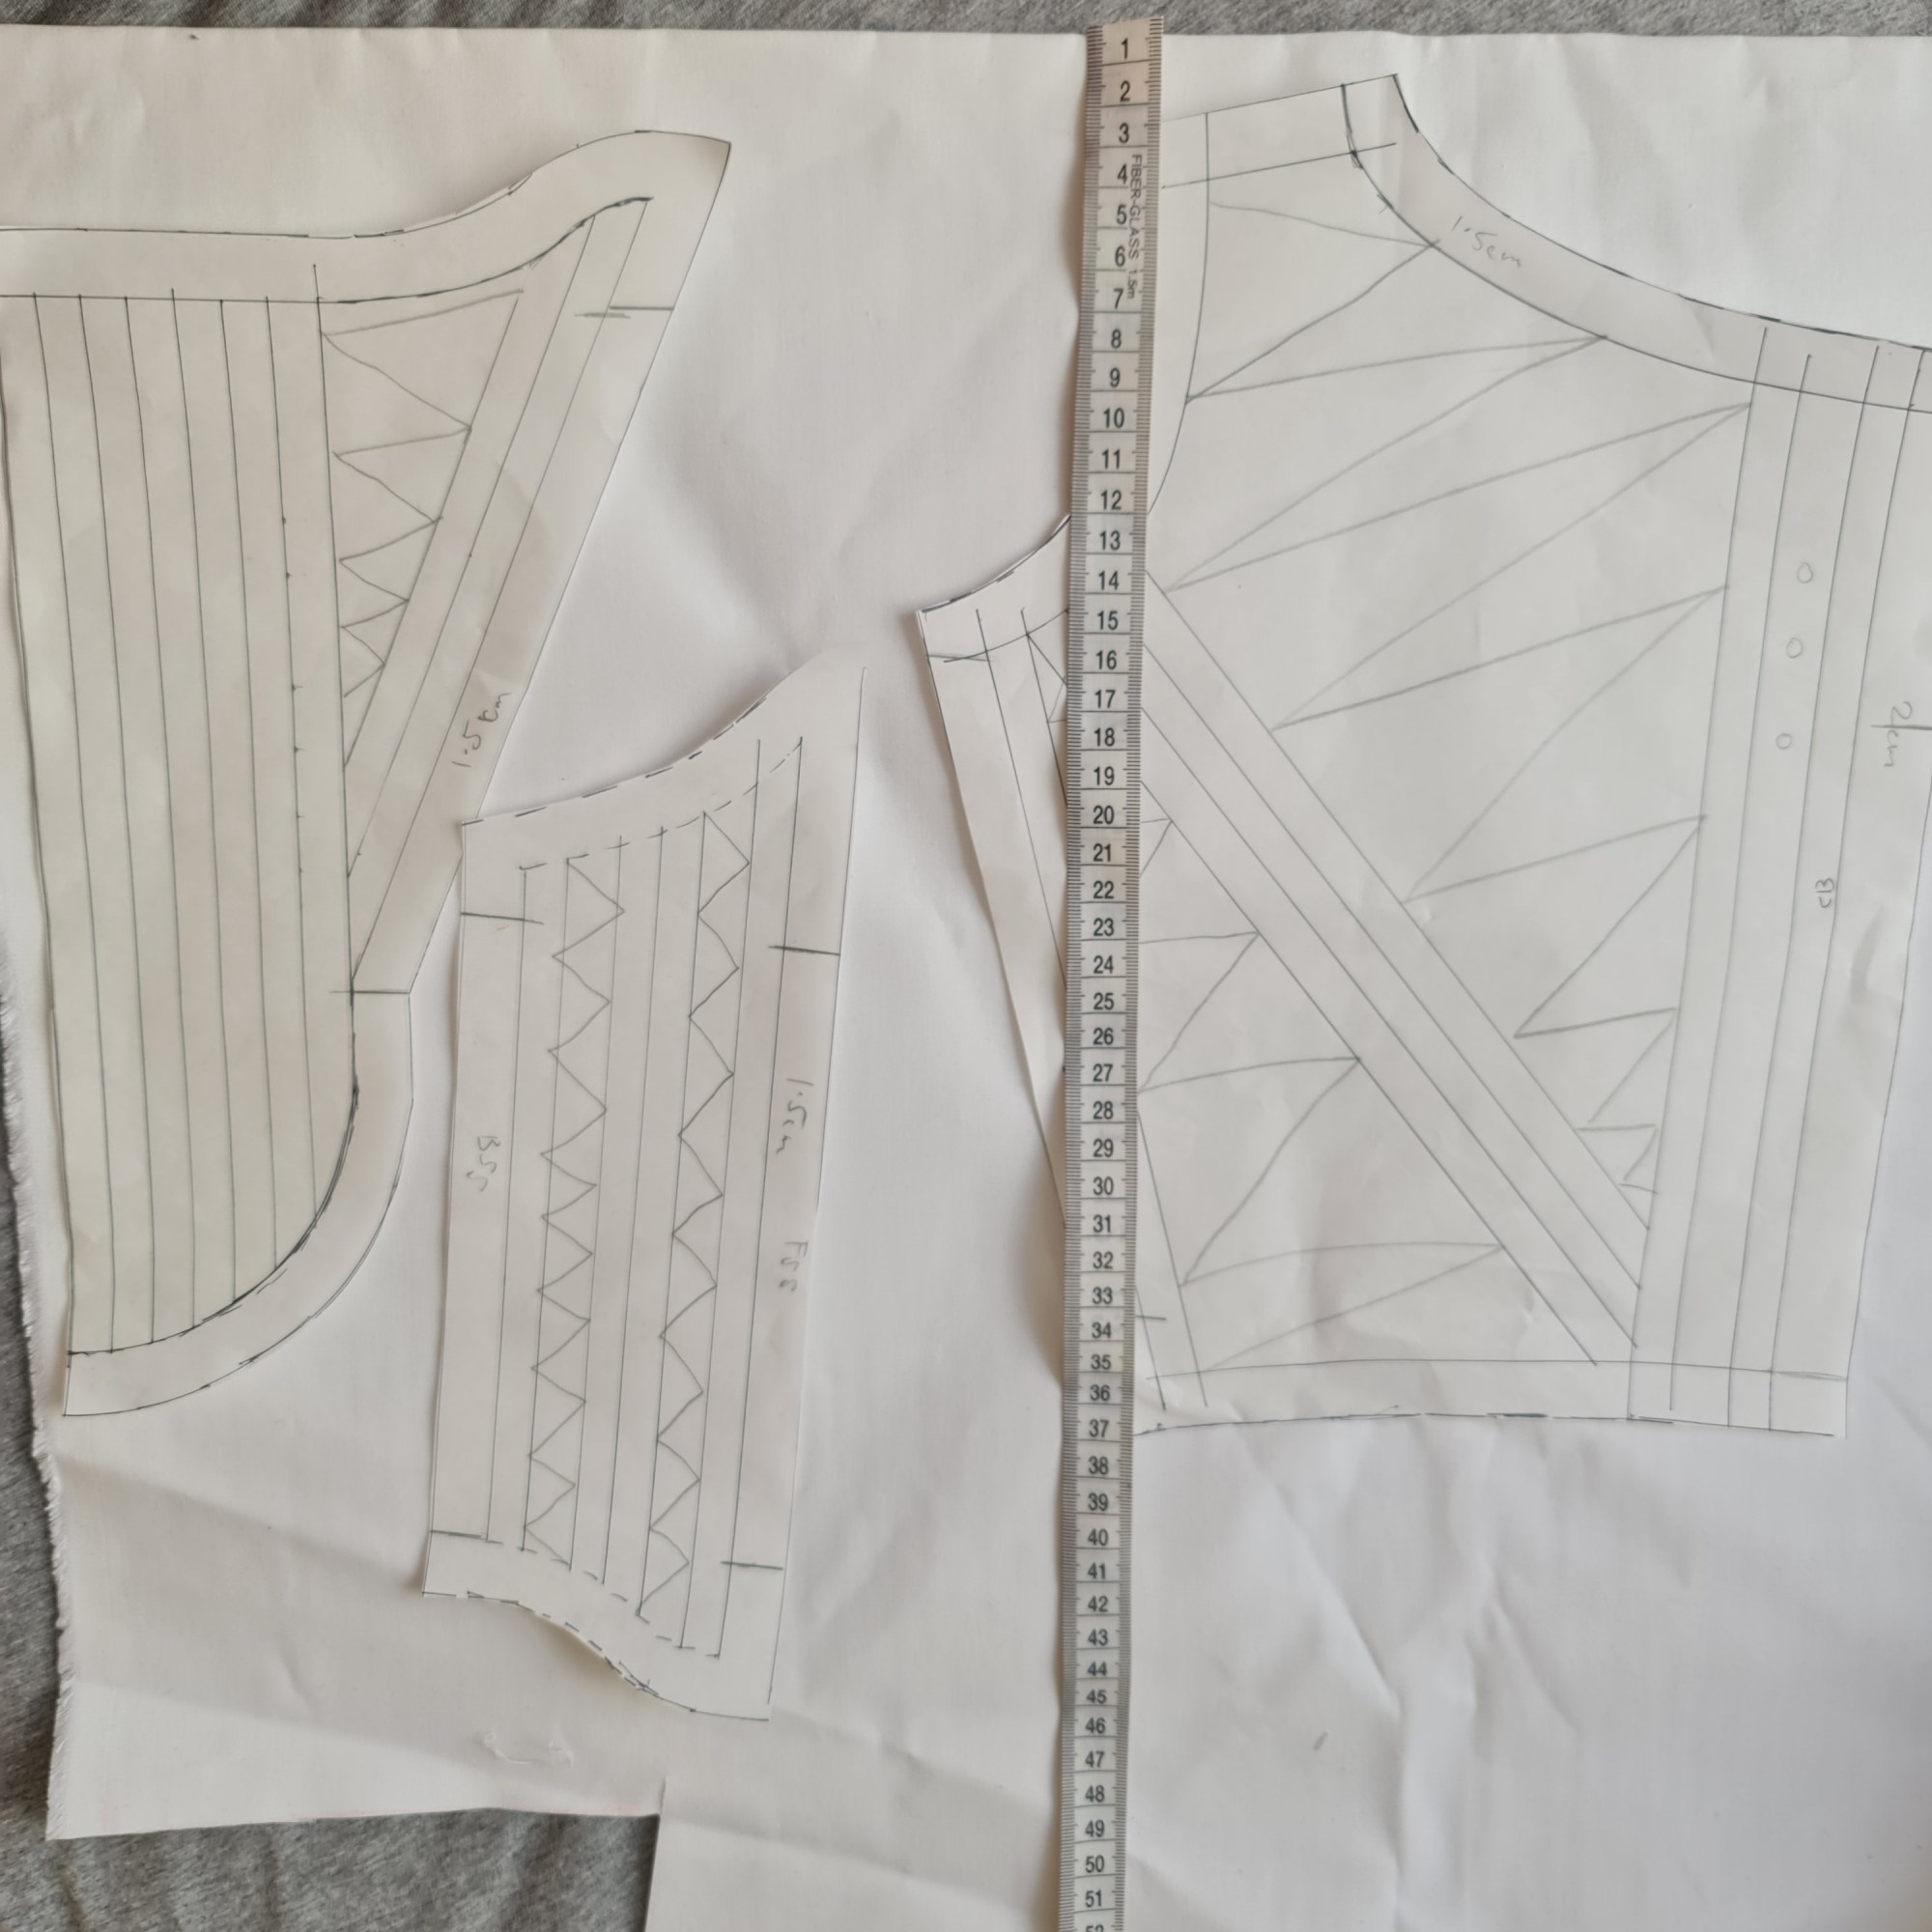
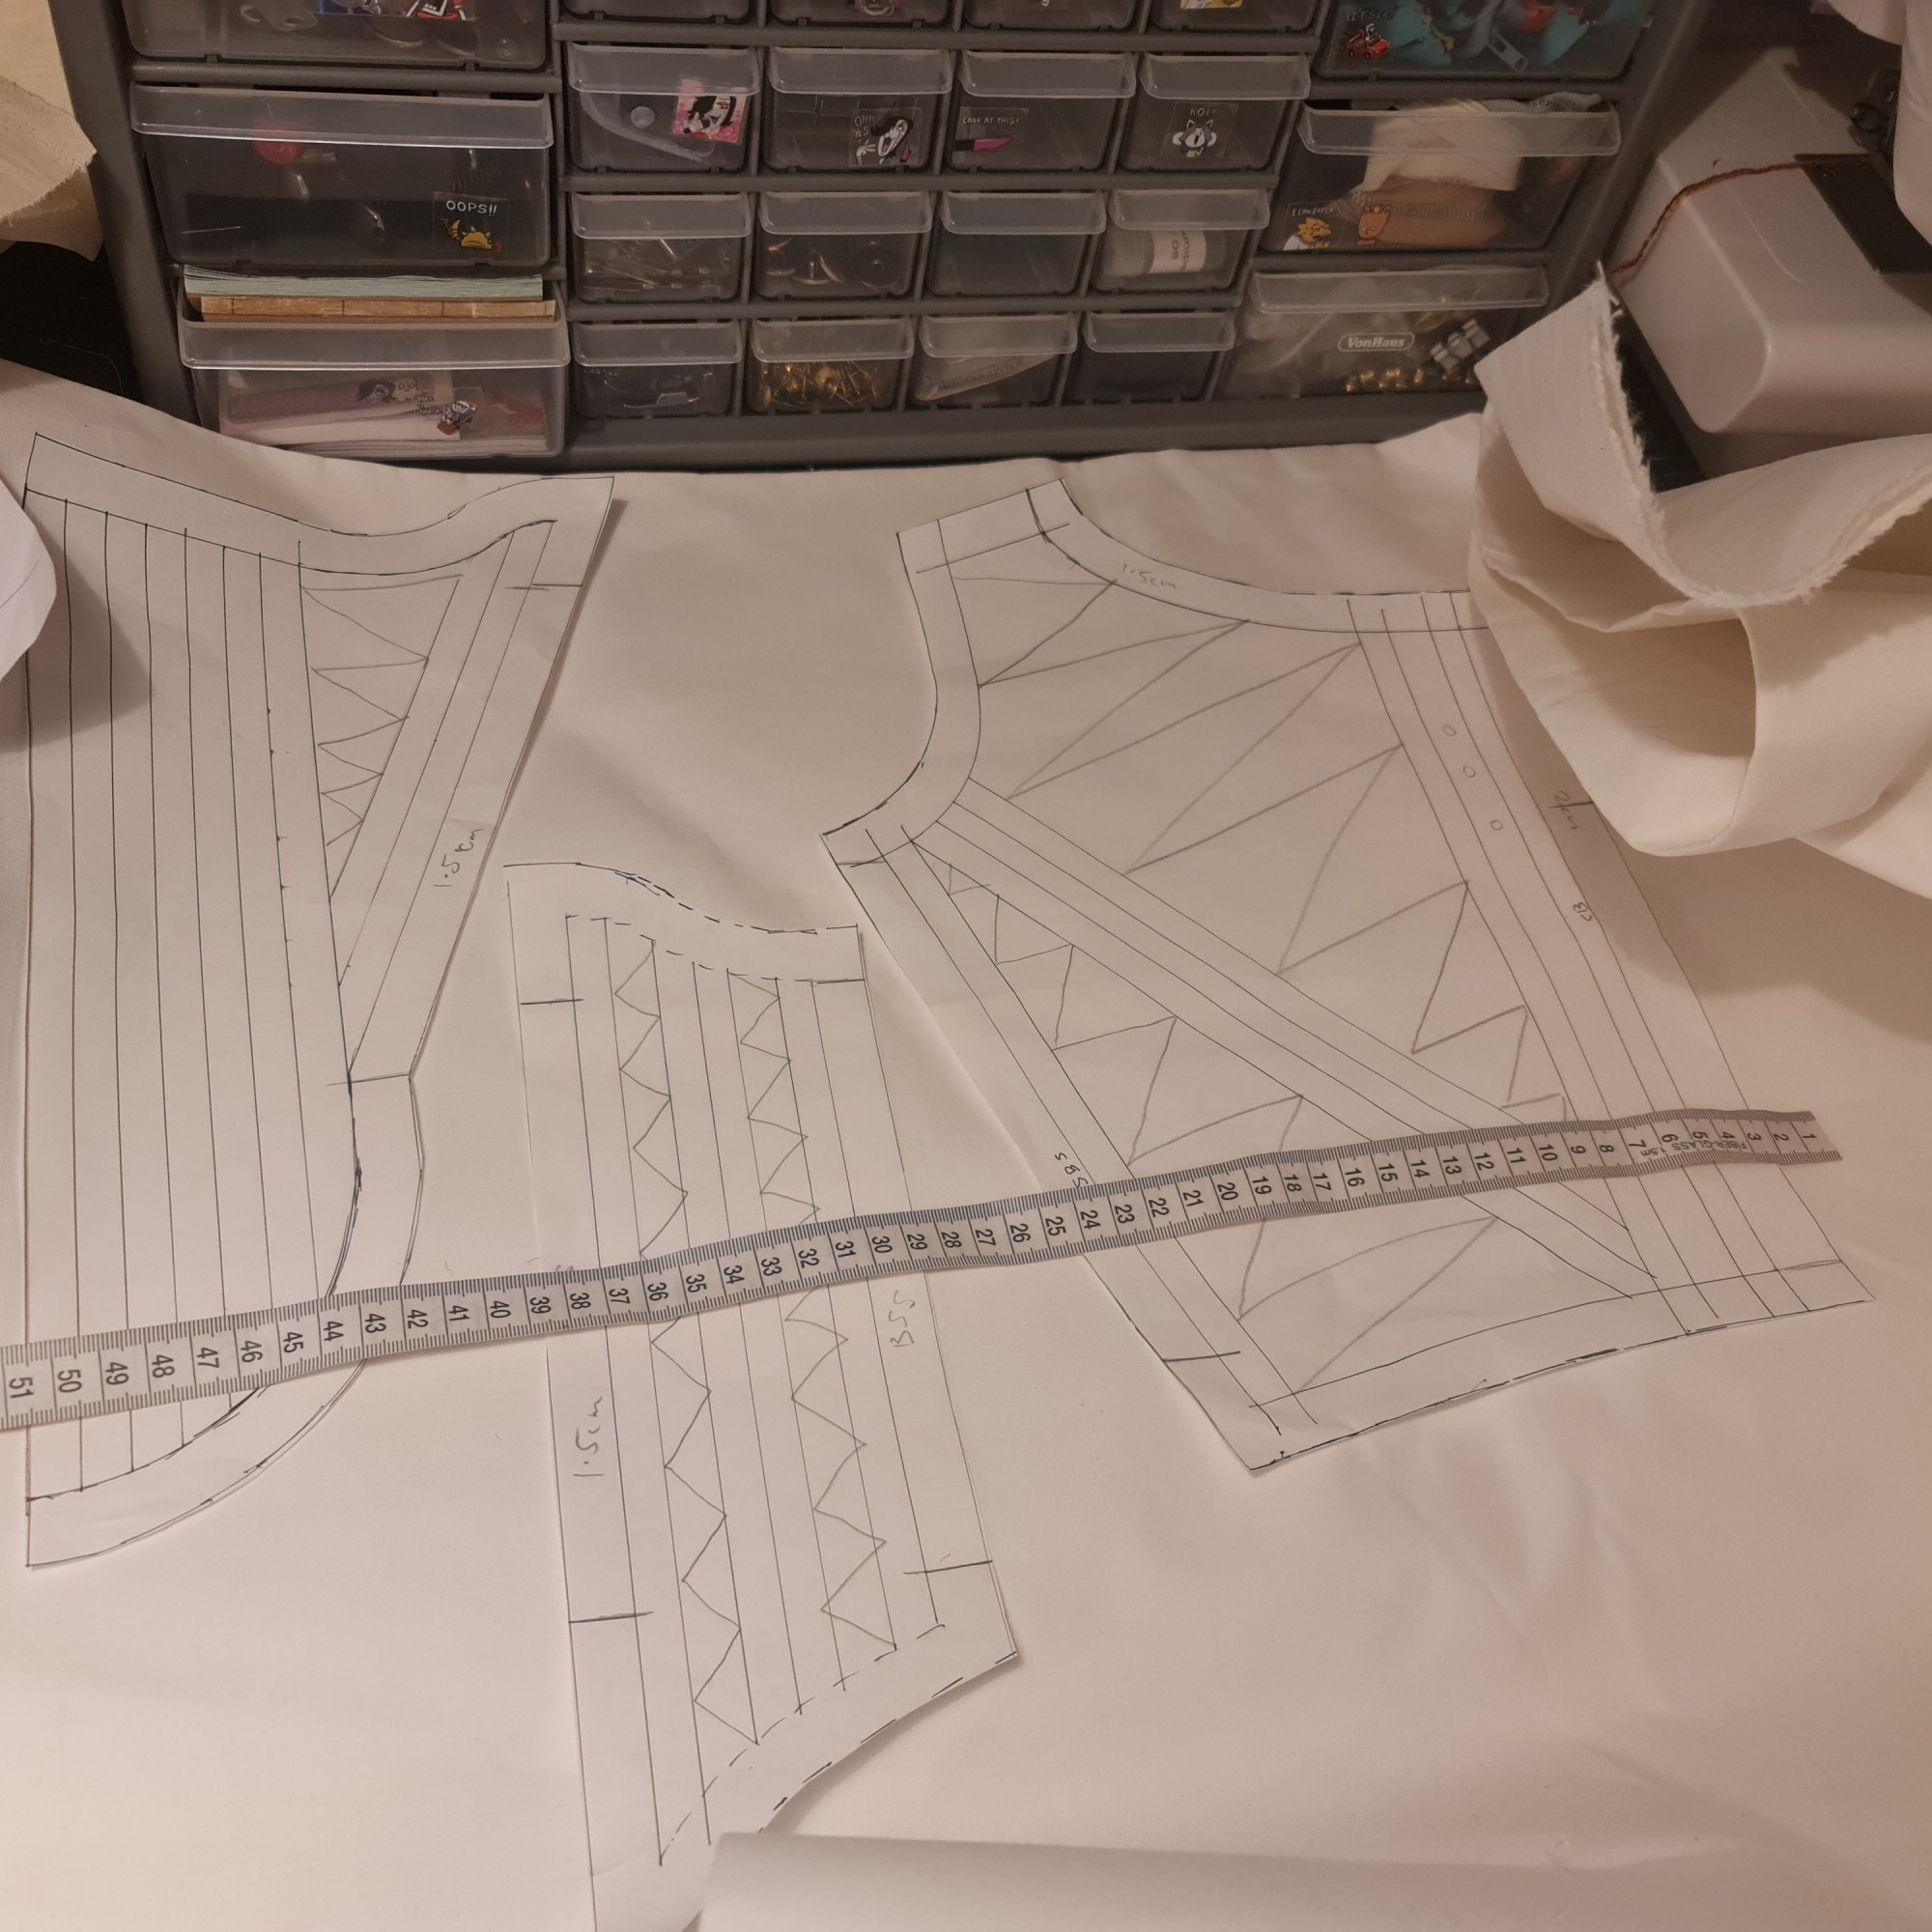
First of all, I have laid my pattern pieces out in the most econimical way I can, and then measured out how big the space is. The fabric is folded over so I get the two sides cut out at the same time. So with that in mind, for all 3 layers needed for the stay (Coutil, calico, top fabric) I need to have at least two 48x52cm squares if its two seperate squares, or 48x104cm if I can fold it over – this is actually a little less than I expected and I think when I initially ordered I doubled the amount of fabric I needed by accident as I have at least 3 and hlf meters of coutil available… At least I have plenty available for future projects!

Then I marked out on the coutil the lines that will need to be sewn for the boning channels. I tried something new here, and used magnets to hold my pattern pieces together while marking – it made it a little easier to shimmy around and draw onto the fabric, rather than pinning and unpinning, which was nice. No pin holes too! Not that it matters much at this stage. My only complaint though is that later on, i found out how EVERYTHING is magnetic in my work space, and I was getting pulled in multiple directions…. So maybe this is just for marking, and not so much for stitching.
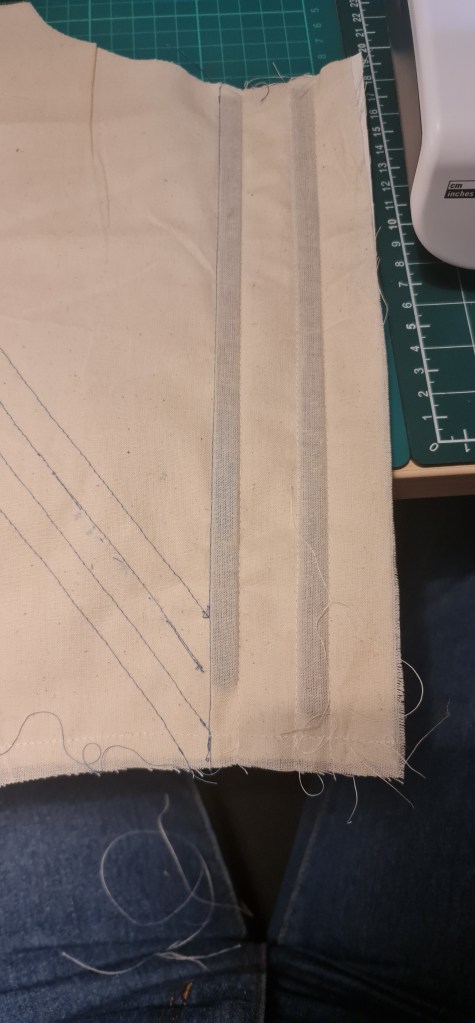
Typically because stays are worn as undergarments, you would sew the channels through all three layers of fabric. However, I wanted my top fabric to have as little seams and stitches as possible, so I only stitched through the coutil and calico.
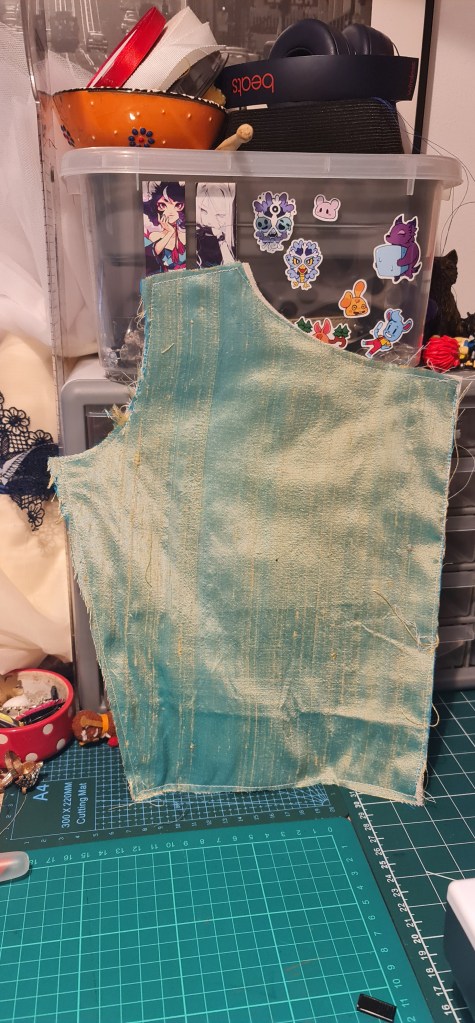
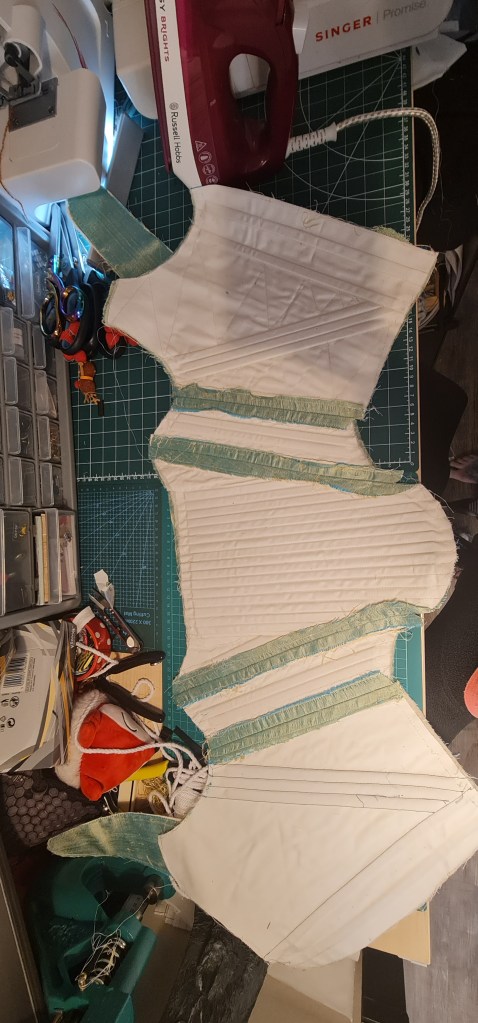
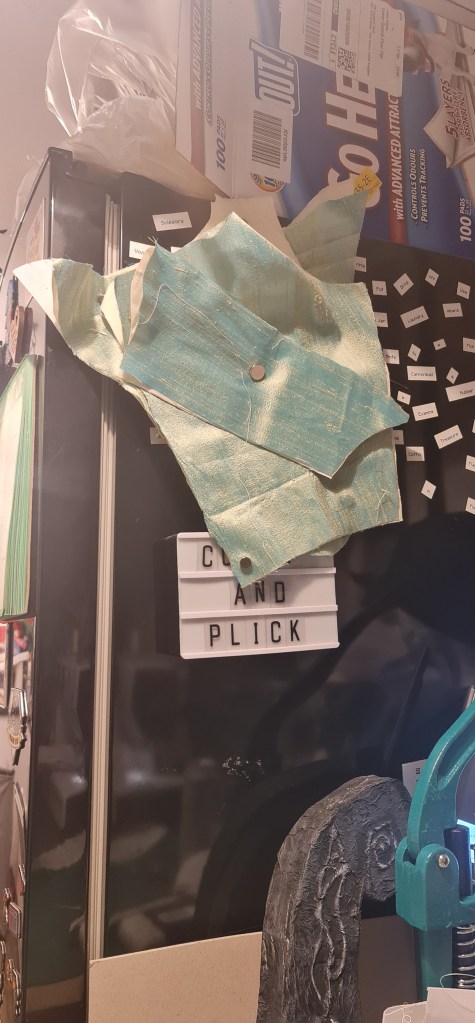
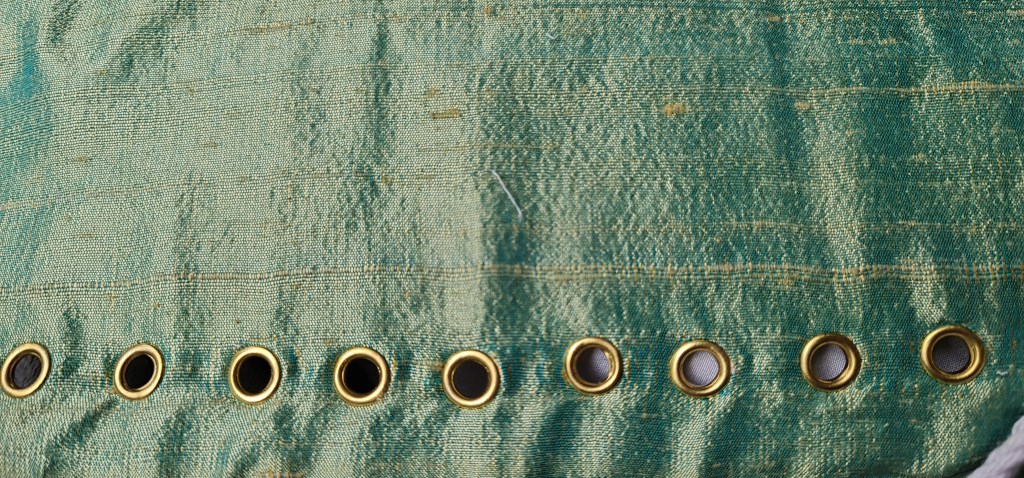
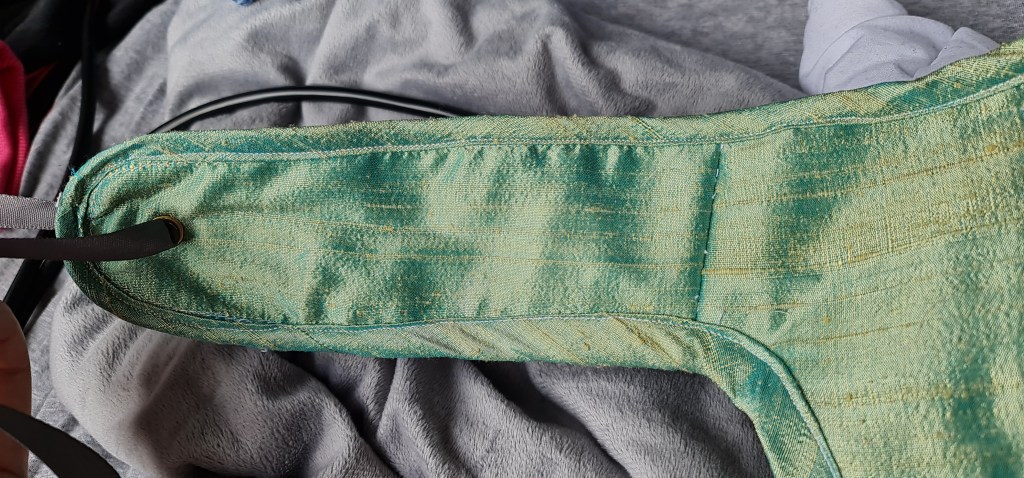
With all my body pieces connected, I then attatched the arm straps. I also cut out and created a bunch of bias binding from my top fabric. I attached the bias banding after sewing on my arm strap, so I could sew it all in one strip to bring it all together. I am very badly describing it, but hopefully the pictures will make it make sense.

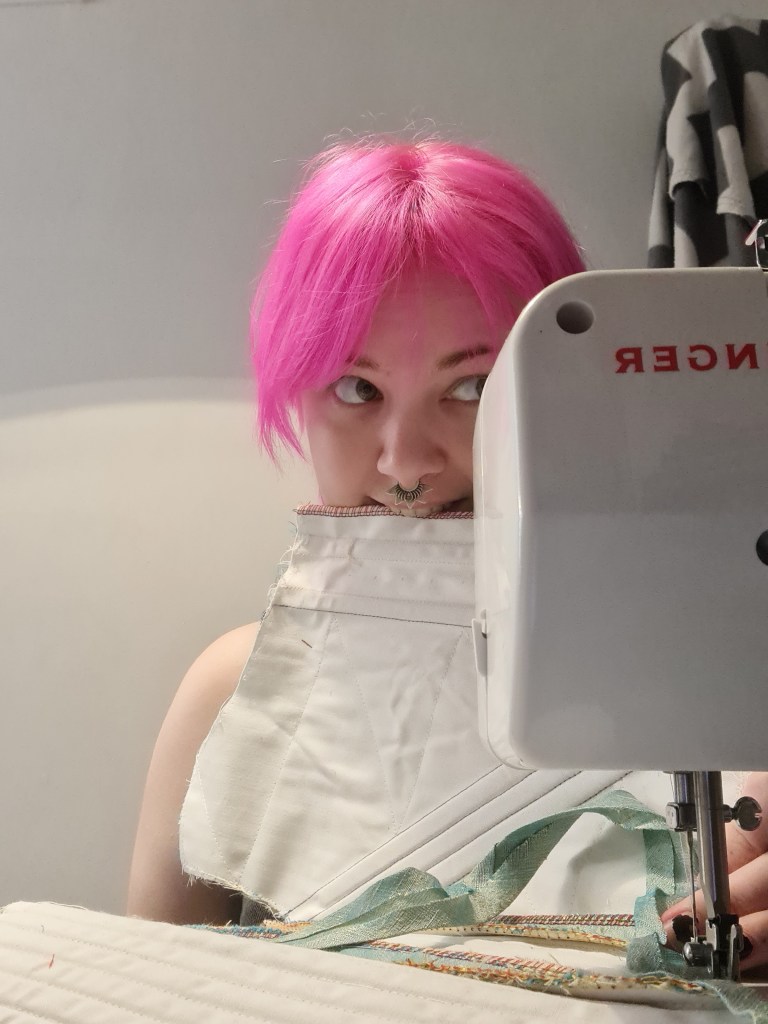
And with that all done, time to show off how it looks on! I did do a test fitting on myself too, before getting to this point, and loved how it looked, and the fabric sat nice and flush, so i felt confident to move on and finish up. Just a heads up for the next couple of pictures: This corset really does do what its supposed too. I was very surprised at the results, considering I am quite petite!
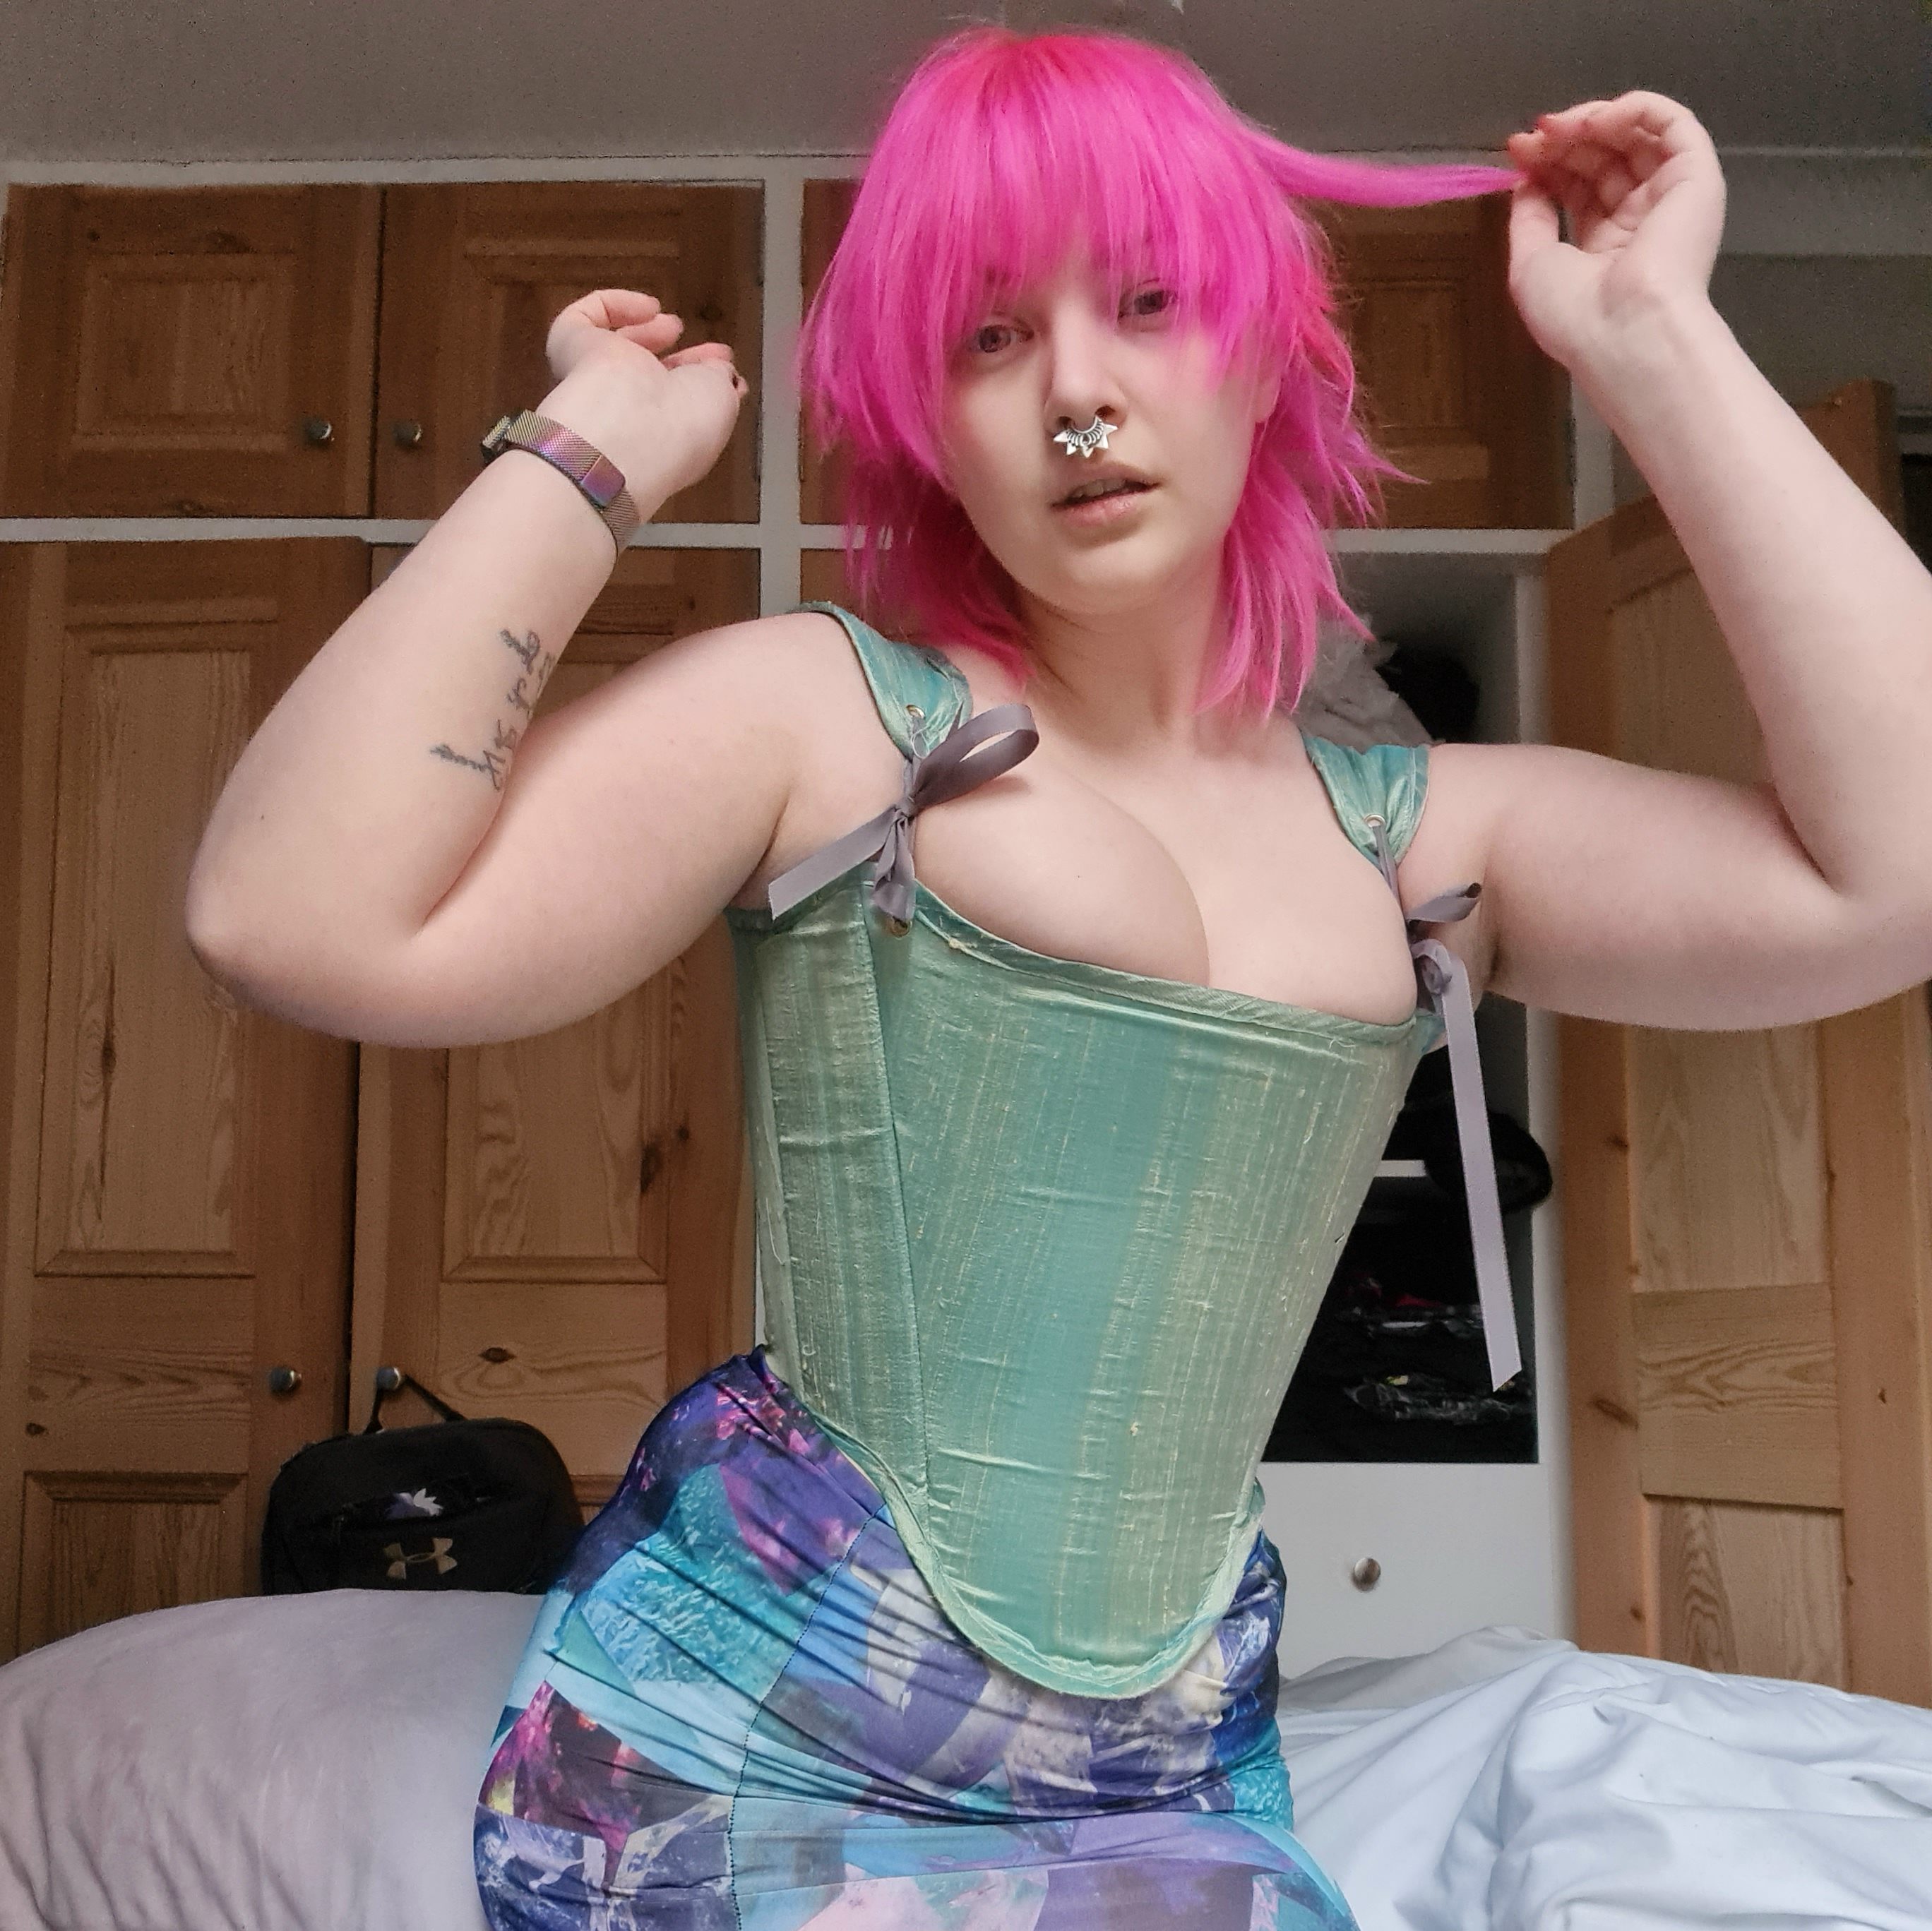
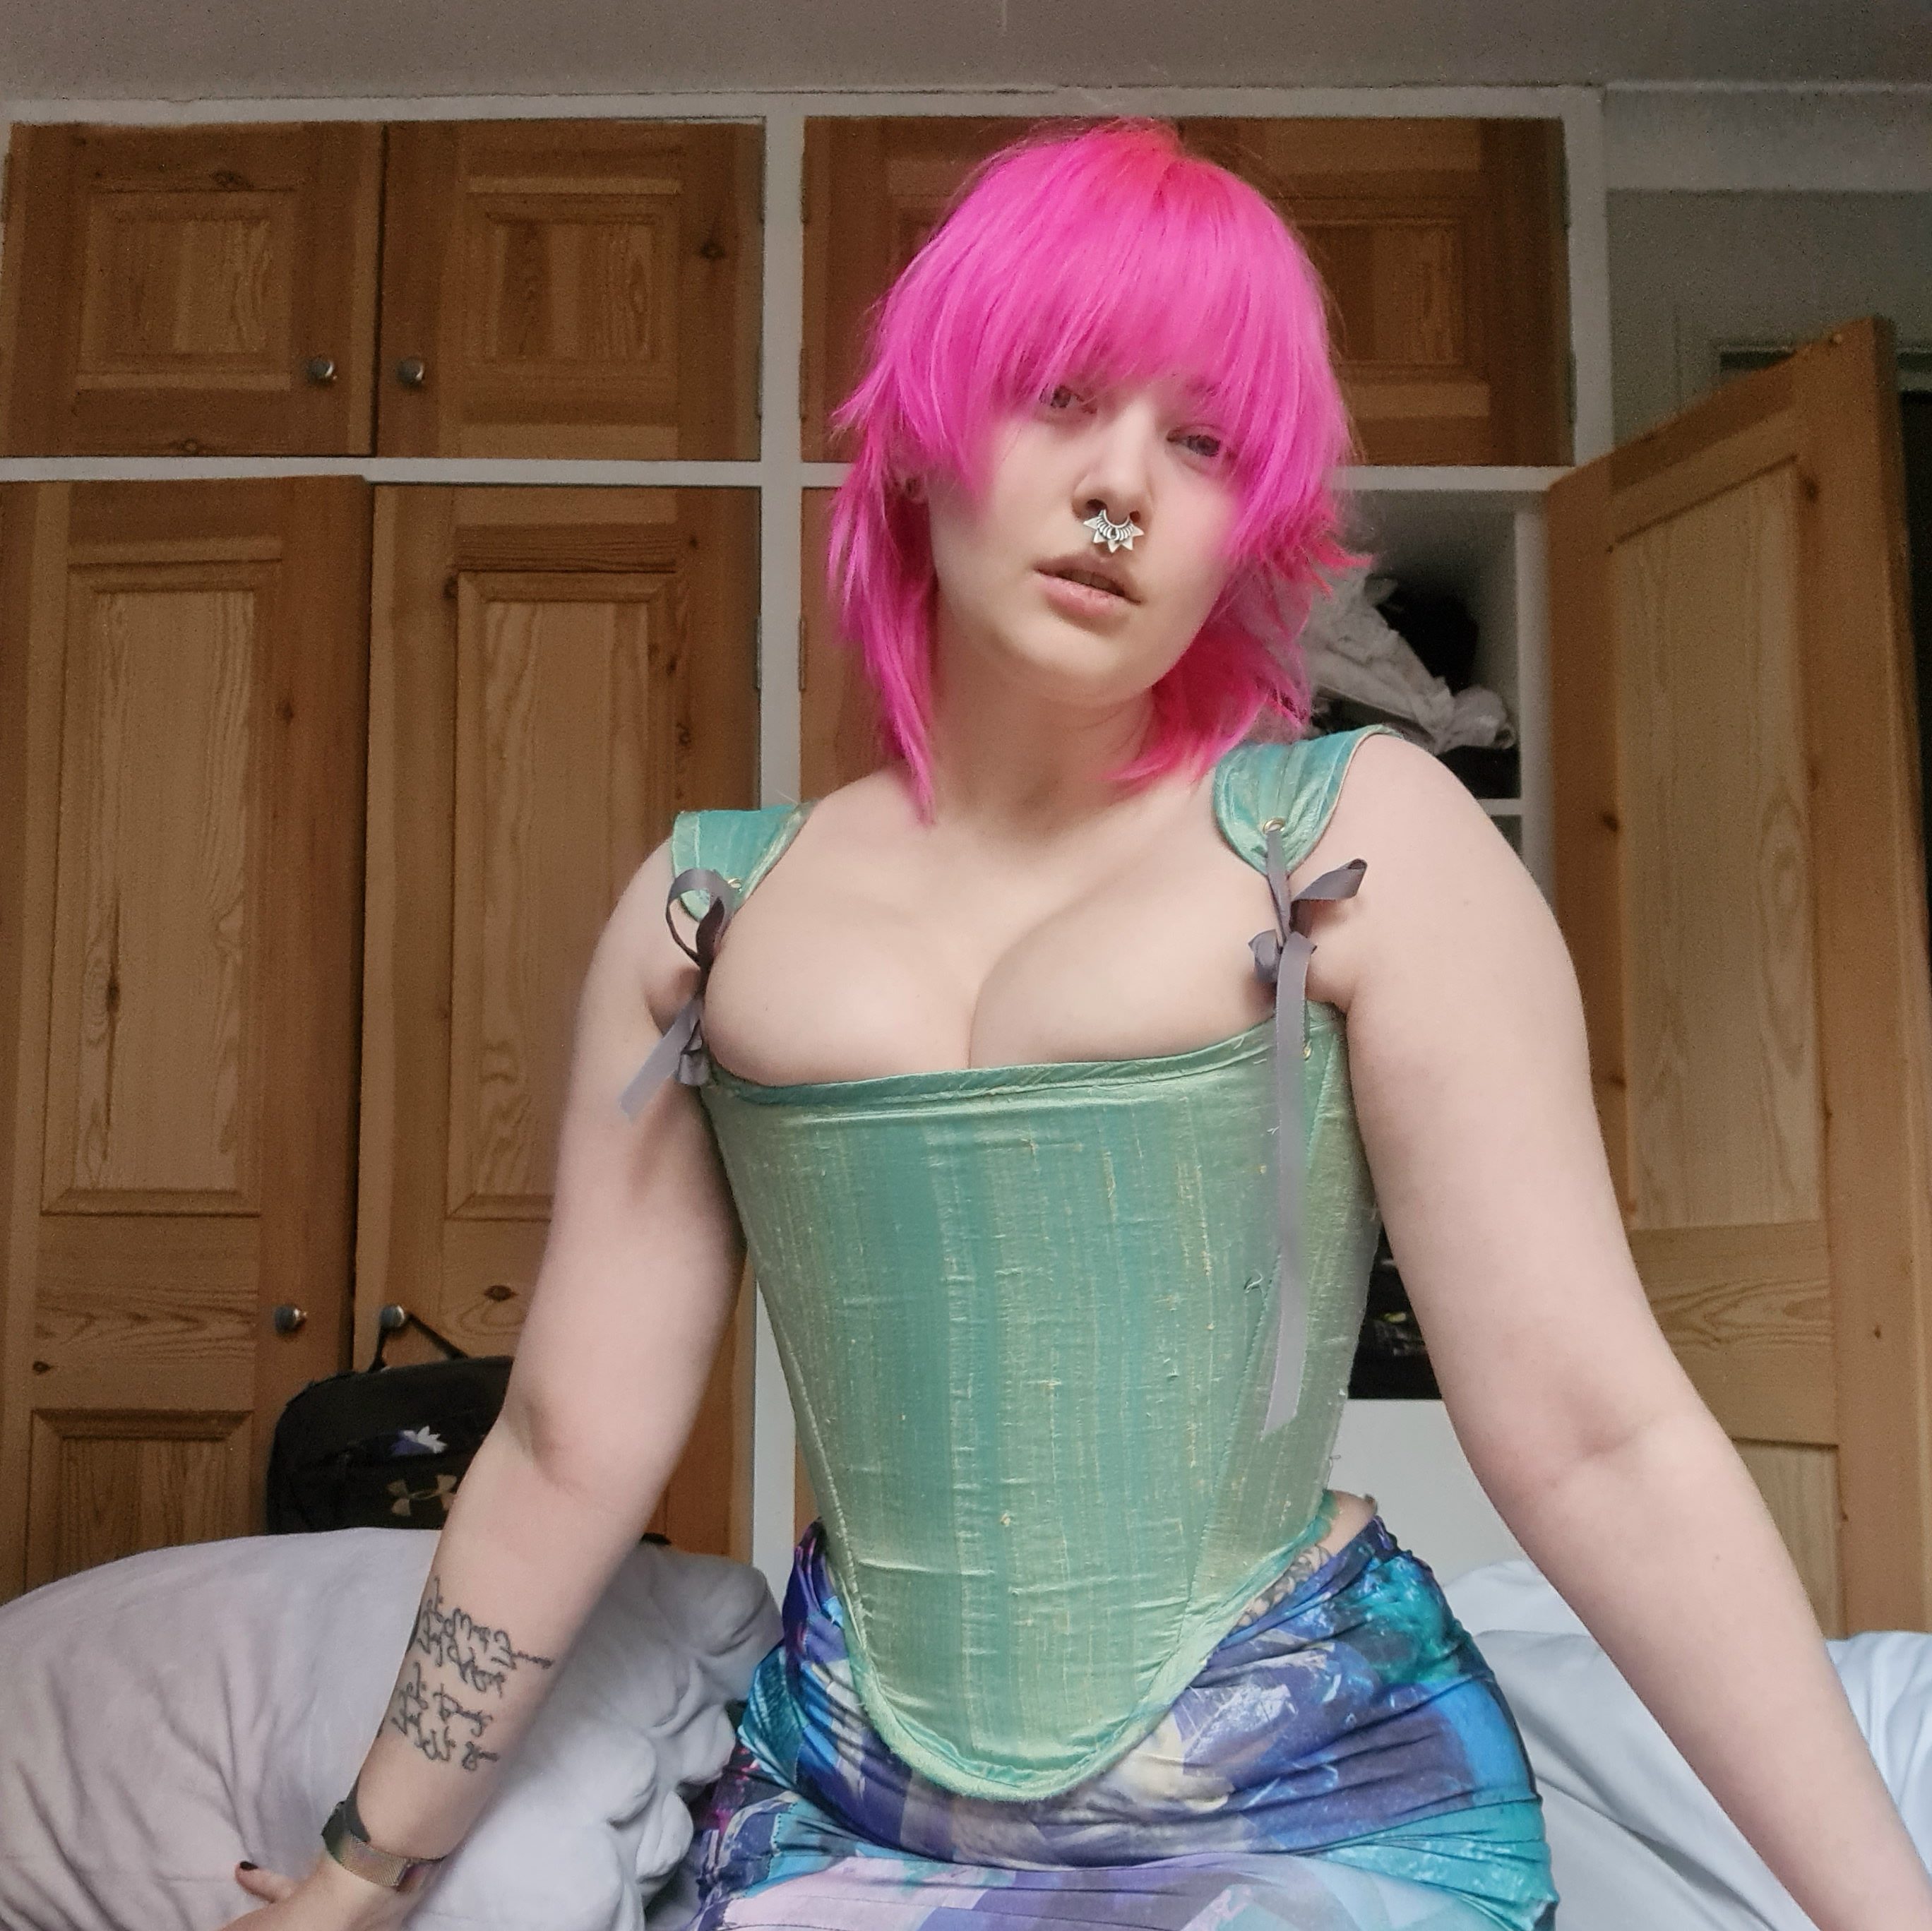
Ta-daaaaa! I do still have the tabs to add, but here’s it basically done! I actually found the process of creating this pretty theraputic. I was worried going in about making a multipanneled, fully boned corset, but the process really wasn’t bad at all! For me, the most difficult part was understanding that formula from the last post.

Leave a comment