My stay for the Macbeth costume I’m making is practically done! So I thought I’d talk about the process thus far. I already spoke about making the block, but then its time to turn that block into the shape of our stay! Its a half math, and half “i dunno that looks about right?” method. There’s that horrible word…. math…

That said, even with my distaste of math, I find it is generally rather helpful when it comes to on paper pattern making. It might take a few tries to understand it -thanks dyslexia, luv you bb- but I get overwhelmed it doing it all by eye, as it makes me nervous of where to start. The math part gives me a baseline to work with. Alright I’ve avoided it enough, what is the math I’m talking about??
It’s working out the reduction possible across the waist line. I thought I had taken more photos, but I got so worked up trying to do this correctly that I must have forgotten too. Here’s a quick collection of me trying to find the right formula, and then I’ll attempt tp explain the correct one
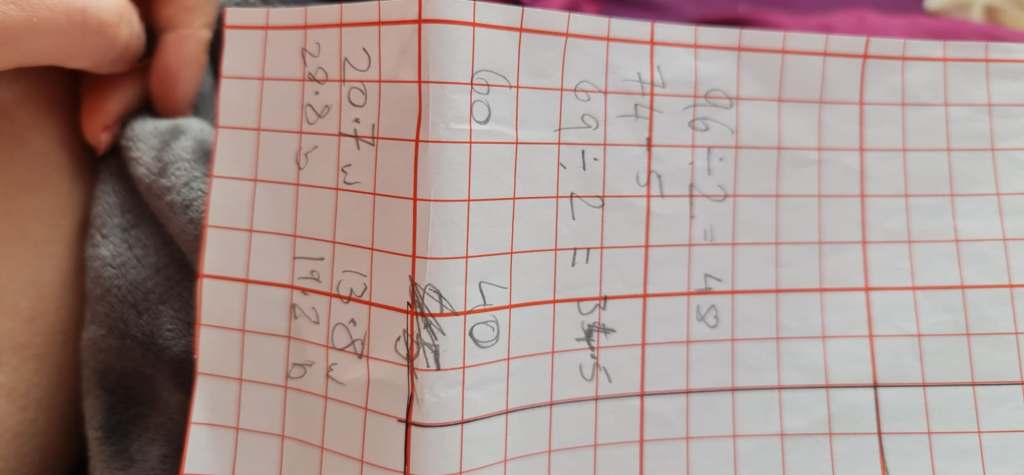
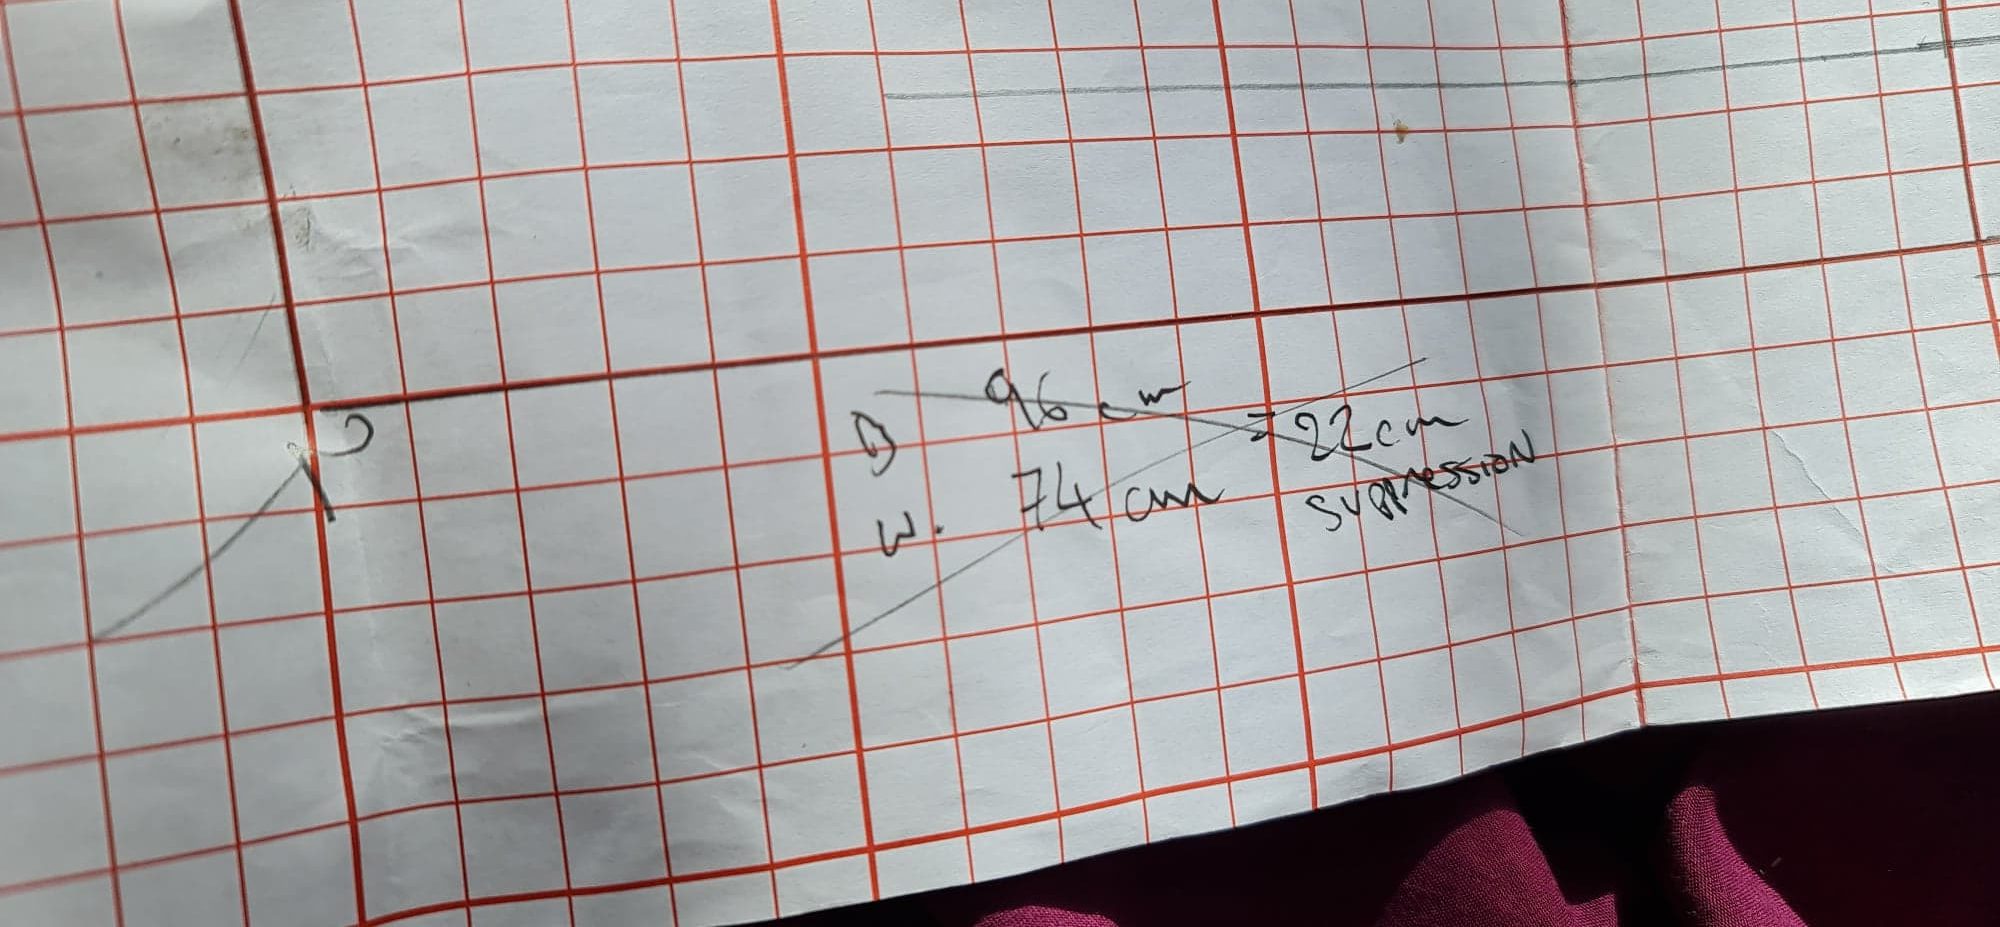
Let me break down that that correct formula. I would explain the wrong ones, but I’m looking at them and I have no idea what I was even trying to do. The second wrong one was just me minusing the waist from the bust, to determind how much I can take in at the waist, which is almost right, but it forgets to add any additsional supression, which is what we want from our stay.
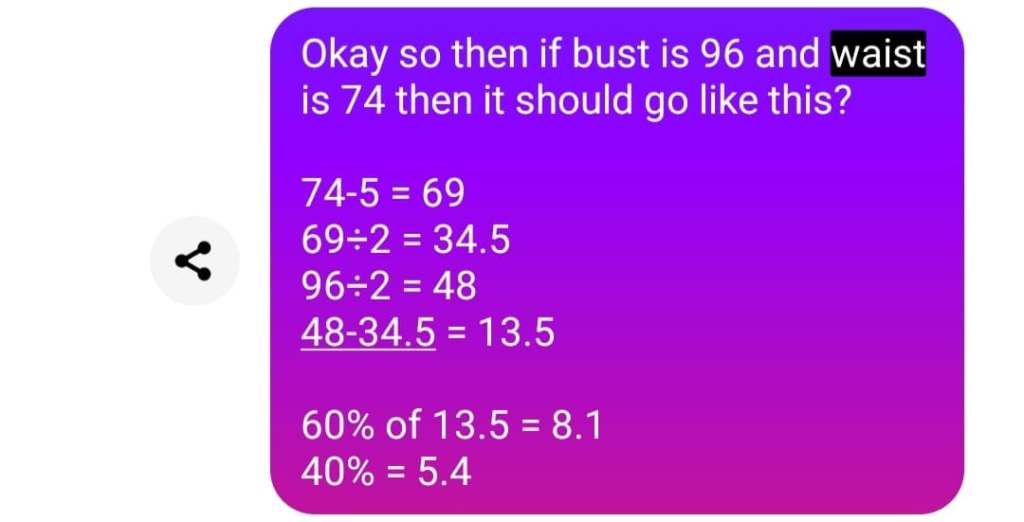
So the correct formula is:
- Waist – 5-7cm, depending on how much reduction/supression you want.
- New Waist measurement divided by 2, as the pattern is one half of your body.
- Bust measurment divided by 2. Same reason as above.
- Bust measurement – New Waist measurement = Supression Measurement
- Supression Measurement is then split into a 60/40 amount, as that was typical of the time.
- 60% of the measurement is then applied at the front, and 40% is applied to the back.
Ooof okay. We made it through the math, yay!! I’ll now try to show you where that surpession goes, as the front placement is a little different from the back placement.
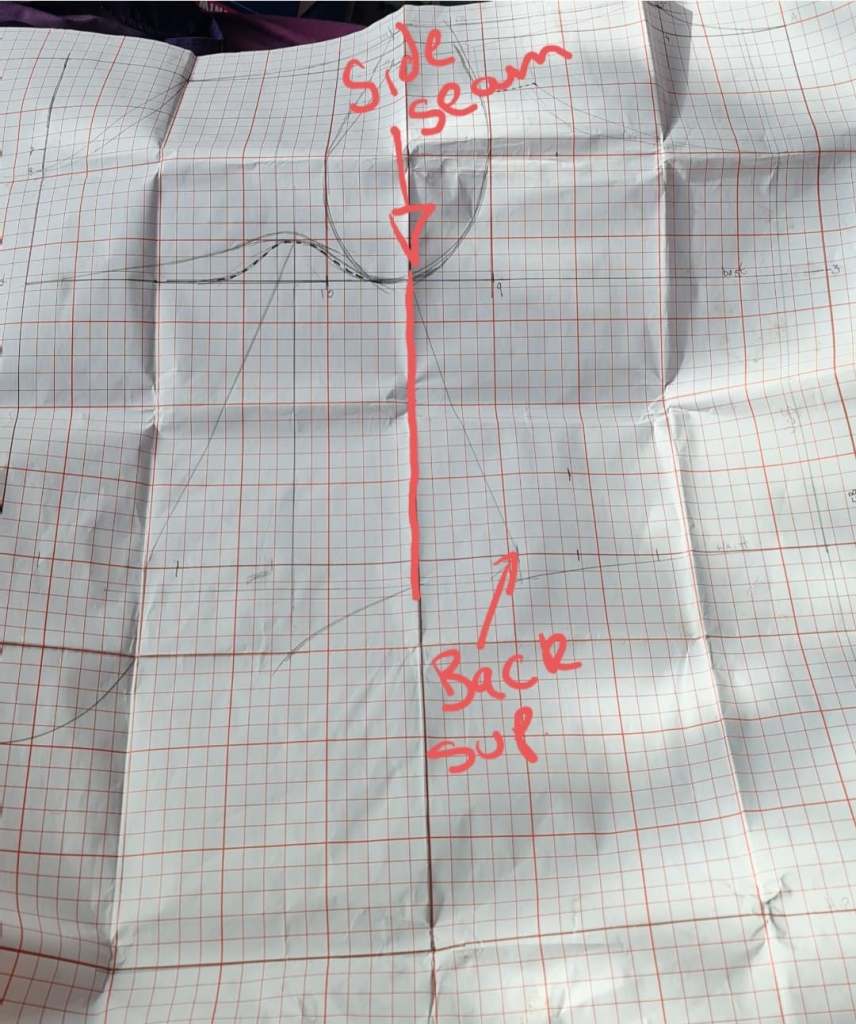
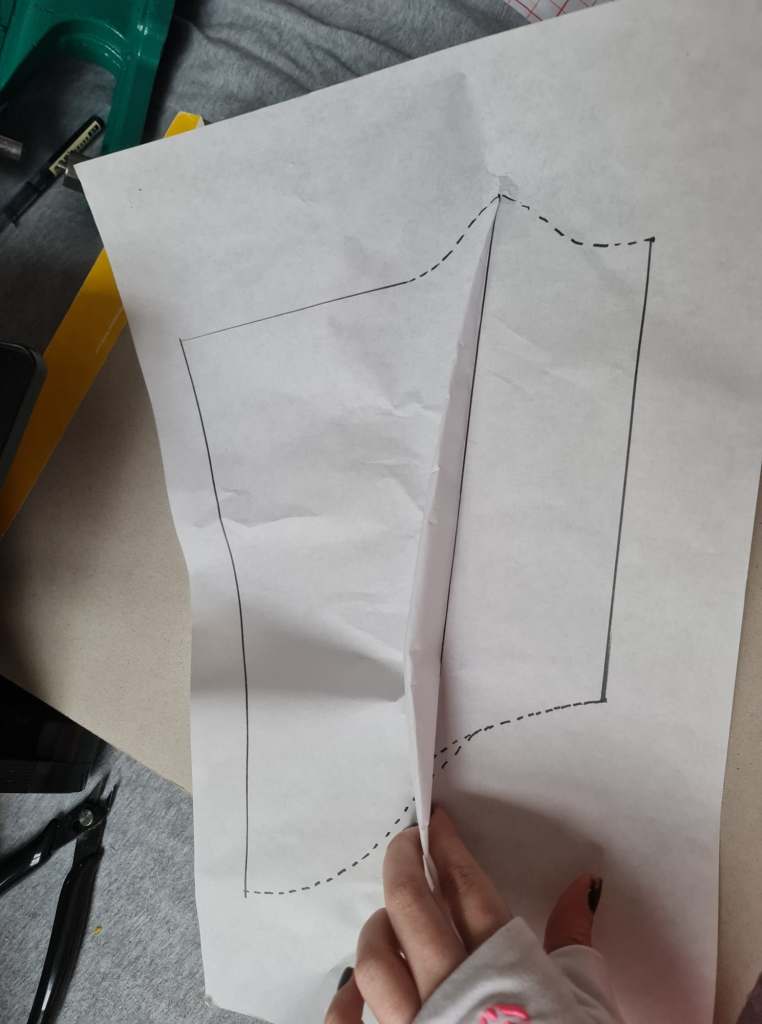
Left: The supression from the back is simple. You just need to put in the 40% supression from the side seam.
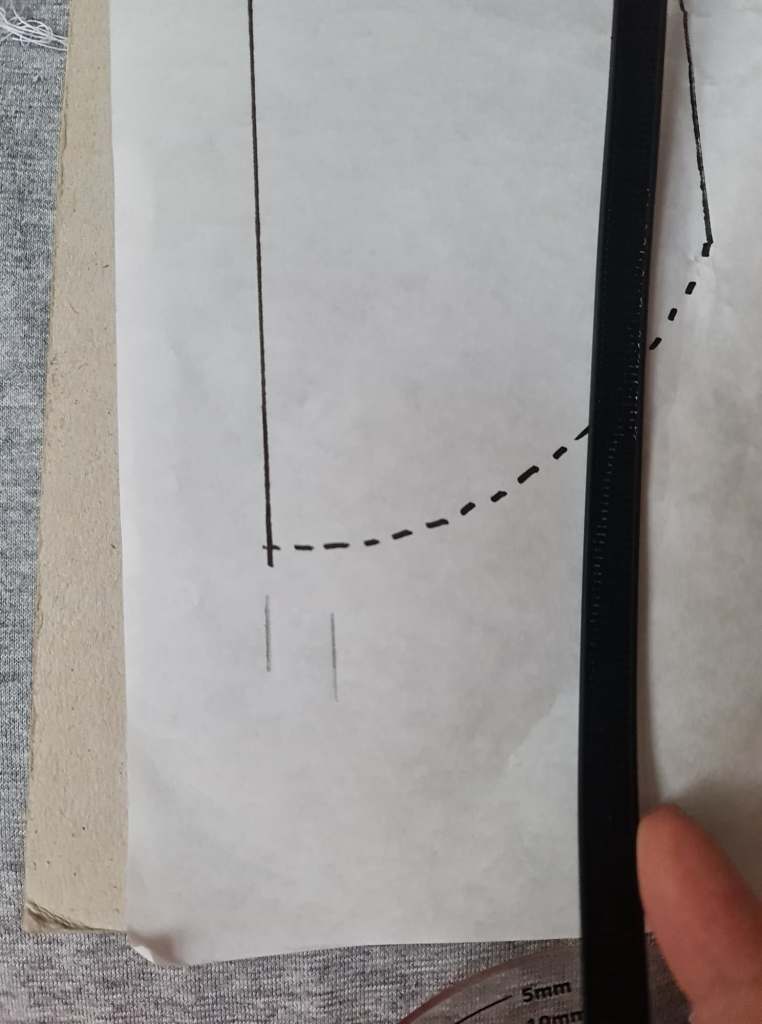
Right: The front is a little more complicated. Its where the “I think that looks right?” part comes in. First you shape the bust line, adding in the bump where the hole for the shoulder strap will tie into. There isn’t really an exact to this, its more what shape you think will look correct. From there you pick a point to measure straight down. That straight line will turn into the other side of the side panel. Then you measure the 60% forward, and draw down from the same point of the shoulder strap.

To create the shoulder strap, you’ll want to trace off the front block, and your shaped bust line. Then connect at the shoulders, and draw in your strap shape. I opted for a fairly wide strap – this is because I have quite big shoulder for my size, but also I find thin straps really aggrivate my chronic pain issues. You can shape however you like, but I wouldn’t go for too thin, as you’ll have a challanging time with bias binding later on.

And finally, a quick note on adding seam allowances. I added a 1.5cm allowance to basically everywhere, and then 2cm for the back. I prefer working with thinner seam allowances, and knowing this was being made for myself, it would be easy to check fittings as I go, and make ajustments as and when needed. If I was creating this for another person though, I would leave closer to 2.5-3cm seam allowances. This gives you plenty of room if you need to make something a little looser, to improve comfort for the performer, etc.
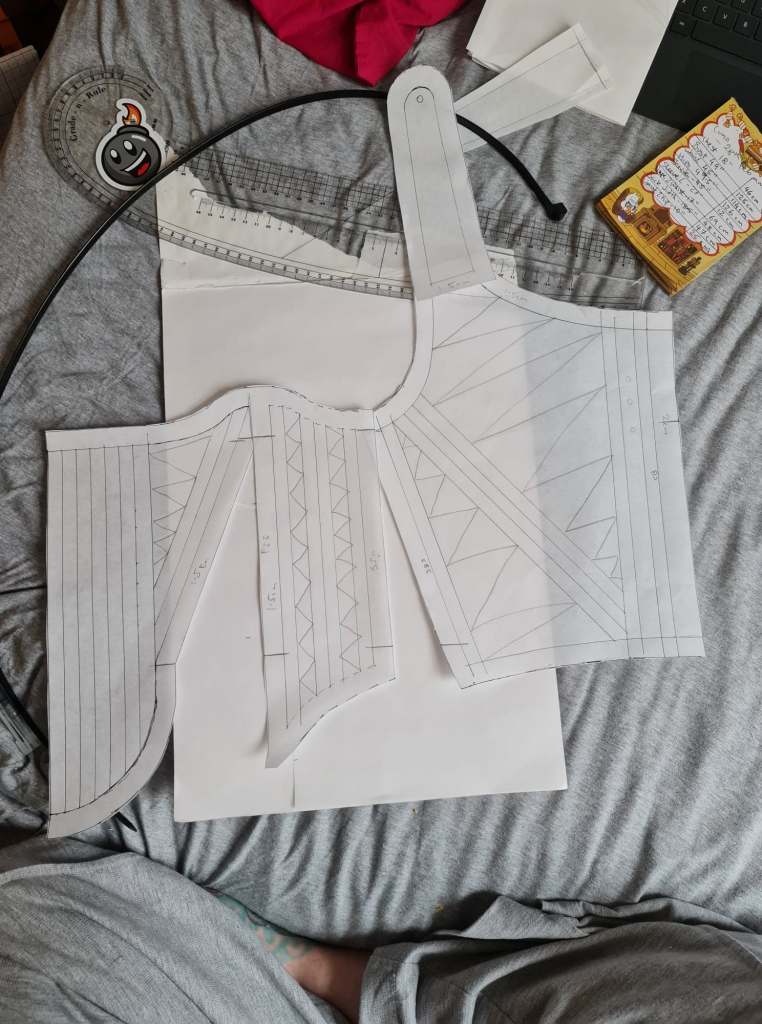
I think this post is long enough now – Next part of the stay will be in the fabric, finally!!!
Until then, stay crafty!

Leave a comment